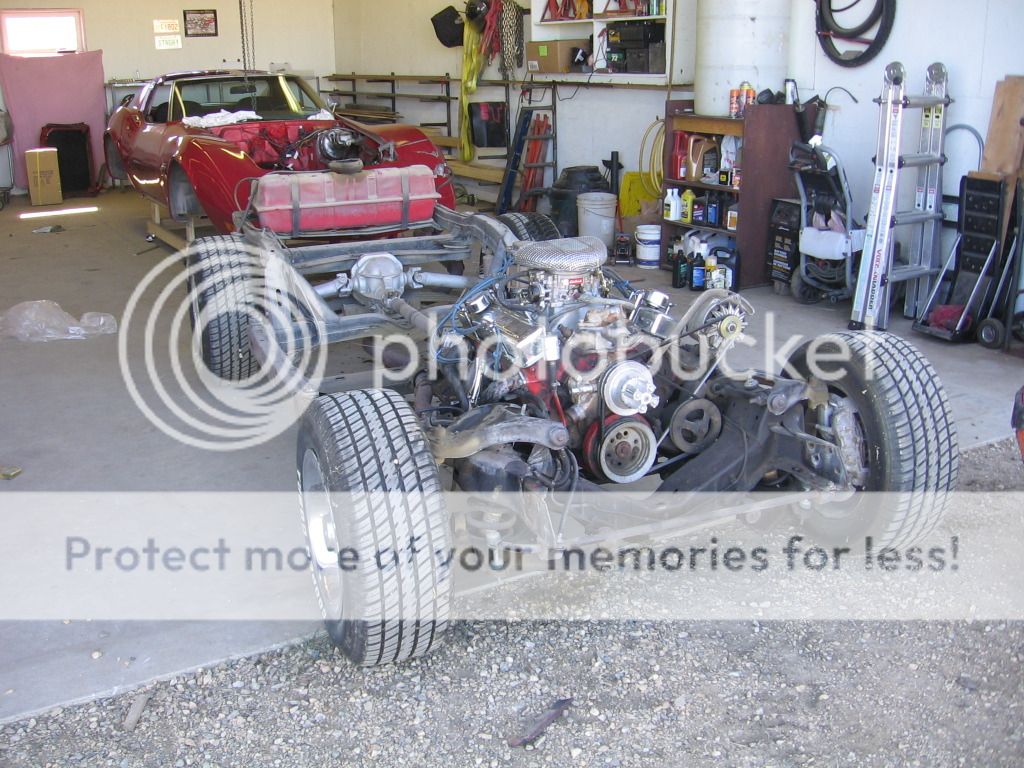
And it begins....Body off

Ya I am the yard looking pretty nut. I steer clear from flowers but that's about it. I spend way more time making outside clean and tidy than inside the house. My wife hates it. That is also why the summer is less than productive for car restoring.

Plus I love mowing. Takes me about 2 hours every time, which in the spring is every week. But it is relaxing and time to myself. And my yard needs trees. I am sick of all the wind.

T
 
As promised here are pics of the grey parts. These parts are coated with 2 coats POR15, 2 Coats POR Primer, 2 Coats Smoke Grey, and 2 Cots Clear. That should be enough protection hey?


Like I said before, I was hoping for a bit darker grey but I still like they way they turned out. Now if those parts would just arrive. Supposed to be end of day today.

T
 
Got the first shipment of parts. A lot of what I ordered was backordered but at least I can get a start on reassembly.

Whoo

Pics next week. Helping my parents move this weekend.

T
 
Yay picture day!!!

So I am a bit late of the first one but here it is.


A I even found some time this past weekend to do some work! Although my body might hate me for staying up to 3:00 AM Friday night.

These bad boys pressed in pretty hard...but smooth. Then bend over notches with a hammer.


Mounted diff:


Sorry lacking pics of process for theses front a arms:


Learning as I go... I bend the lower a arms pressing in the bushings. Spent a few hours correcting the mistake. Then i learned the poly comes out of the metal part. I could have pressed the metal in then installed the poly. Next time....

All in all looks good so far. Need to buy some bolts for the rear spring and front steering. Reused some of the bolts that still looked good. Need to touch up the grey on the a arms too. Got a little chipped during the fix of the F*#^ up.

T
 
You'll feel good about the progress now that you've started the assembly. Looks good. :D
 
Looks good Taylor! One word of advice is to NOT tighten up the A-arms until the car is sitting on the ground with everything done. The guys did that on my Camaro when putting in the Poly bushings and preloaded the suspension when everything was at full extension. This made it impossible to do an alignment as the car would not sit in a neutral position. You could push up on the car and it would stay, pull down on the car and the suspension would stay about an inch lower. I had to take the front suspension apart, wiggle the A-Arms loose, put everything together, sit the car on the ground, then tighten up the A-Arm bolts. After that the car was very happy!
 
looks great, god that por 15 is fabulous stuff. riley is correct in what he says above. also when installing the rear spring don't do the final tighten and torque of the four mounting bolts until the weight of the car is on the wheels. this is the number one cause of the ears cracking on the diff cover.
 
Thanks for the advice guys. None of the A Arm bolts are tight. Was planning to put a threaded rod through where the shock goes to hold it at ride height for tightening the nuts and bolts. Thanks for the heads up on the rear spring, would have gone ahead and tightened it up!

I have decided to buy rubber bushings for the trailing arms. I don't like the poly ones that came in the kit I bought. Plus a lot of people disagree with using poly in that spot. I think they would be fine but don't like how they install. the side washers don't crimp or press on, just float. So ordering rubber today.

T

I did the same thing, had the poly bushings for the TA's but went with the factory rubber ones
 
Big project. Takes a village to complete and wack of patience!!!!

As a 38 year veteran of corvette frame off restorations and customs, you are going to find many surprises. Don't let it over whelm you. Feel free to contact me if you need any advice. [email protected] Jim

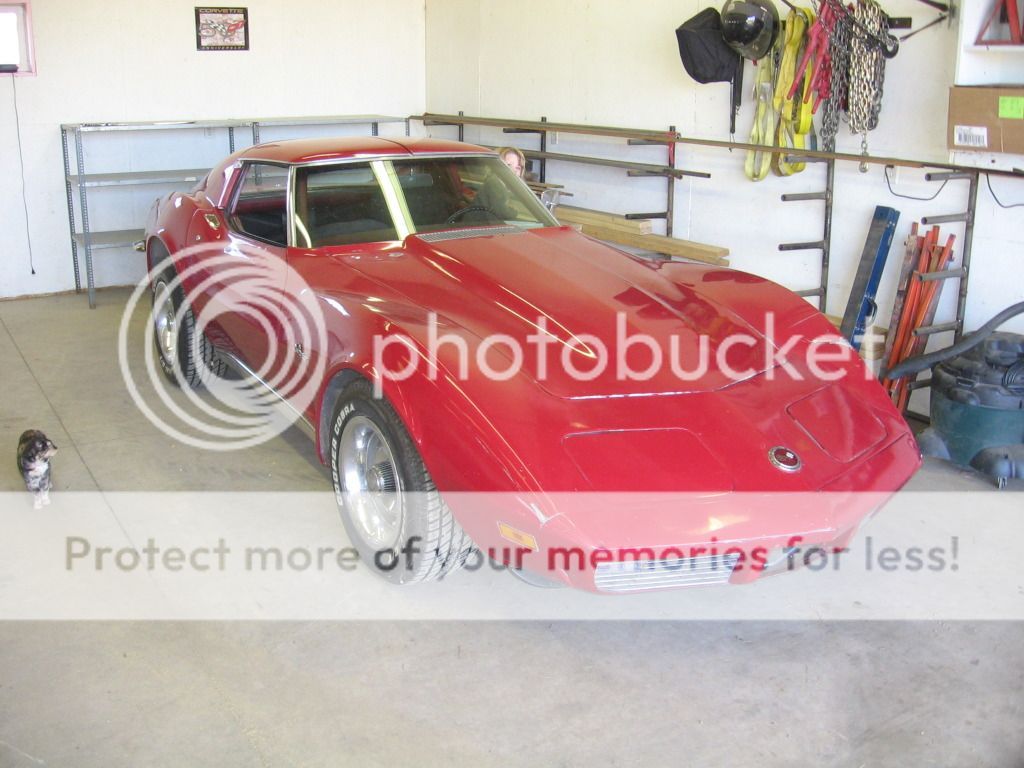
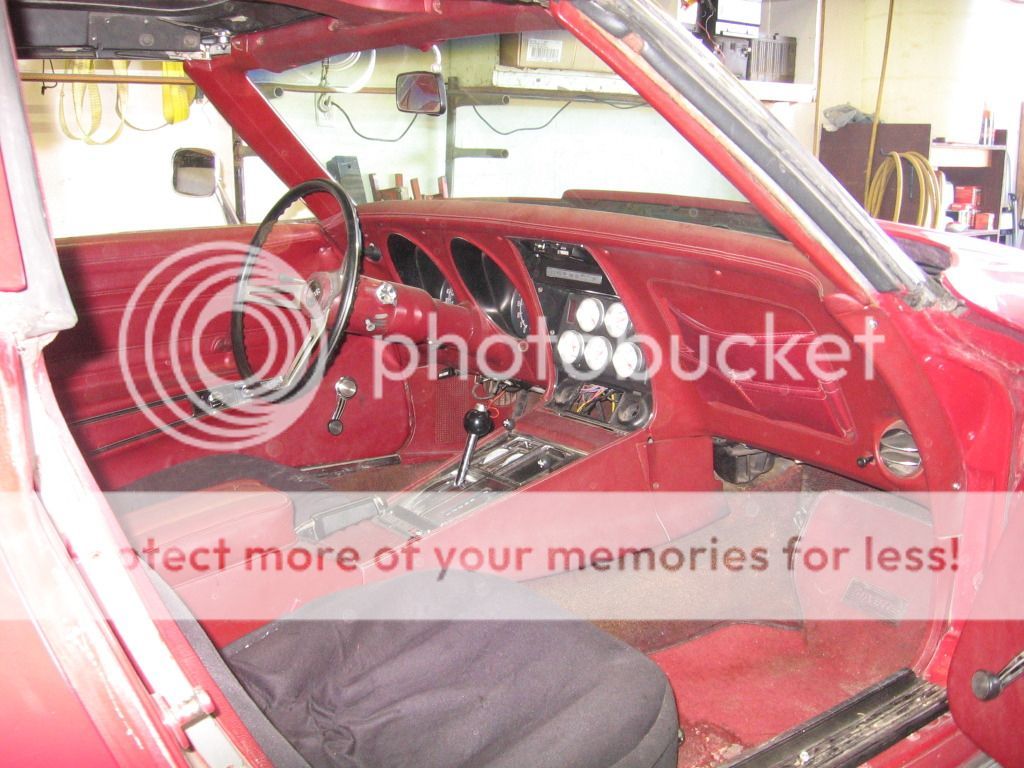
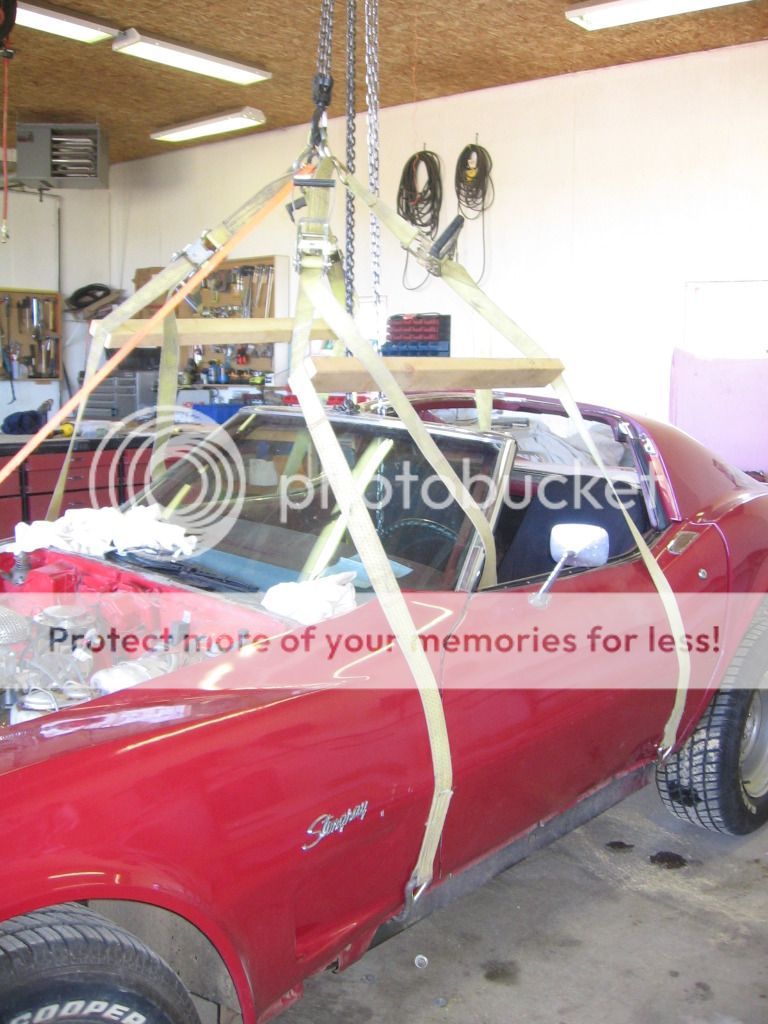
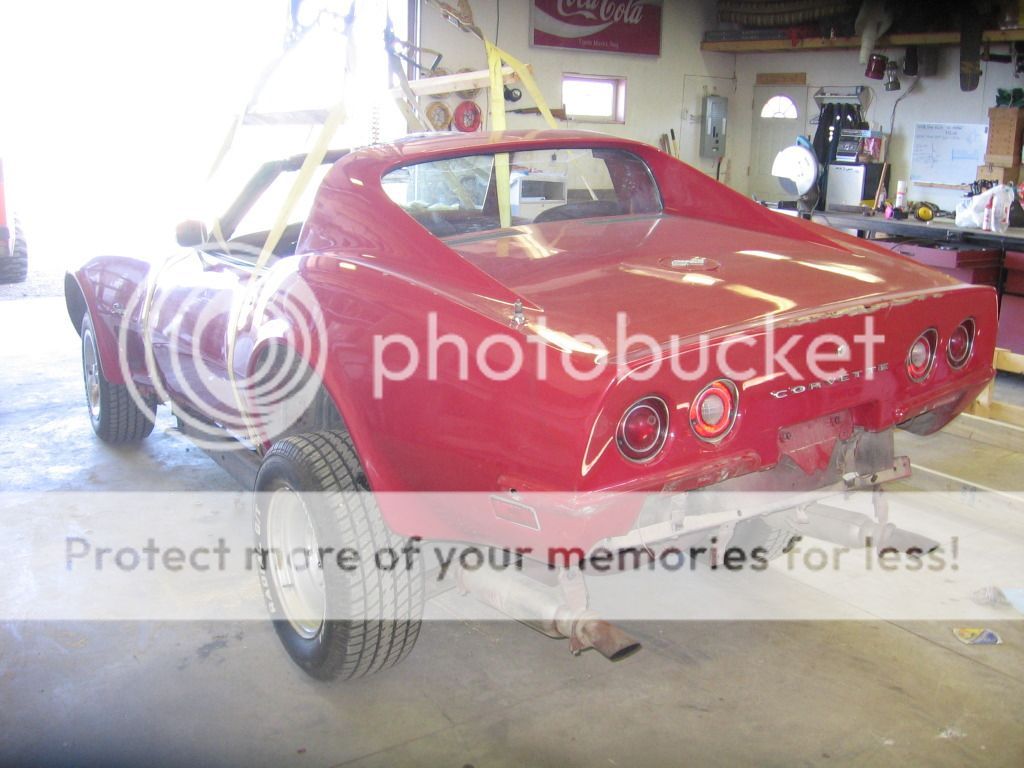
Well after the car not coming out of the garage all year I finally decided to pull the cover off. Connected the battery. Turned the key. 10 Seconds of cranking and fired up. Then I drove it 200ft into my shop and proceeded to make it not drivable for awhile. I was planning to start this in the spring but the summers are way to busy. So after disconnecting a wires, brake lines, steering, body bolts, removing hood, removing radiator and frame, draining fluids (or so I thought), disconnecting grounds, etc. this is the result.....

BEFORE:
IMG_6233.jpg

IMG_6226.jpg


DURING:
IMG_6279.jpg

IMG_6280.jpg


AFTER:
IMG_6285.jpg


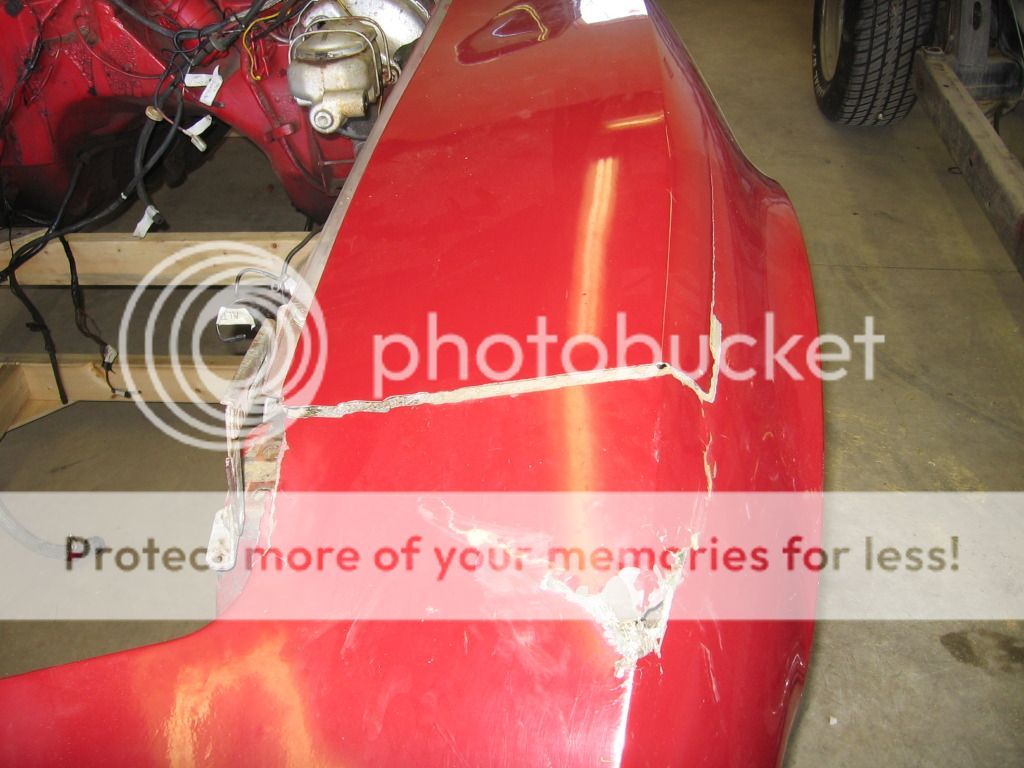
It went pretty smooth considering I did it by myself. However it was not flawless. The crack (that has been there since I bought the car) in the front clip wasn't strong enough to hold the front and let go, even with the strap to the front:
IMG_6331.jpg

Needless to say when it gave away I thought the whole body was falling to the ground:eek:. Now like I said there was a crack there before so I am not surprised this happened.

All in all it went very well though. Now for the rebuild! This one will be slow and steady for sure so don't get upset if there isn't updates for a while.

By the way to my Saskatoon C3 Friends I am looking to measure up a removable transmission crossmember to convert mine from a welded one while the body is off.....so......if you have a 73-77 with a removable crossmember that I can measure send me a message or post a reply. Thanks in advance.

T:canada:
 
Got a bit more done. Sway bars loosely bolted to chassis, steering rebuild, and some assembly on the trailing arms.

The steering cylinder was simple (just need smaller than normal snapring pliers). The valve was a little more than I was ready for, but it went pretty good. Just took longer than expected. Sorry no pics of process due to the oily hands and focus of the task at hand.

Any who for all those who actually read this before pics.....Pics!


Ready for bearings (didn't buy grease yet). Then the front can be finished up (minus brakes). It's coming along nicely, just need to find the time.

T
 

Users who are viewing this thread

Back
Top