Aug 4, 2013
104
22
Sylvan Lake, Alberta
VetteCoins
625
Car
1971 LT1
I have another build thread on the other forum but since there are many more local members on this forum I thought I would start another.

I had a 1976 vette in Nova Scotia back in 2006-2007. Ended up selling it because the money needed to go to some bills.


Not a bad car but it was screaming for a frame off resto...
So after I sold it and payed my bills... I spent the next few years searching for that one vette that really for me.
Having learned so much from my 76 rust wise I am very picky. Im also a mechanic so I have some knowlege.

July 2013.
I found the car that passed all my scrutiny.


I got in, under, over, through, and upside down on this car looking for the rot or damage that would keep me from making an offer on this car.
I didn't find any... I mean any... No rust on the frame whatsoever, Trailing arms and kickups are immaculate. Body mounts all intact and not rusty. not even surface rust. The paint is 43 years old I believe. and has its issues as you would expect for 43 years. the interior is the same but compared to my 76 and many other cars I looked at this car is a survivor.
I took pics of the only damage I could find...


Thats it!

Oh yea I jumped all over it.
more on my build after I pick up my son.

have a good day
 
So now its time to transport it to my place in Ponoka.


yea yea lots of pics like that.. lol


Here it is in front of my tiny garage...

Shortly after that I took the vette to my friend and detail shop owner to see what he could do with it. Meanwhile I'm searching the internet for parts and researching this and that.
I found a nice 350 in town here for a great price so I picked it up and started to go through it and get it together.


until finally


Now at this point I have an engine and a car. And an EX.....
No fun. I had to move a couple of times during the winter and very little actually got done to the car. Until the end of the last move.


Engine going in the car. YAY!!!


now the real fun begins.
piecing everything together with nothing to refer to on the car.
The radiator from hell...
Being an LT1 this car had a different size rad than most.
after buying a couple of wrong sized rads I went with this.


now its supper time so I will get back to the thread after that.
 
Ok, now the dual fans need to operate somehow. I had a few ideas here.
1. just wire up a couple of toggles and operate the fans manually.
2. go with a thermo switch setup
3. Go with an adjustable fan controller.

Right. adjustable controller it is.


This pic is a little odd. The relays and fuses arent mounted yet. as well the controller part is not in the picture. I mounted it to that spot to the right where the overflow is supposed to be. Ran main power to the starter and used The old TCS wiring for the controller. (I hate cut wires that arent used)
Its so easy to repurpose old wiring. and its less messy.


here is the finished product. I had to fabricate new upper rad mounts. the stock ones just didnt fit right. I also had to modify the lower mount rubber bushings to get the rad to sit right. If you see my mod you it will make you go "hmmmmm" lol. again a work in progress.

Now the drive train is coming along nicely and I want to start this beast up and hear it..
Next issue, headers. I got a set from the guy who sold me the car. I wish I knew how they were used because they were way too short to attach to the collectors that were on the exhaust.
I bought a set of long tube headers and put them on. they are stainless.
and I had to fab up a couple of short pieces of tubing for the collectors.
Now I dont want to hear too many jokes about my welding ability ok???


April 2 2014.
Yup Im suffering terribly from cabin fever. Man I was pissed to see that crap that morning.


There she is just waiting to be run. I went out and finished up some loose ends and turned her over...
no go. Poor cranking and killing the battery each time I cranked it.
4 hours later after searching and spouting a few adjectives I found the problem. Poor ground. Figures...
fix that problem and Oh hell yes!!!
Got her running and timed. only by ear for the moment.

That pretty much brings me to today. I have been doing a lot of looking at it lately. I tore some muscles in my shoulder and have a hard time turning wrenches for any length of time.
Just about only 2 weeks till the meet and greet in Ponoka. I would sure love to drive up to that in my vette.
Im gonna try my best.
More pics and progress later.
have a great day all...
 
Nice work Hezzy... You're gettin' er done!
Those headers look really low for this application?
I just took a peek at mine and they are only about an inch below the 4-speed bellhousing. And my header flanges catch sometimes!
I can't give you a ground clearance measurement as my car is on stands at the moment. I could drop it later if you wish to compare.
graham

yea I know they sit very low. I hope that doesnt cause too many problems. I thought that if I had side pipes they would come down at least that low. So for now I will see how they work. I haven't put my car on the ground since I put them on so I dont know how much clearance there is for sure. Not much I think. sure when you do put it on the ground let me know your measurements. I'll do the same.
Thanks
 
Just going through this thread. Thanks for all the nice comments guys. I am having fun and this car is coming along nicely.
I did forget to show the hydraulic clutch setup.

I have a 10.5" clutch and I decided to try to put a hydraulic clutch in.
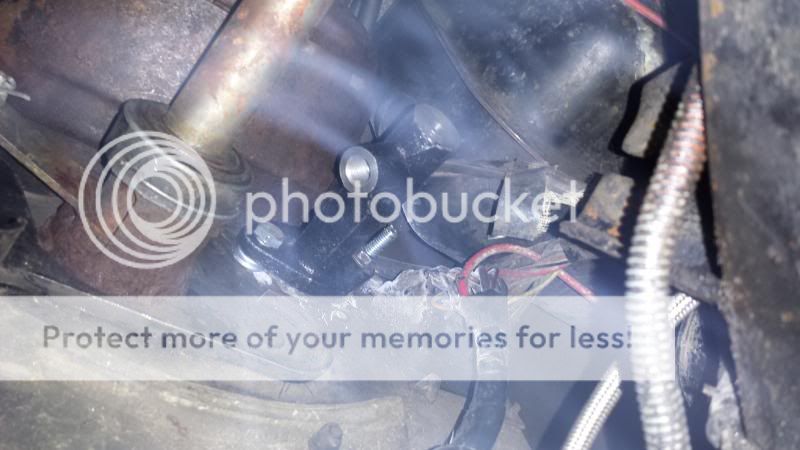
I have some of the parts to go with the Zbar setup but I am missing some key components. not the least of which is no hole in the block for the pivot stud where the Zbar goes.


my total setup minus the remote resevoir


It is now all hooked up and waiting to be bled. Unfortunately My leg isnt long enough to step on the pedal while Im under the car. rofl
 
Hezzy; I just went out and measured my 75 sitting on the floor. The bottom of the Header flanges are 1" below the bell housing, and that leaves 3 " of ground clearance. The flanges have rubbed a few times but aren't beat up too badly.

Welcome to the Forum.
 
Great thread. As a fellow 71 owner I am loving your pictures. Since you are a mechanic I would like to ask one question. I am having trouble with the tail lights on the passenger side. They are not working. Driver side tail light and signal lights are ok. I tried changing bulbs but that is not it. Any thoughts ? :confused:
 
Old Thread: Hello . There have been no replies in this thread for at least 100 days.
Content in this thread may no longer be relevant.
Perhaps it would be better to start a new thread instead.

Similar threads

Users who are viewing this thread