- Thread starter
- #101
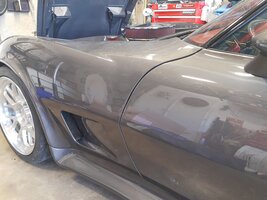
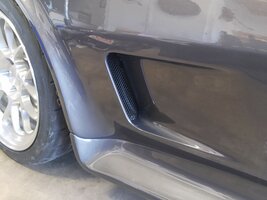
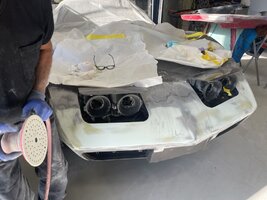
Thank you very much!!! For the positive words as well as the great advice. I was worried about the stainless bolts as you are right they may experience galvanic corrosion. I was planning on using anti seize but I completely forgot!Car looks awesome. Been there done that with special tri-colour Crimson Pearl paint on my 1928 Ford closed cab pick up street rod. Luckily for me had a friend who owns a body shop and he is a PPG authorized mix shop. So after I had spent 5,000 hours building, he painted my truck and all its pieces separately, therefore I had none of your problems. As the others here have said about the paint shop's lack of responsibilty it is terrible, but you still have a beautiful and very exclusive car.
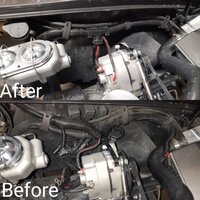
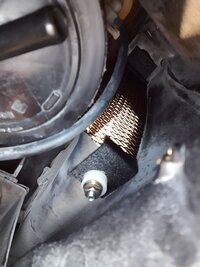
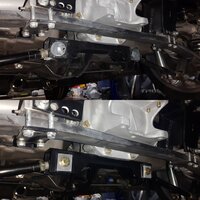
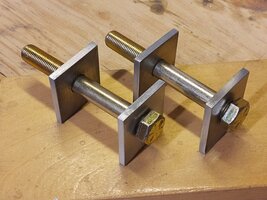
By the way, I hope you put "anti seize" on your stainless bolts. If not, I suggest you remove them and add anti seize, otherwise you may have problems down the road if you have to remove them. They will lock so bad the bolt will break before you can remove the nut. By the way your idea of bluing them is totally unique. Well done, it is the detailing that counts!
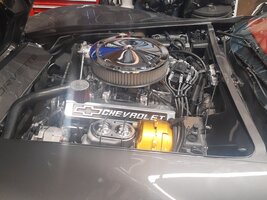
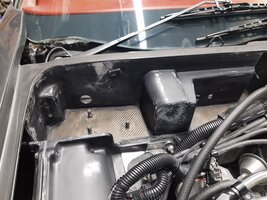
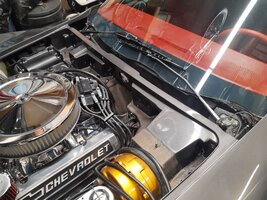
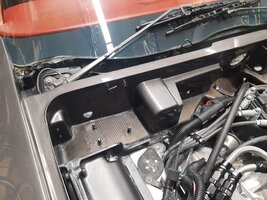
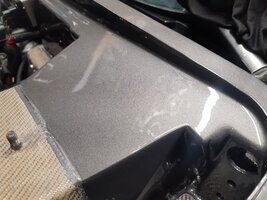
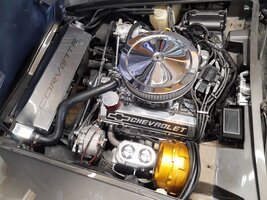
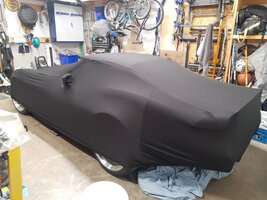
View attachment 87718
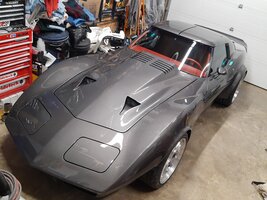
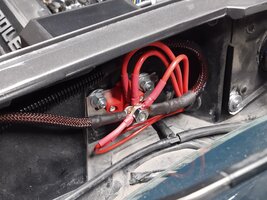
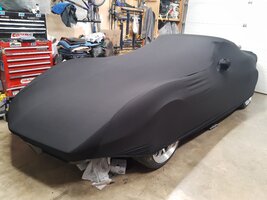
View attachment 87717
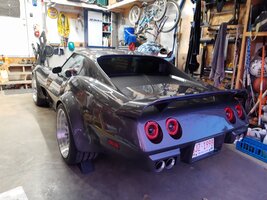
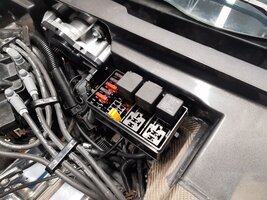
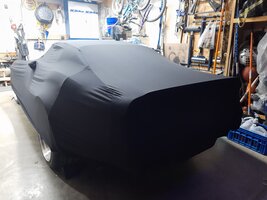
View attachment 87716
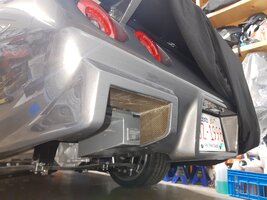
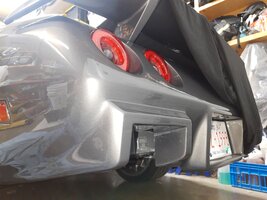
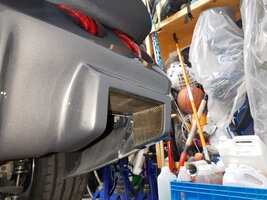
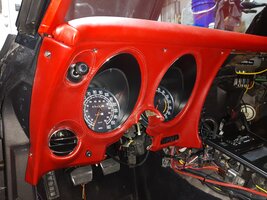
Thanks Matt. I will post a video of it once I get the car back and the dash installed.Awesome job! Could we get a little video of the car so we can hear her?


 you can come out of this experience with a higher level of acceptability than what it might feel for you at this moment. Those who you know well in your Corvette Circle will never be critical of this restoration endeavour that you have managed.