And it begins....Body off

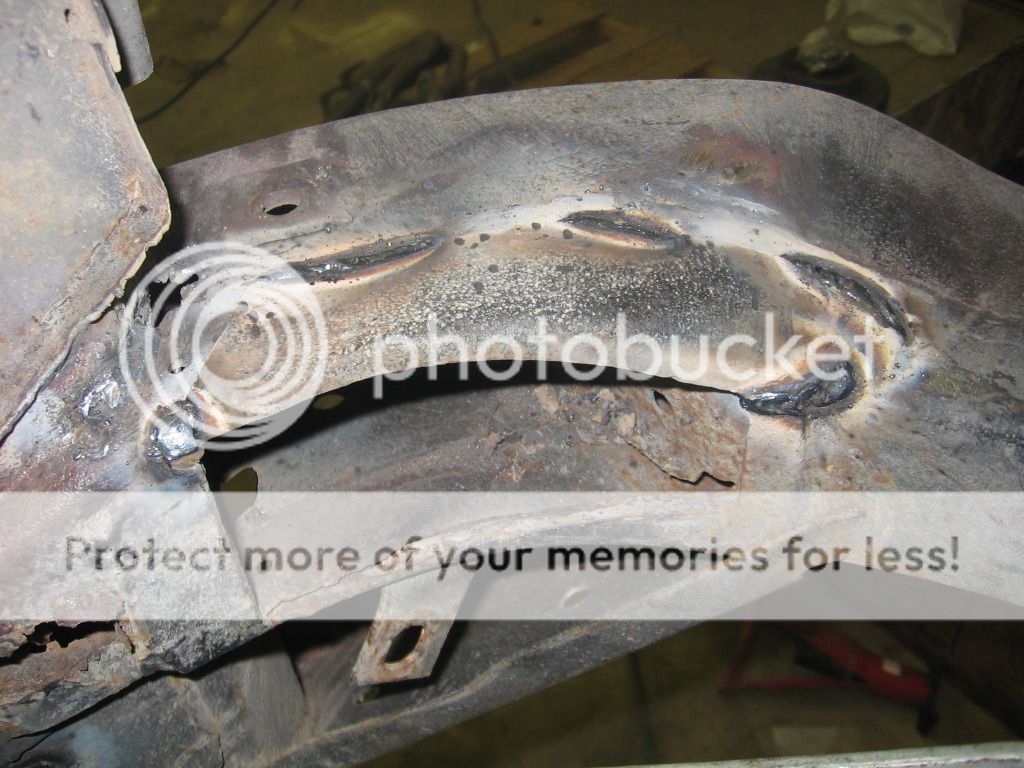
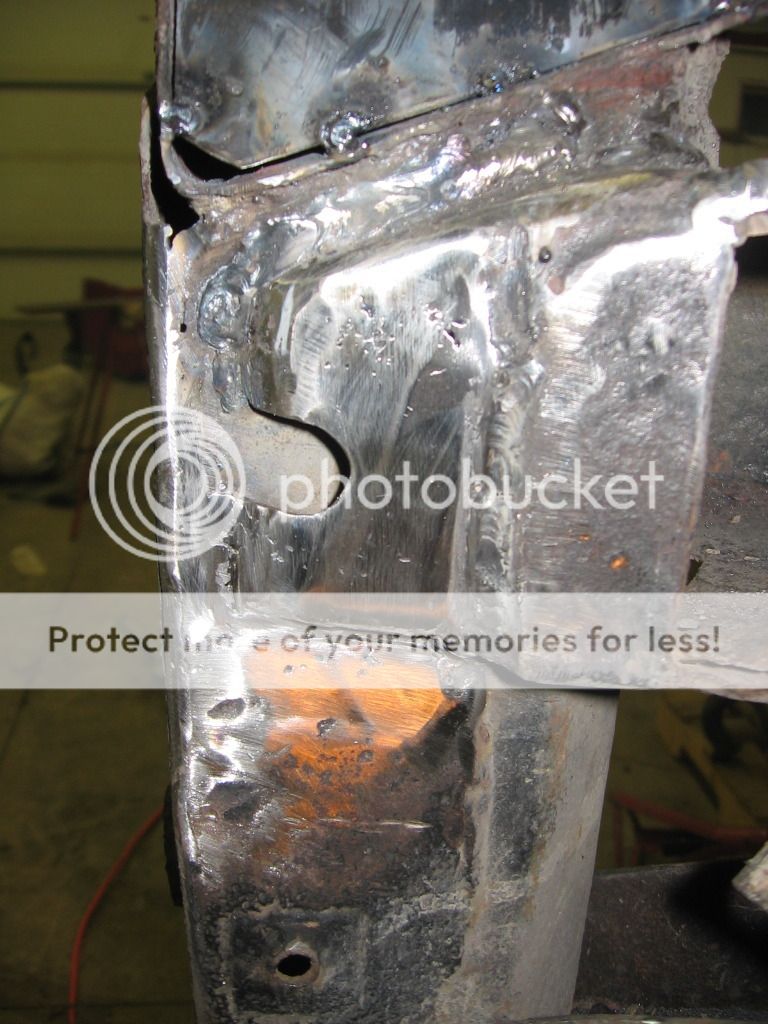
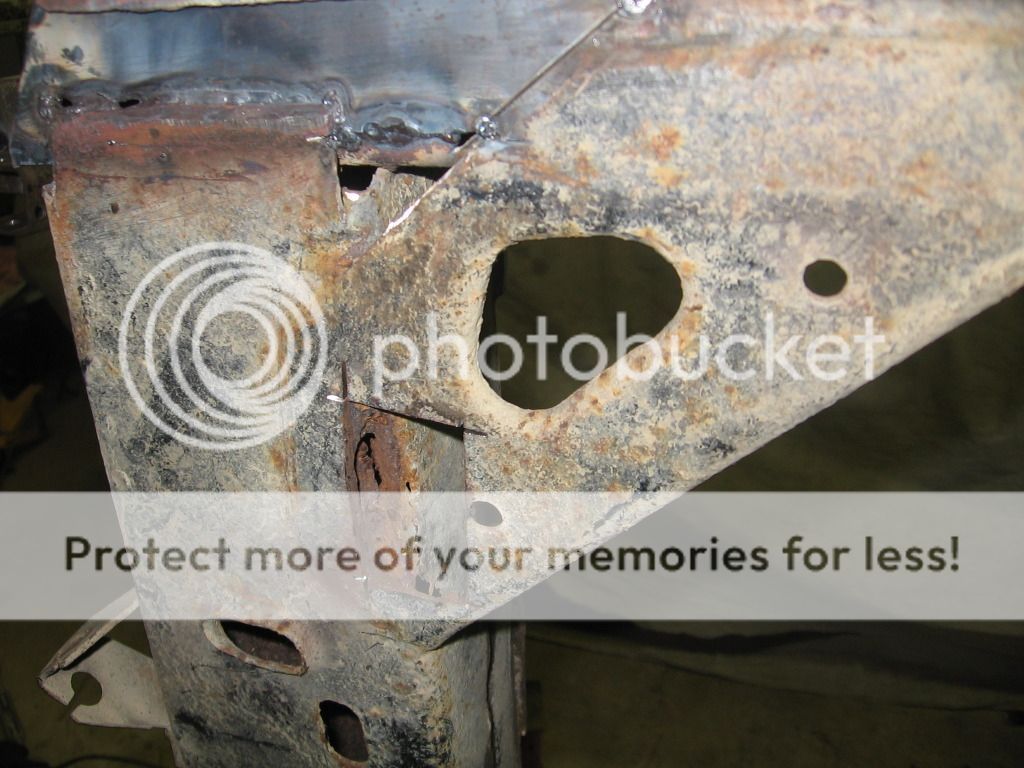
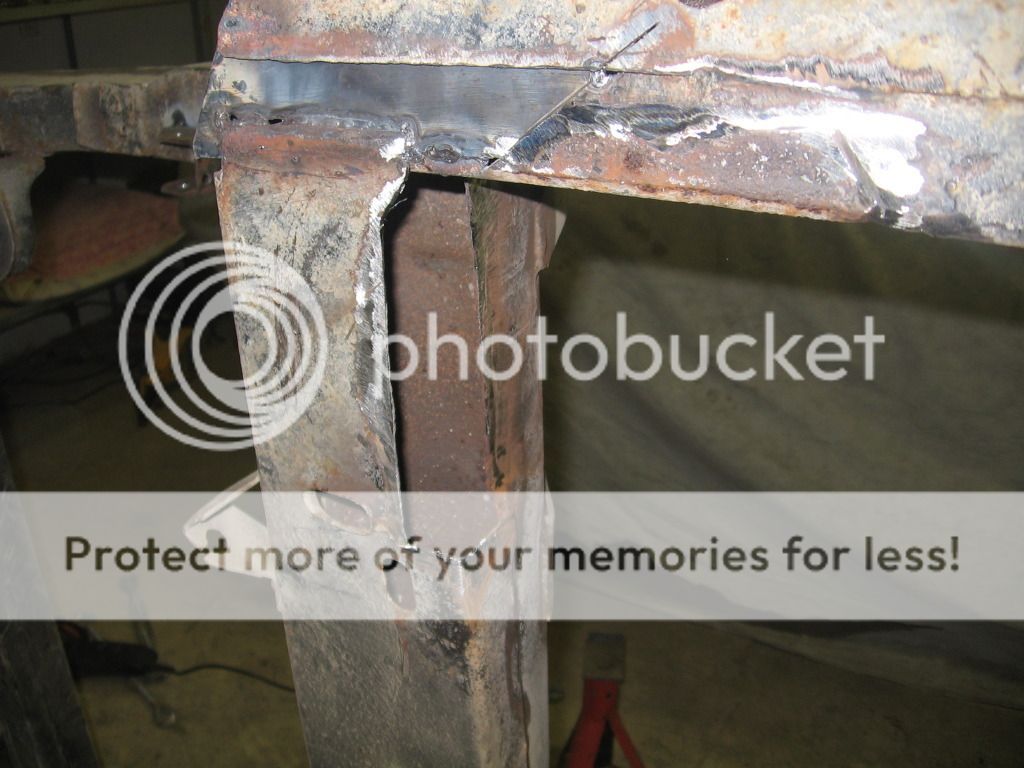
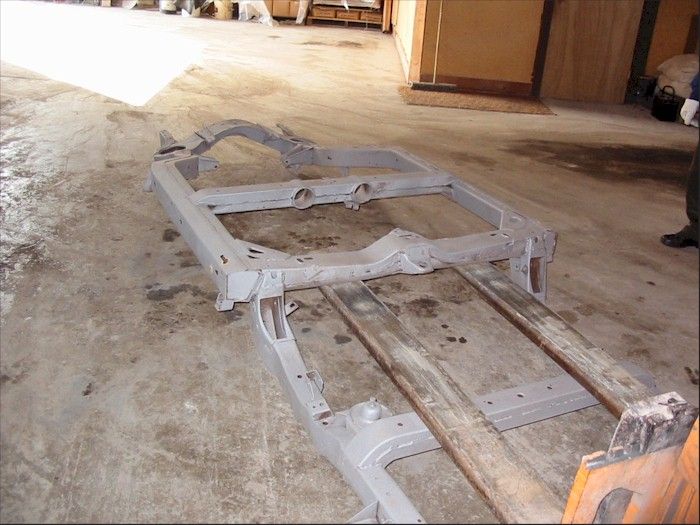
Wow has it really been that long since I have posted here? Time flies when you're busy. Well I have all the suspension parts disassembled and they are pretty much ready for blast and paint. I have turned my attention to the frame. It looked pretty good at first sight but man, when you get into it you find all sorts of stuff. I have lots of pics and I will try to get them posted tonight. I started by making the typical gussets for the front end. Then moved to the back where the big crack was. Did a lot of fab work to make the pieces to fix that area and made it look great....Then covered it up with the original piece. Anyway its no good without pics, so I will say more when they are posted.

T
 
yes it's been that long -- wondered where you got to.
Sounds like you're having all kinds of fun tho......

Post up those pics so we can see what you've been messin' with.

Cheers,
C.
 
OK Progress time. With Pictures.

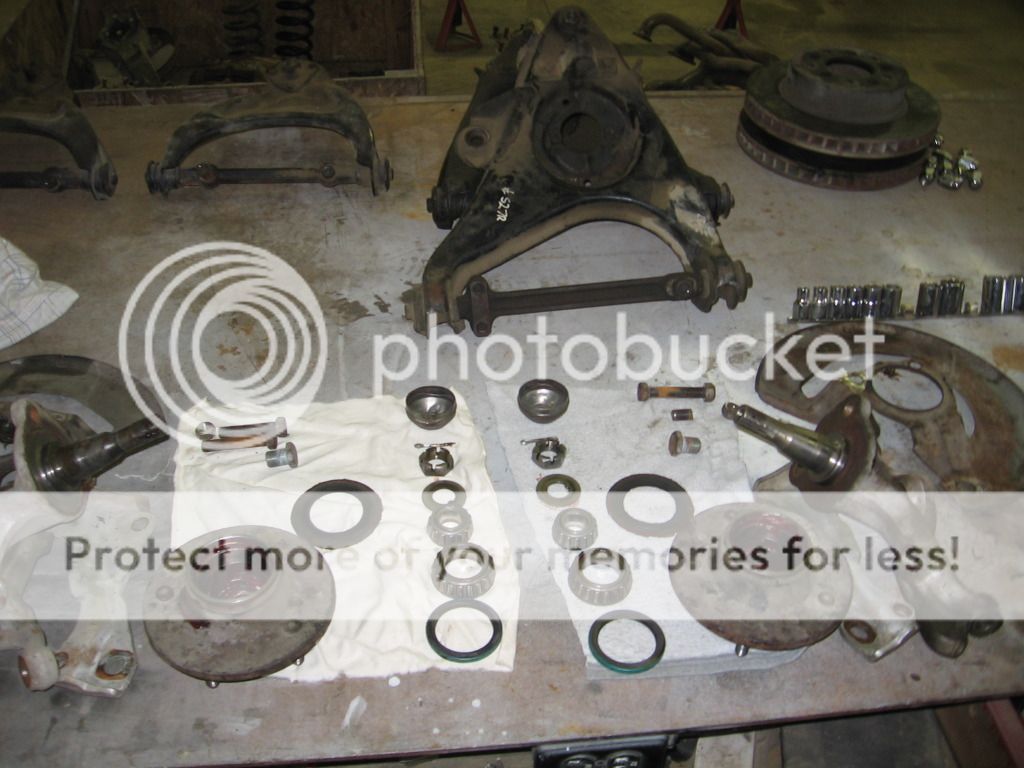
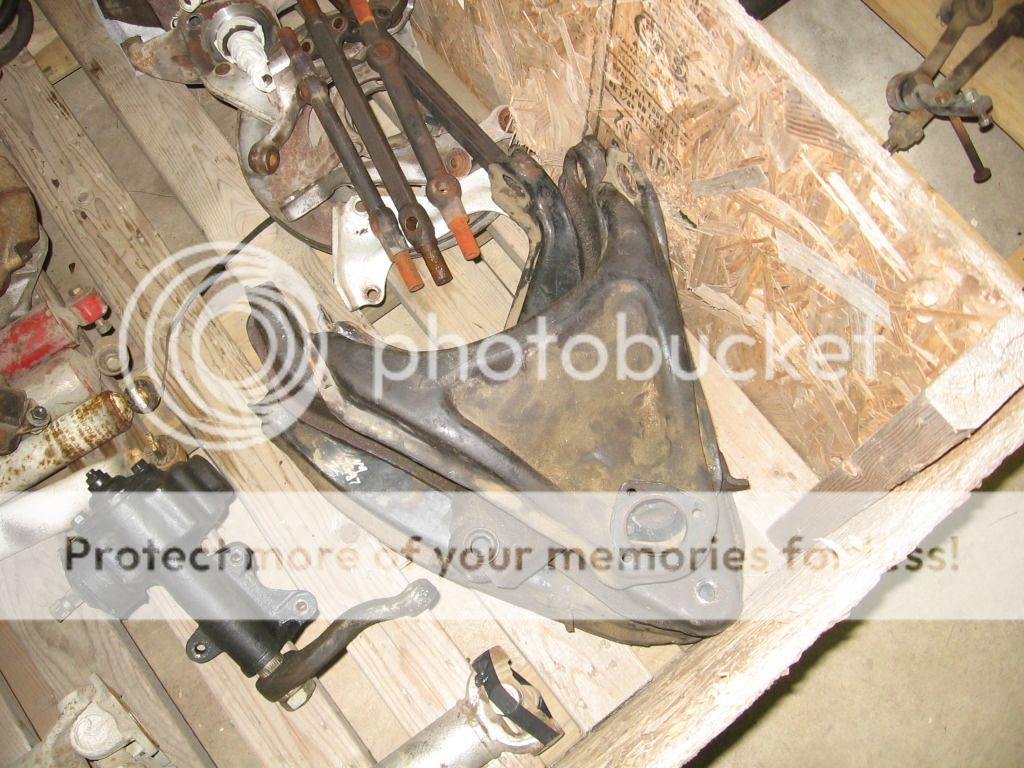
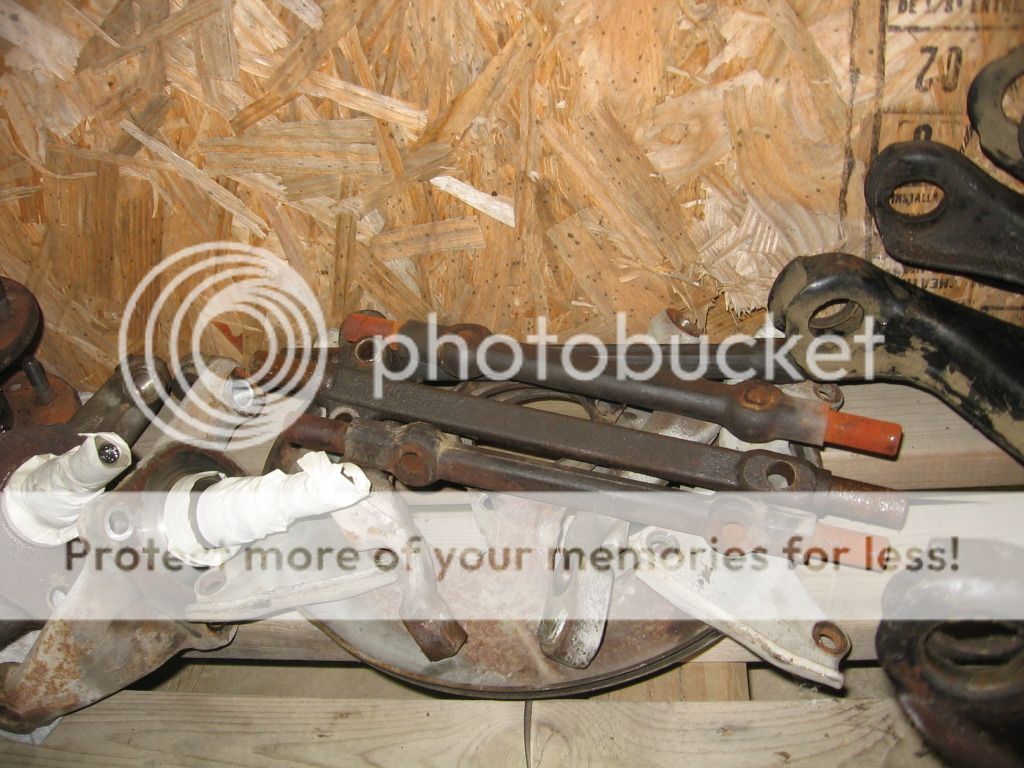
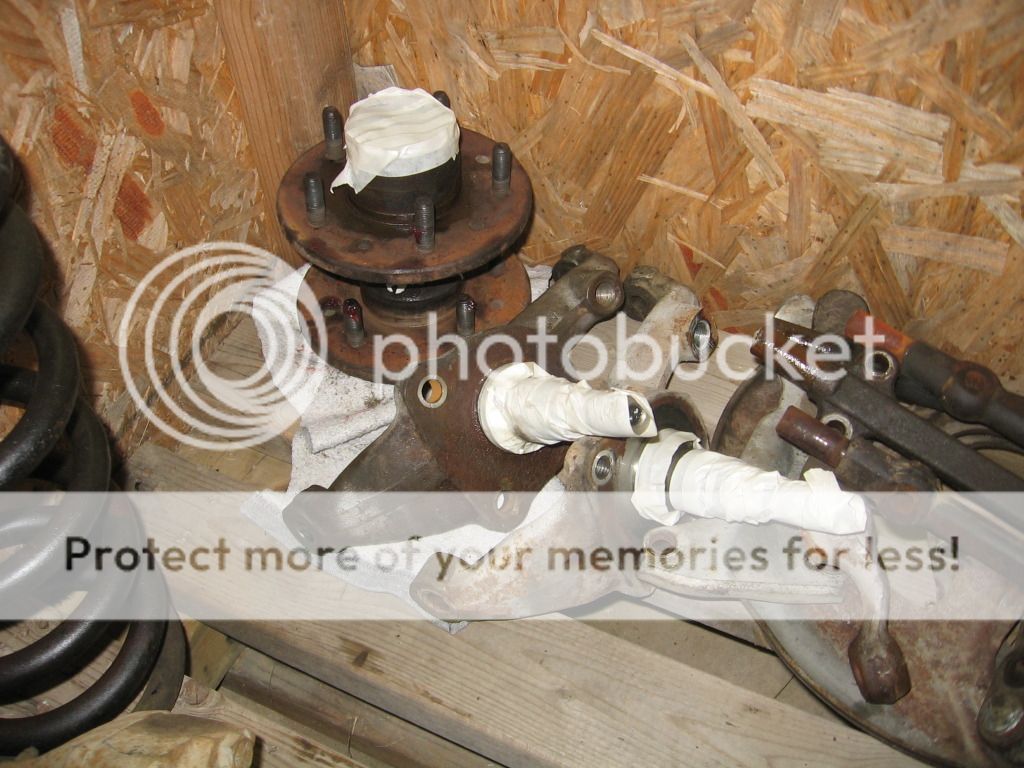
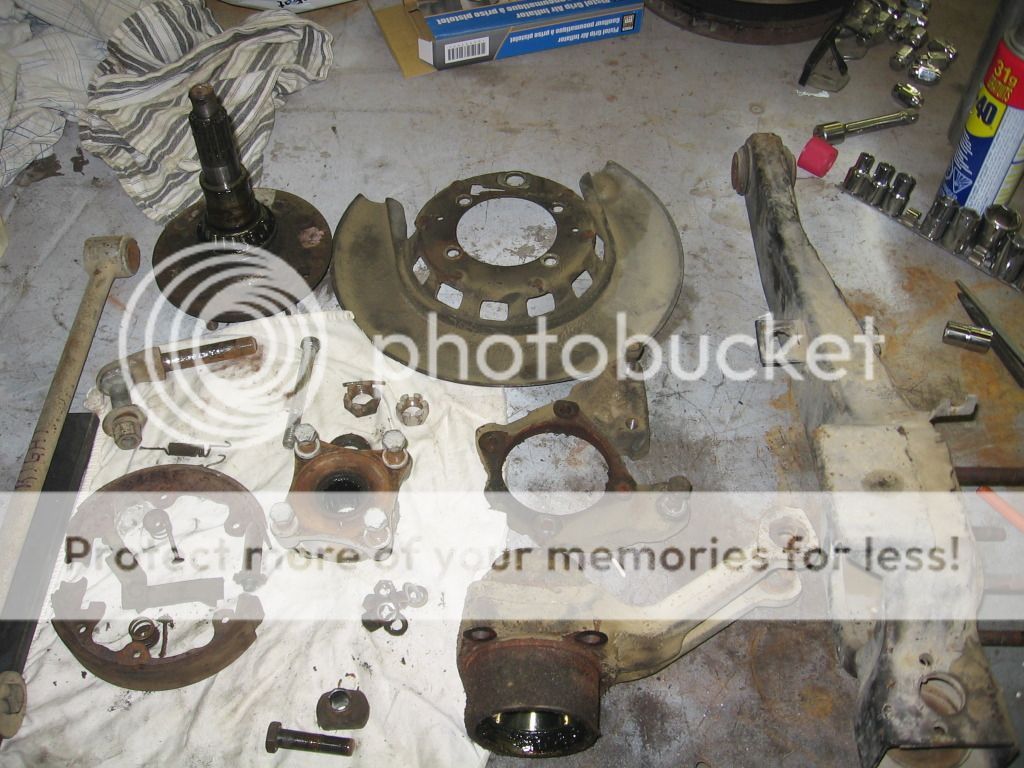
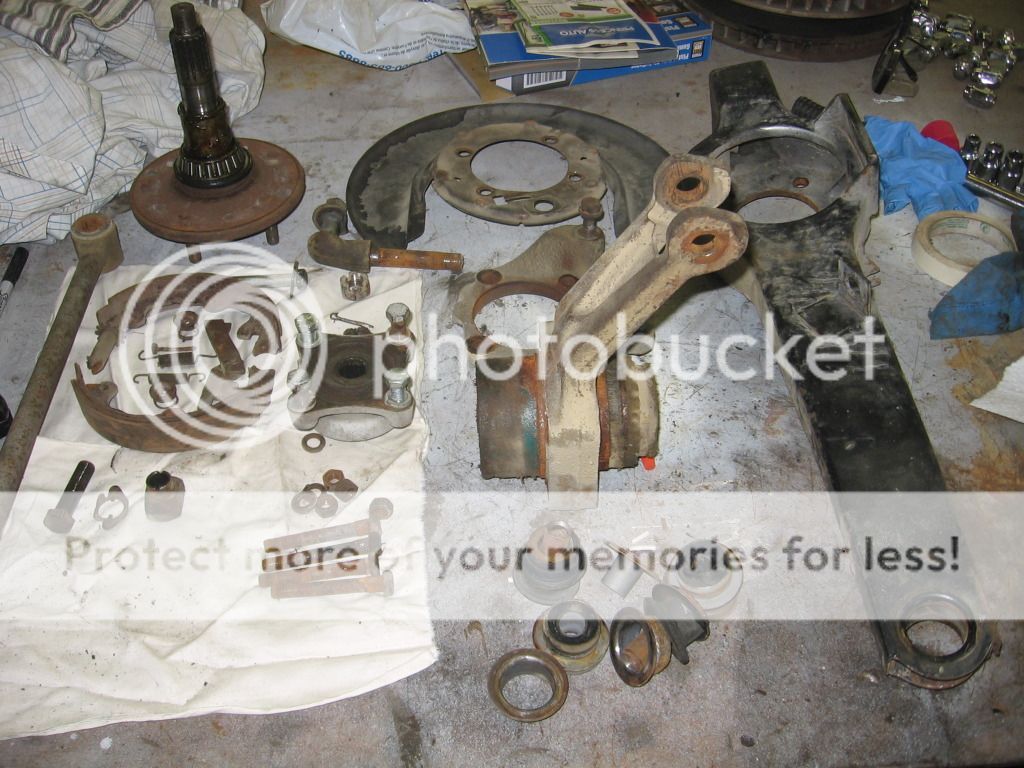
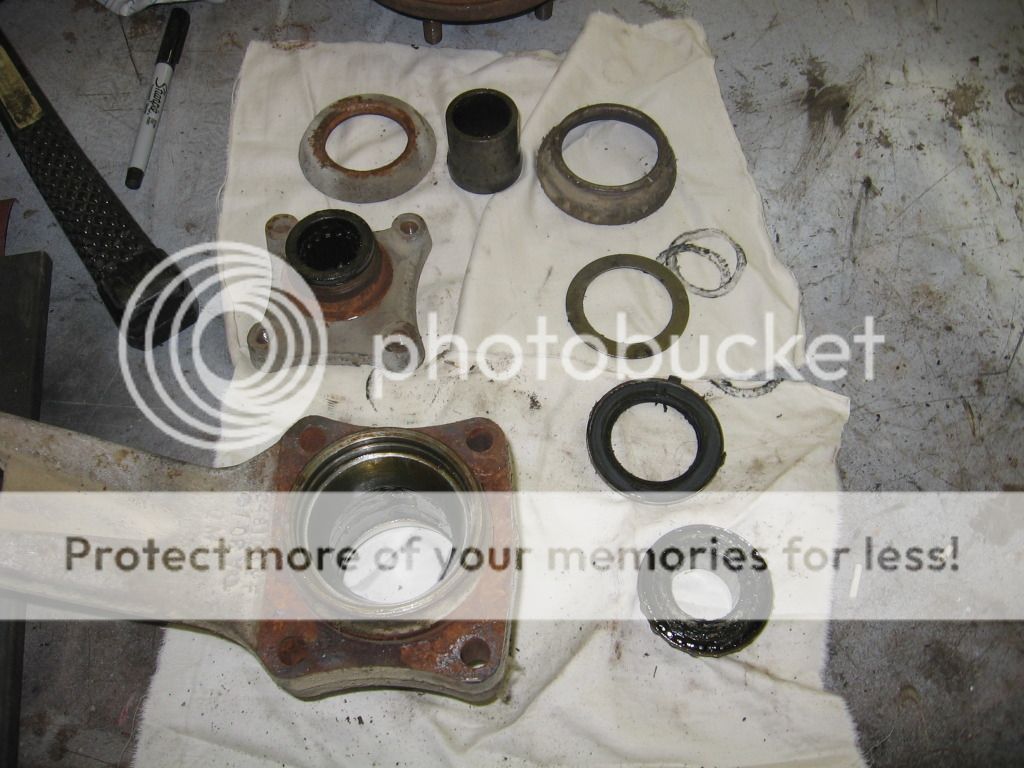
First Disassembling chassis components:


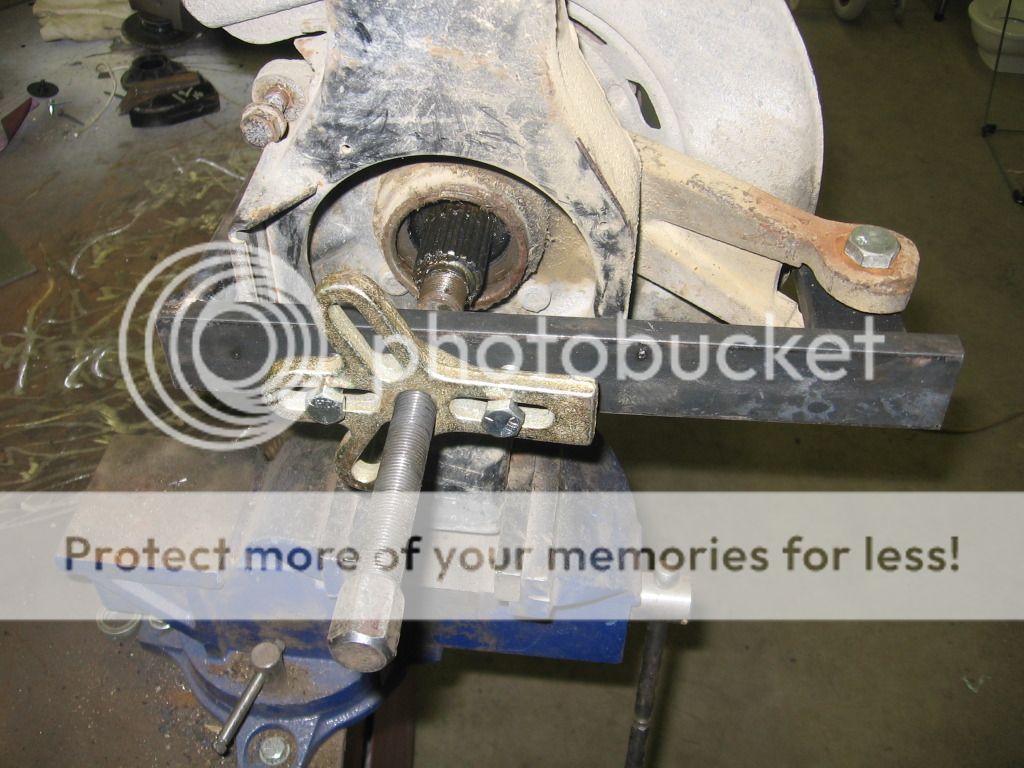
And some help with some homemade tools. Here is the the spindle removal tool I made and used making use of my steering wheel puller (since I had one already).


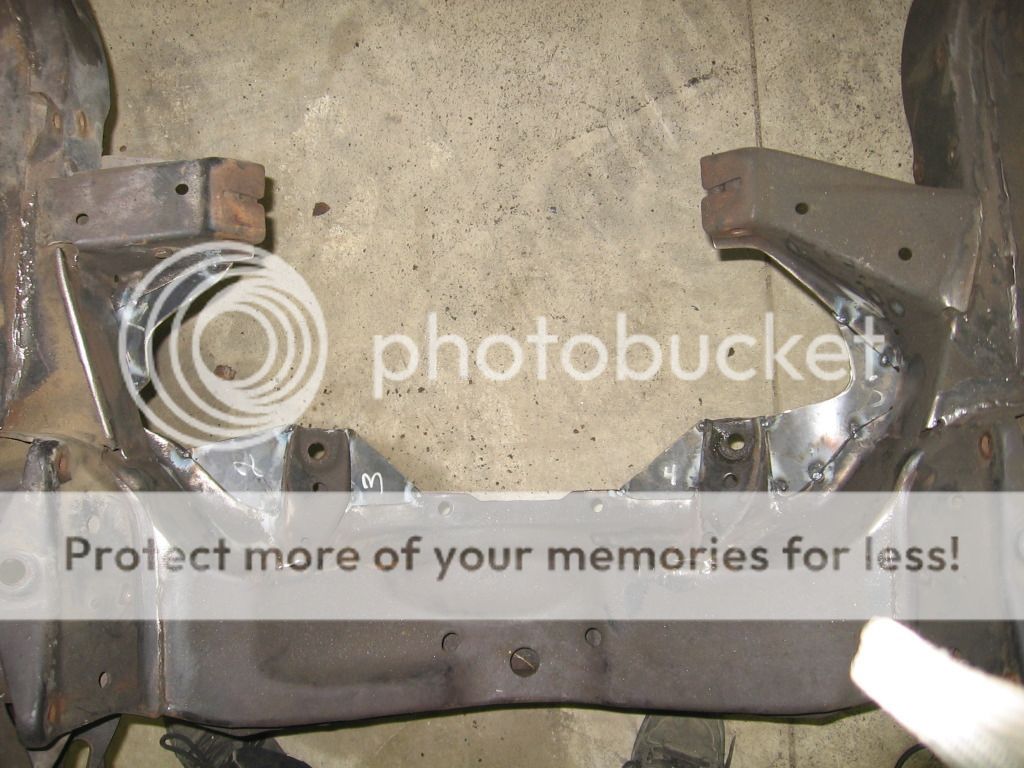
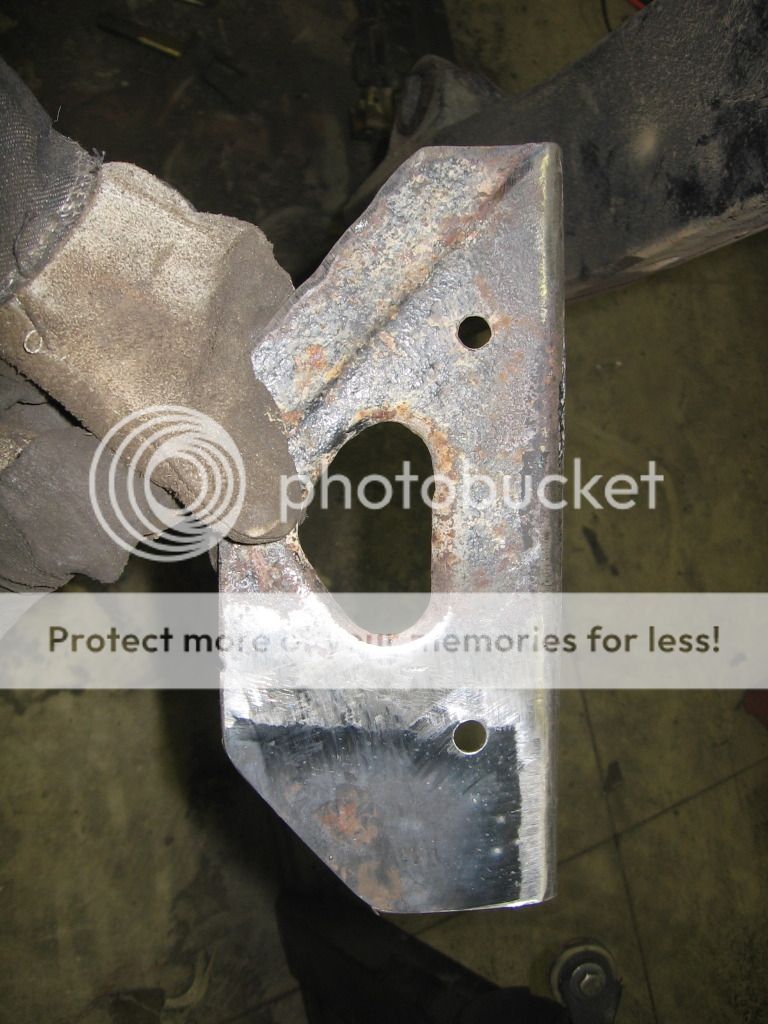
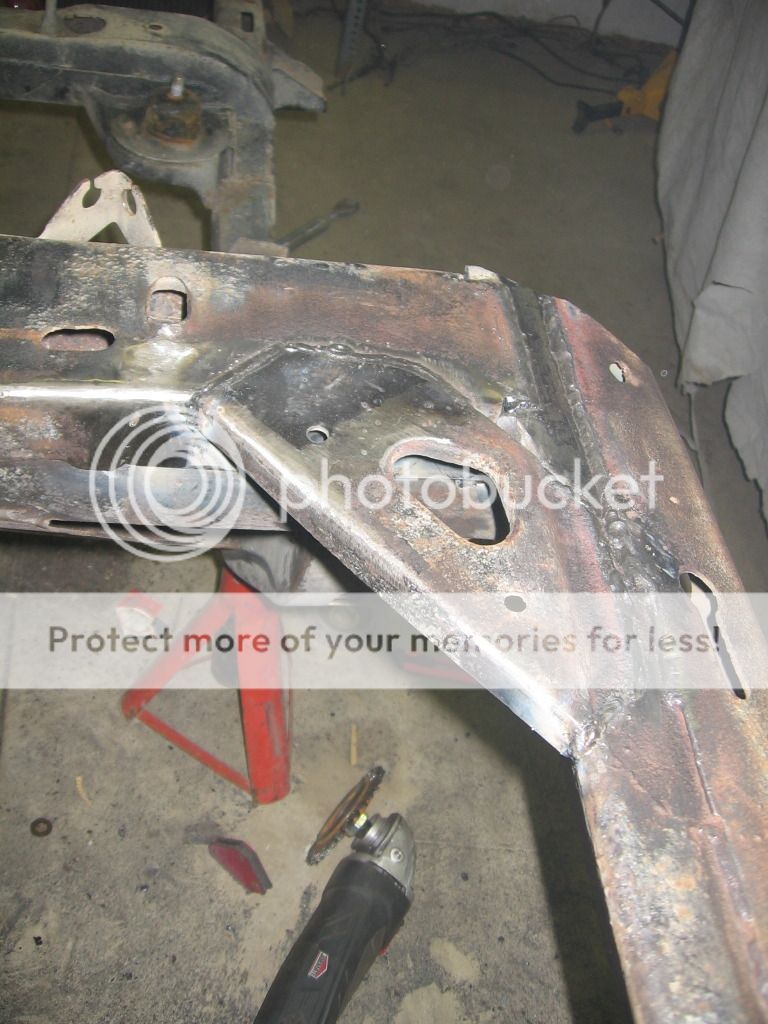
Started working on the chassis. Typical front gussets, similar to the chevy power book recommendations:


Last edited:
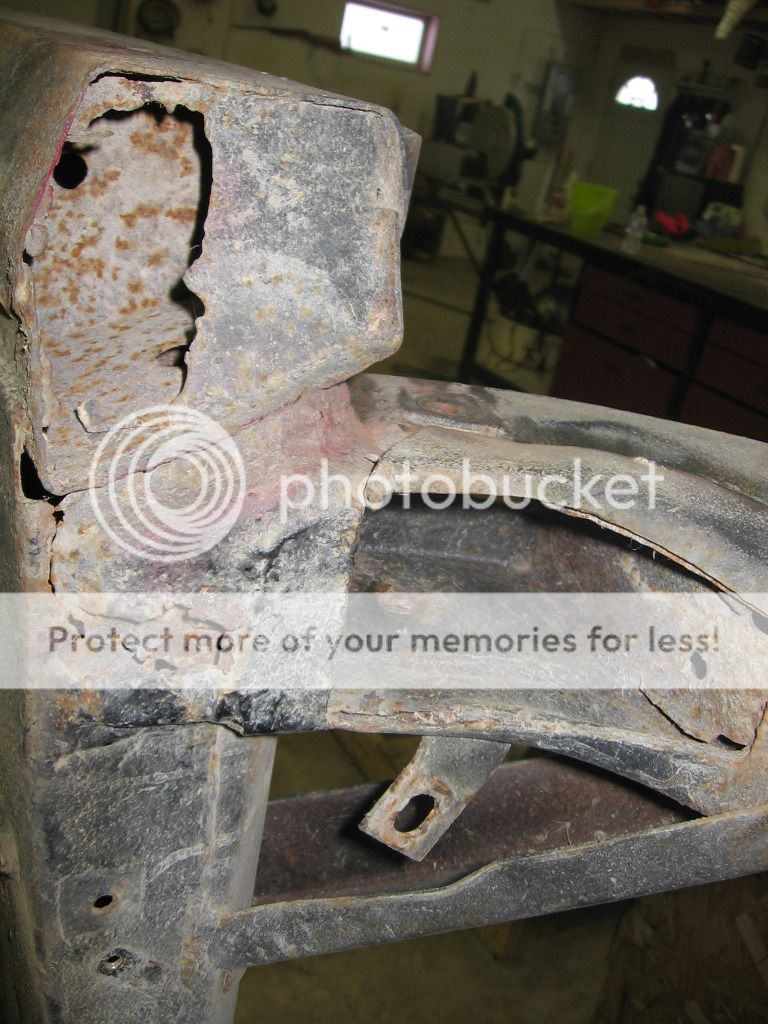
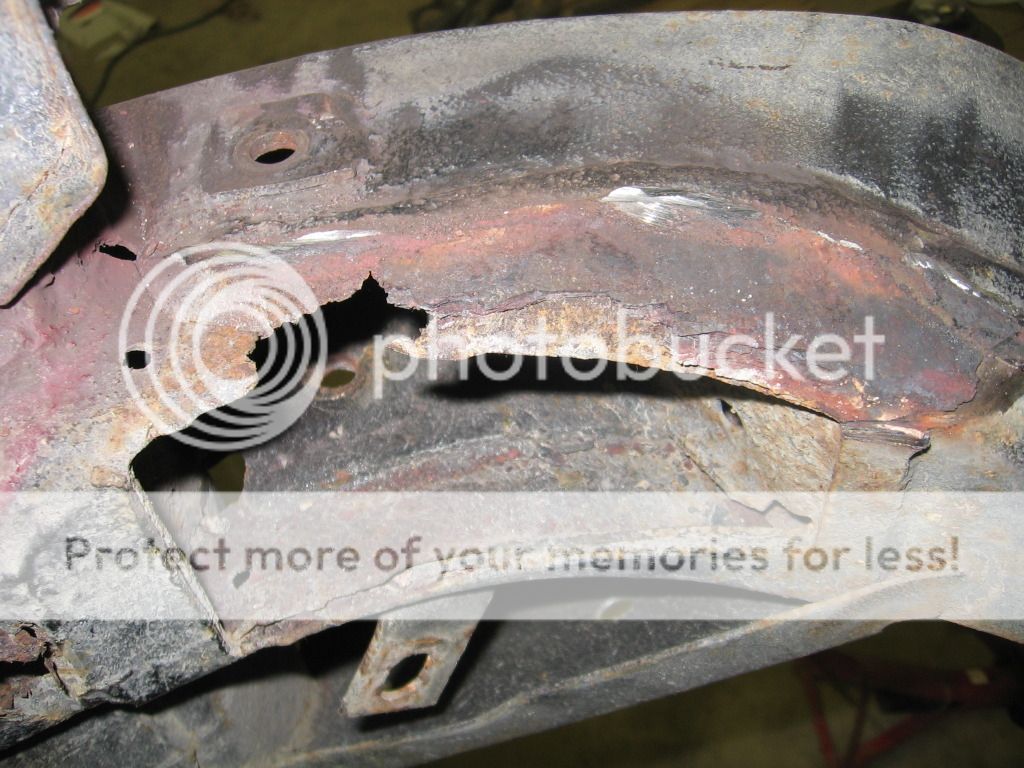
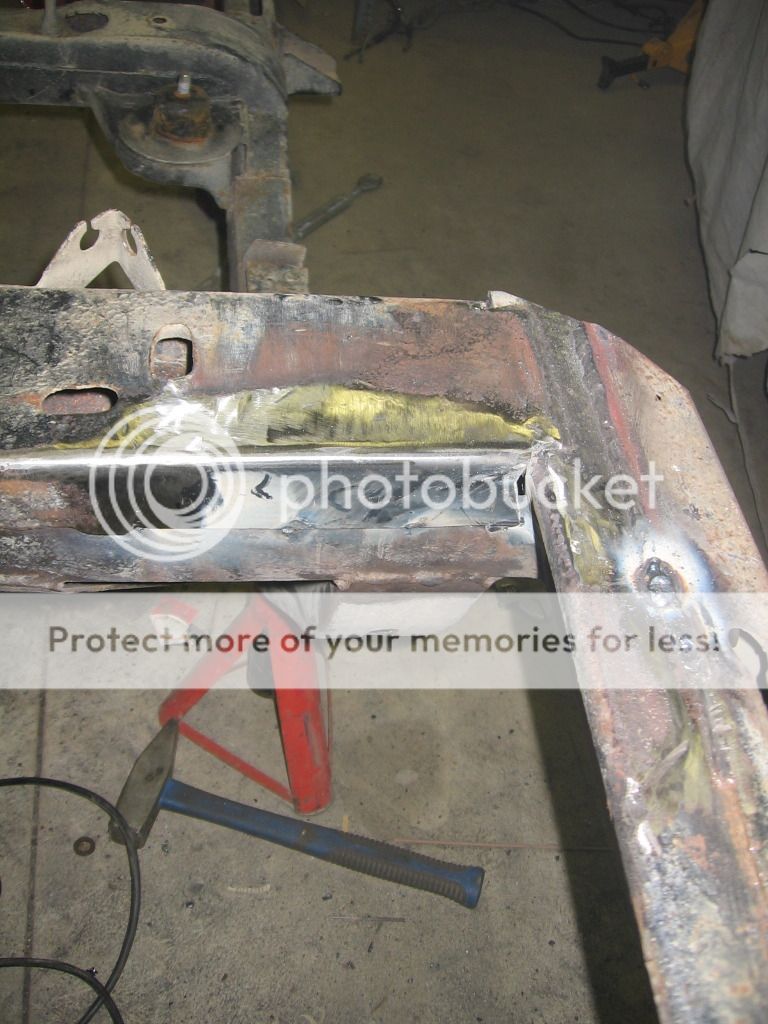
And fixing the dog leg with the crack:


Frame cap removed:


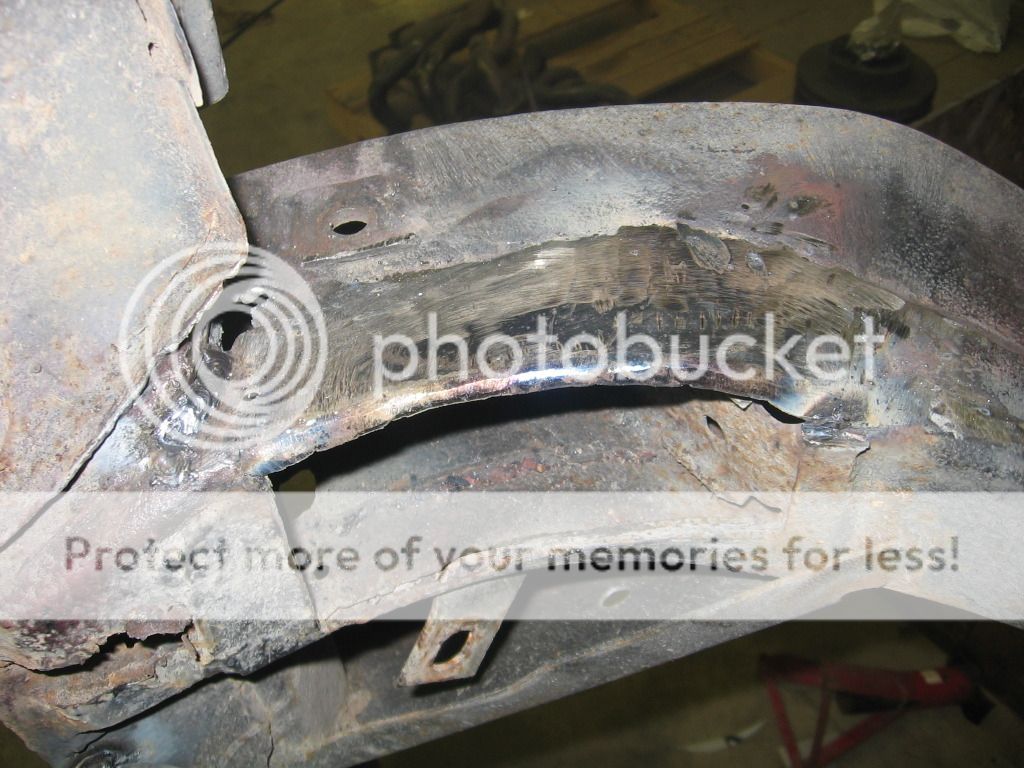
And nicely shaped repair:


And cover up the beauty with the original cap:


Rebuilding the lower piece:


Corner fix and Gusset fix:


I also rebuilt the rear shock mounts, some more tube fixing on the other side dogleg, and started completing the stitched welds in the frame. Planning to weld the frame solid by the end.

Still need to do fixing on the rear crossmember, couple more rust spots, and make my transmission crossmember. But at least it is coming along...slow and steady.

T
 
Last edited:
Thanks for the pics! My hat is off to you guys that can do all this work yourselves! :canada:
 
The work looks good. You've identified the primary area of concern on C2 / C3 frames - the kick-up area just behind the seats on both sides, where it goes up over the rear wheels. That, and the birdcage in the windshield area, are the most common problems to be found.

Good for you for taking on the project.
:seeya:

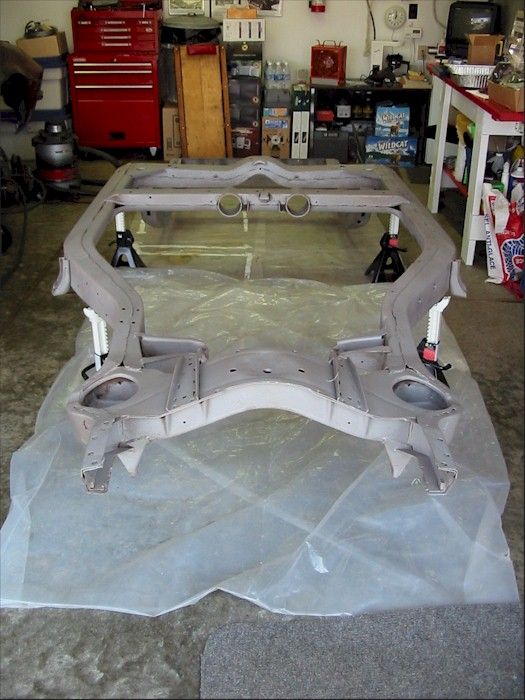
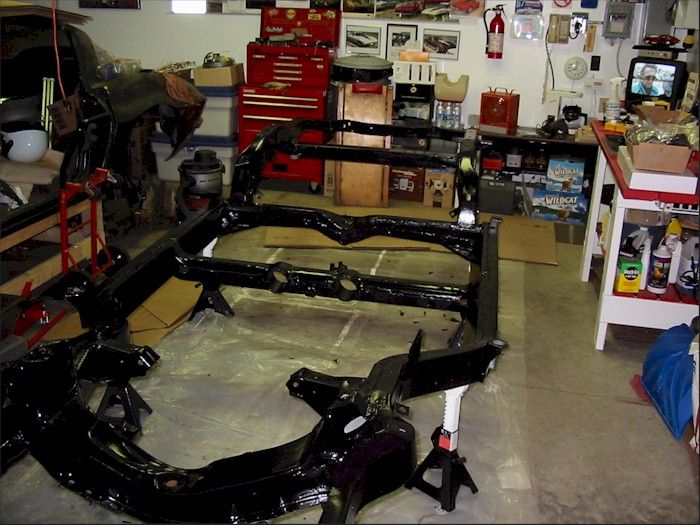
I was fortunate that I had no cracks or rust. I sandblasted the frame and then gave it three coats of POR15. The end result is as hard as a rock and should easily outlast me.
frame18.jpg


frame24.jpg


frame-paint01.jpg


Today, I would use Dominion Sure Seal's DOM16 - http://dominionsureseal.com/index.p...:dom16-quarts-and-pints-&cid=5:anti-corrosion

The important thing to note about these coatings is that they are not intended for use on new shiny metal. Either coat over embedded rust (after loose scraped away), or media blast first. The products need a porous surface to hold on to.
 
Last edited:
moving right along there i see k8. nice methodical approach, well done. what kind of shape are the sombreros and weld nuts in for the rear crossmember/diff hanger ? doug. :seeya:
 
The bolt in crewmember for the diff will need some tlc. Turns out my frame was in worse condition than I thought. But oh well. If it is steel I am not afraid to give er. I was planning to por 15 the frame but we will see, I'm gonna look at this other stuff a little now. And Ya I was planning to get it blasted when I am done welding and fixing

One tiny step at a time

T
 
one thing i get a charge out of is the handiwork that goober and gomer have done prior to me delving in. :rofl: " 67 " is fortunate as he has had his from day one.
 
Those are wonderful skills you possess.The welding looks great.
That bearing pulling tool is magnificent!
Lots of parts around and I don't see one zip lock bag? Are doing all this memory? LOL
Good on ya. We're all watching.
Graham
 
No not memory. There are plenty of tackle box trays and zip locks. And haynes manuals and the factory AIM. Definitely not memory (I have learned from past experiences not to trust that anymore).

And thanks for the compliments, I am a self taught welder. Just grab some steel and practice, after a while you just figure it out and get better. Of course I have had a few years practice since then too.

One thing is for sure. Even if my welds were half assed, they would be better than a big rust hole. And they seemed to be holding the car together some how!!

T
 
Looks Awesome Taylor!!! Great job! Let me know when you want to POR-15 or DOM-16! My thoughts are that the DOM-16 has to be at least 1 better.

Found this on POR vs. DOM. Sounds like neither is a good option for painting on body panels...but on a frame, perfect. I tried Rust bullet. I give it a meh.

http://ontariorodders.activeboard.com/t50910147/por15-vs-dom16/
 
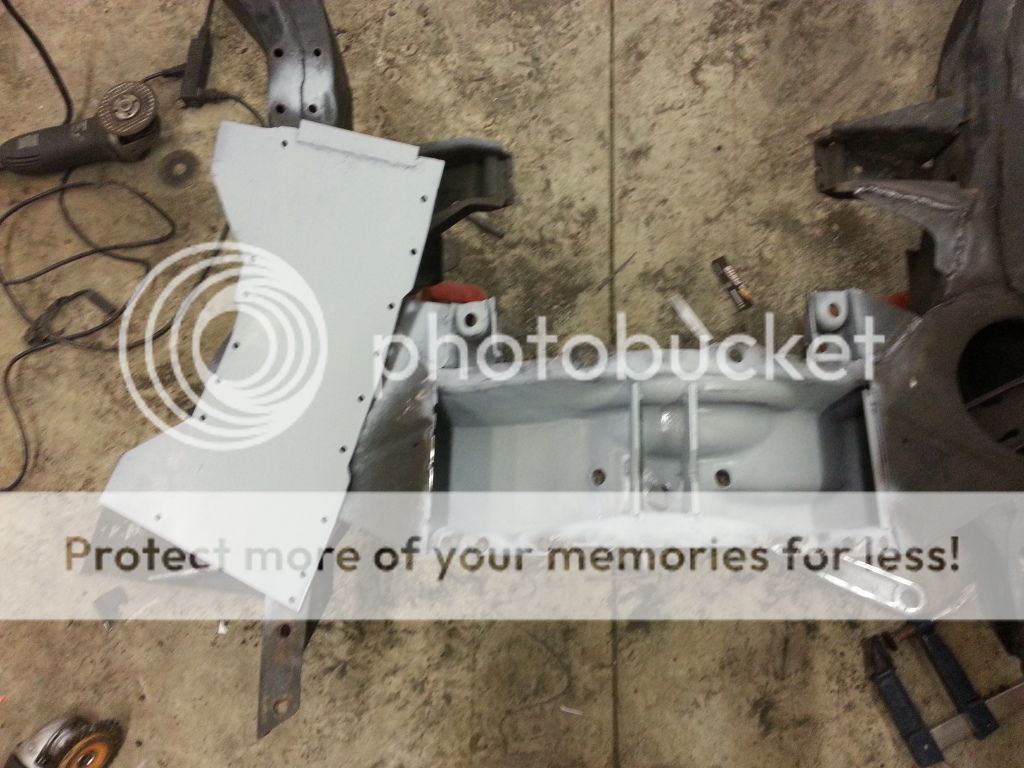
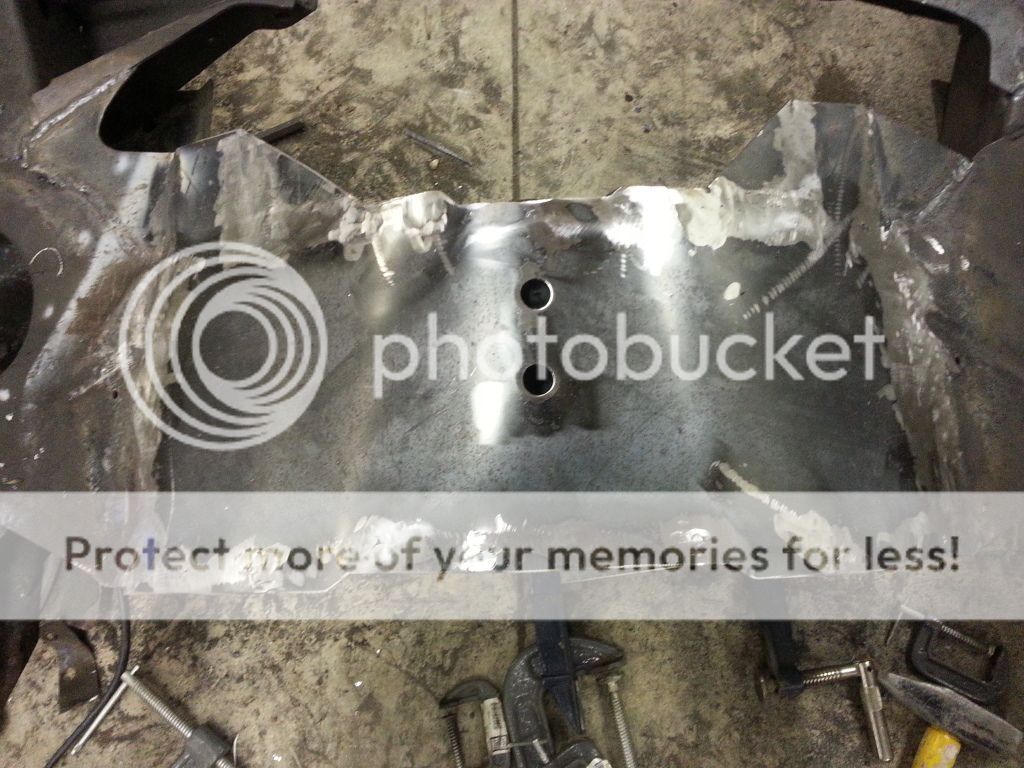
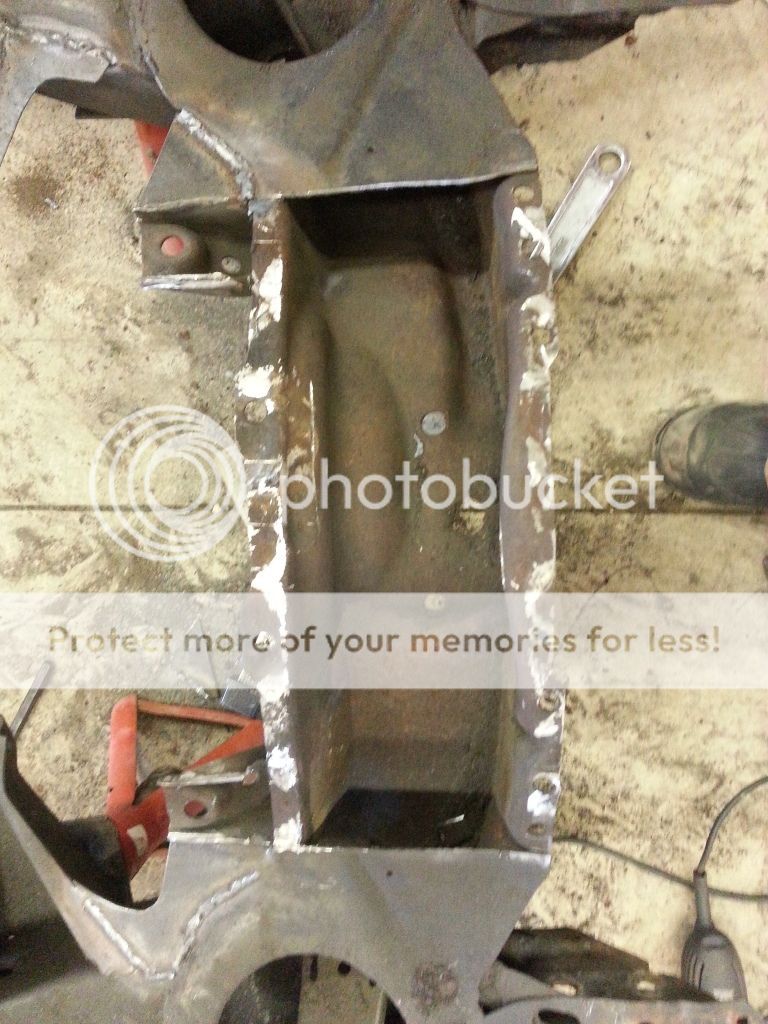
Well a few more hours of fixing through the busy Christmas season. This time the front cross. Typically these get dented in due to people thinking it is strong enough to jack the car up by. Unfortunately it is still just guage metal and unsupported inside. Anyway here is the fix process:

First cut open and see how it looks inside:


Looked good for rust so wire wheeled and added some stiffiners to help from cave ins due to jacking ( I will not jack here but you never know):


Decided to spray in some primer just to help with corrosion. I know the welding will burn the edges but hey it can't hurt:


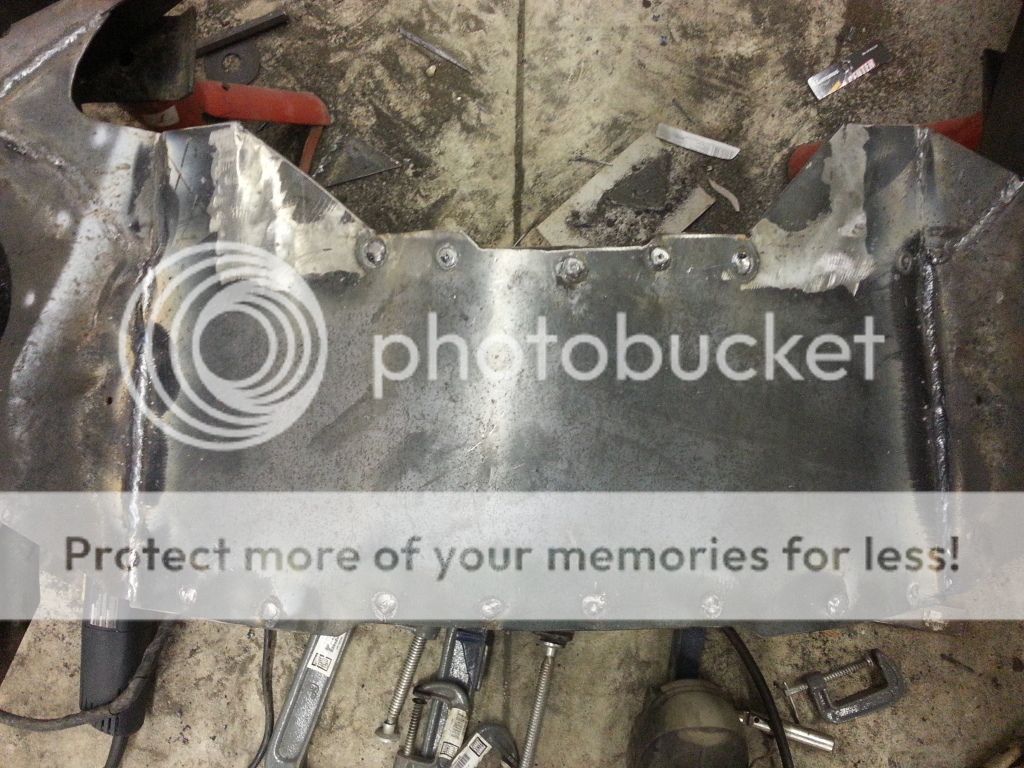
I fabricated a cover from 12Ga steel and drilled holes to plug weld along the edge. The original was contact welded similarly:


Finally grind and buff welds smooth. I will be welding the other side when I flip the chassis back over. Not an exact match to original but nice and smooth curves with new steel. Should last a few more years. Note the drainage holes were added as well:


Still working away. Slow and steady.

T
 
Last edited:
Nice work!! How long do you estimate the total Re-build to take.
I helped a buddy re-build his 66 Vert, He bought a new frame out of Michigan and it still took two years and doubled the original budget.

Good luck. keep the picture progress coming.!!:canada:
 
Well after the car not coming out of the garage all year I finally decided to pull the cover off. Connected the battery. Turned the key. 10 Seconds of cranking and fired up. Then I drove it 200ft into my shop and proceeded to make it not drivable for awhile.
 
How long do you estimate the total Re-build to take.

No idea. Don't want to know either. This is one of the projects where I am not logging hours because I know I could buy one cheaper than fix this one. But hey this one is mine and I wouldn't want it any other way. I fully expect this rebuild to take more that 5 years due to the limited amounts of time I get to spend on it.

I'll keep posting what I get done though!

T

Well said. After spending an entire summer building a project garage, I then took 4.5 years to finish mine. Then I up and moved to a smaller town and built a shop twice as large.

Take plenty of photos and write everything down as it's hard to remember how you took things apart as the years float by and you're trying to reassemble it.

It's all worth it in the end.
:seeya:
 

Users who are viewing this thread

Back
Top