Hey guys,
Hope everyone is doing ok inspite of Covid right now.
It's that time of the year again and I've decided to do one last winter project thread this year. One last hurrah before I've completely finished my Corvette. I don't know if I'll ever truely be done with this car but I may leave it alone after this year and finish saving for a house and maybe a new project car to give my Corvette some company") .
.
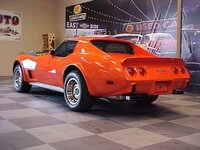
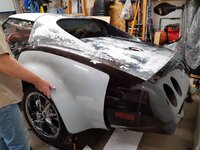
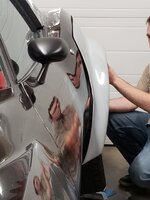
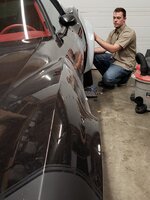
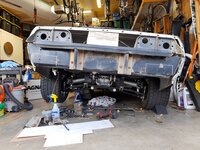
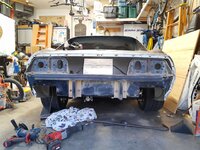
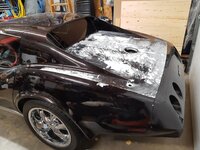
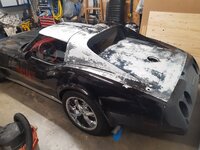
This winter I've decided to paint my car. I'll also be doing some body modifications that will keep the spirt of the 77 Corvette but will make it look meaner and cleaner. The way I think GM could have designed it if it weren't for crash regulations.
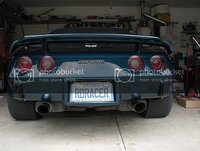
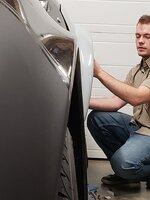
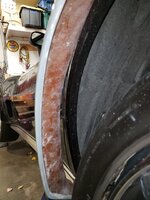
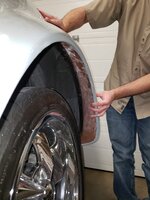
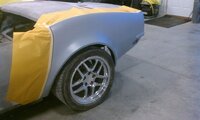
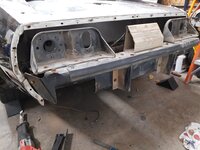
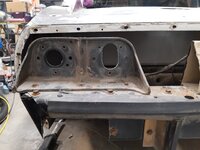
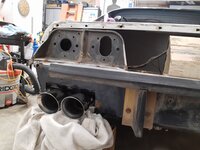
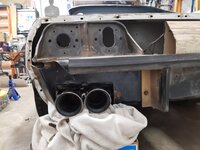
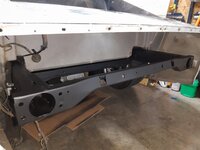
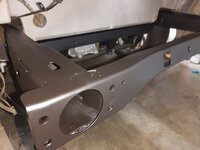
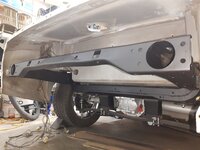
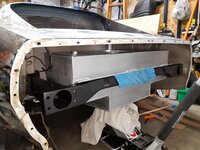
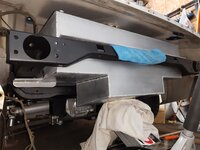
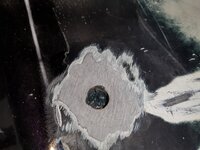
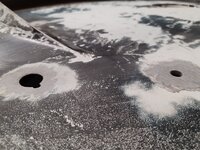
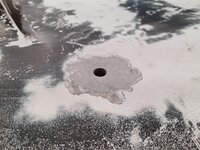
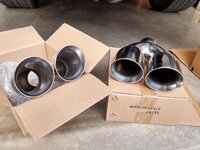
With that being said I will be making the front bumper-ettes flush with the bumper. I will also be adding a turbo high rise hood but I will likely be glassing in the NACA ducts. Next I've ordered some 2.5" flared quarter panels that retain the same lines. Lastly I've ordered a new fiberglass rear bumper and I will be opening up the bumperettes and widening them to run the exhaust through them. I got some dual double walled 3.5" exhaust tips. It should make the rear end look a lot cleaner than it does now. Then I'll be replacing the pudgy C3 rear lettering with the lettering from a C5 corvette. Hopefully all of those changes will help it to look a bit wider and cleaner.
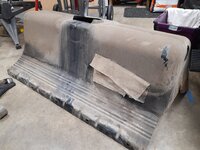
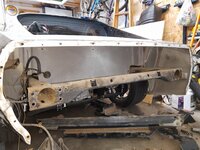
Once I'm done with the body work I'll epoxy primer the body, fill, then apply a 2k high build primer and sand that down. Once that's all done I have a buddy who has an enclosed trailer so we'll load it up and take it to the body shop for the rest of the painting. I'll likely be going with a dodge viper gunmetal pearl or some dark silver that flashes bright silver in the light.
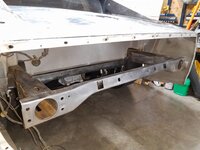
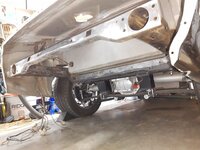
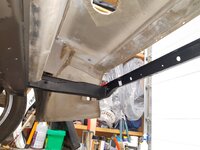
In addition to painting the car I'm also getting a new custom aluminum fuel tank that will be baffled, and have an in tank fuel pump. It'll also be around 25 gallons replacing the small 17 gallon tank. I'll also be going with some flow forged wheels with 275/35/19 up front and 315-325/30/19 in the rear and I'll be installing a keyless entry remote.
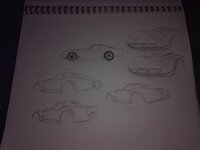
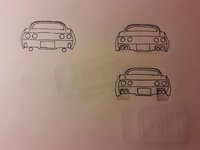
If I have time I have some other little ideas but these are my plans right now. Here are some sketches I did of what my car will hopefully look like. I'll keep this thread updated on my progress this winter.
Hope everyone is doing ok inspite of Covid right now.
It's that time of the year again and I've decided to do one last winter project thread this year. One last hurrah before I've completely finished my Corvette. I don't know if I'll ever truely be done with this car but I may leave it alone after this year and finish saving for a house and maybe a new project car to give my Corvette some company
.This winter I've decided to paint my car. I'll also be doing some body modifications that will keep the spirt of the 77 Corvette but will make it look meaner and cleaner. The way I think GM could have designed it if it weren't for crash regulations.
With that being said I will be making the front bumper-ettes flush with the bumper. I will also be adding a turbo high rise hood but I will likely be glassing in the NACA ducts. Next I've ordered some 2.5" flared quarter panels that retain the same lines. Lastly I've ordered a new fiberglass rear bumper and I will be opening up the bumperettes and widening them to run the exhaust through them. I got some dual double walled 3.5" exhaust tips. It should make the rear end look a lot cleaner than it does now. Then I'll be replacing the pudgy C3 rear lettering with the lettering from a C5 corvette. Hopefully all of those changes will help it to look a bit wider and cleaner.
Once I'm done with the body work I'll epoxy primer the body, fill, then apply a 2k high build primer and sand that down. Once that's all done I have a buddy who has an enclosed trailer so we'll load it up and take it to the body shop for the rest of the painting. I'll likely be going with a dodge viper gunmetal pearl or some dark silver that flashes bright silver in the light.
In addition to painting the car I'm also getting a new custom aluminum fuel tank that will be baffled, and have an in tank fuel pump. It'll also be around 25 gallons replacing the small 17 gallon tank. I'll also be going with some flow forged wheels with 275/35/19 up front and 315-325/30/19 in the rear and I'll be installing a keyless entry remote.
If I have time I have some other little ideas but these are my plans right now. Here are some sketches I did of what my car will hopefully look like. I'll keep this thread updated on my progress this winter.
Attachments
-
 IMG_20201009_182240654.jpg143.4 KB · Views: 262
 -
 IMG_20200909_214421797.jpg214.6 KB · Views: 232
 -
 IMG_20200918_165544428_HDR.jpg403 KB · Views: 220
 -
 IMG_20200918_165414822_HDR.jpg440.9 KB · Views: 218
 -
 IMG_20201017_124731815.jpg420.6 KB · Views: 229
 -
 IMG_20201017_163456000.jpg487.4 KB · Views: 216
 -
 IMG_20201017_180455233.jpg429.7 KB · Views: 193