As someone who is going to be doing this in the spring - a thousand thanks!!
Navigation
Install the app
How to install the app on iOS
Follow along with the video below to see how to install our site as a web app on your home screen.
Note: This feature may not be available in some browsers.
More options
Style variation
You are using an out of date browser. It may not display this or other websites correctly.
You should upgrade or use an alternative browser.
You should upgrade or use an alternative browser.
1975 Rear Bumper Cover Gone Bad!
- Thread starter nascar03
- Start date
- Thread starter
- #22
Thanx guys. I hope this helps.
I still have to drill some holes and mount the license plate bracket yet.
Stay tuned for more pics.
Graham
I still have to drill some holes and mount the license plate bracket yet.
Stay tuned for more pics.
Graham
- Thread starter
- #23
License Bracket Install.
This is how I installed my license bracket in the new '75 bumper cover.
First remove bracket from old bumper cover by drilling out the rivets.
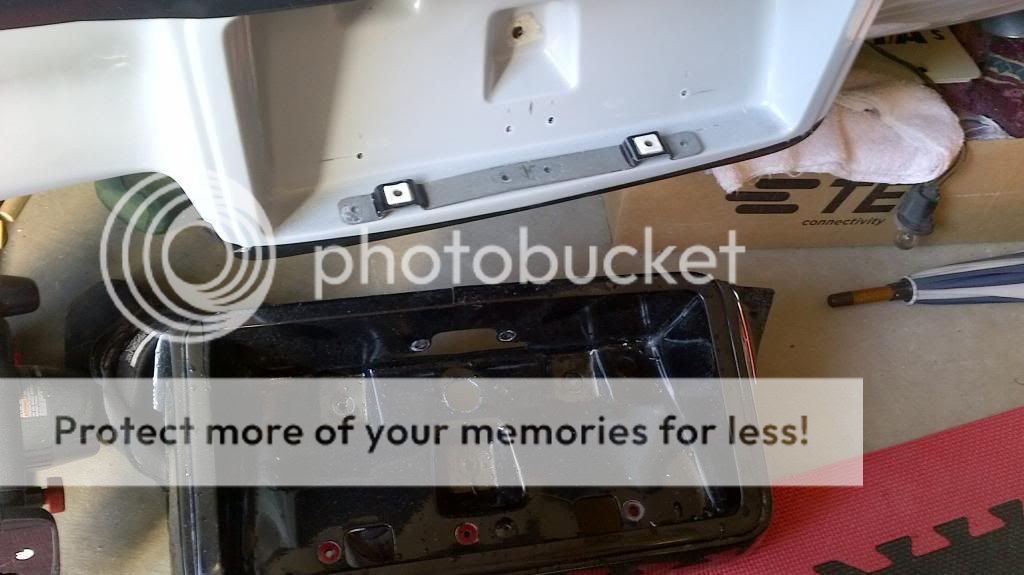
Then line-up bracket inside the new cover and drill 4 mounting holes.
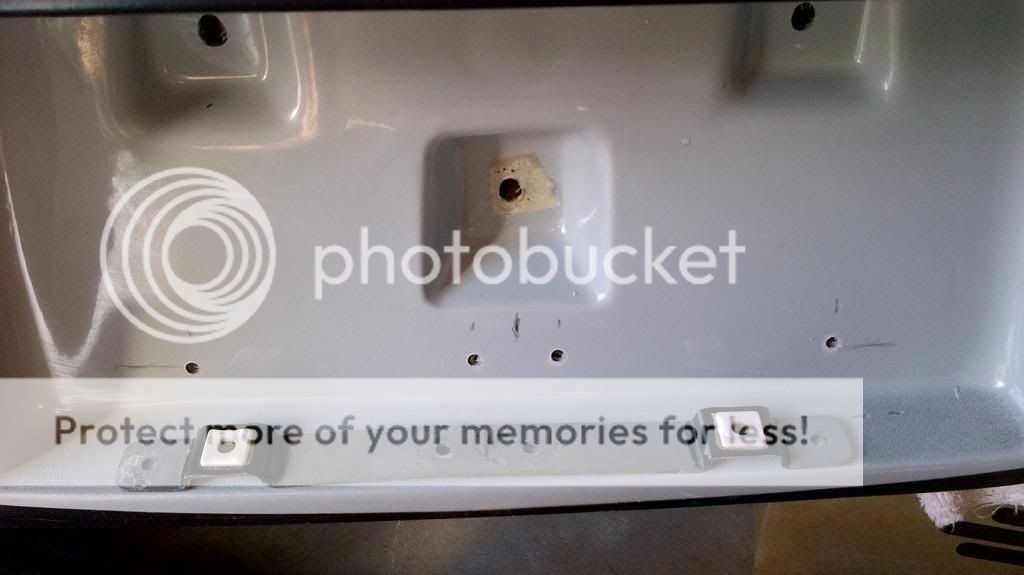
Tape over the area and temp mount the bracket in-place so you can mark where the large square holes need to be cut. Drill small holes in the corners of the square openings.
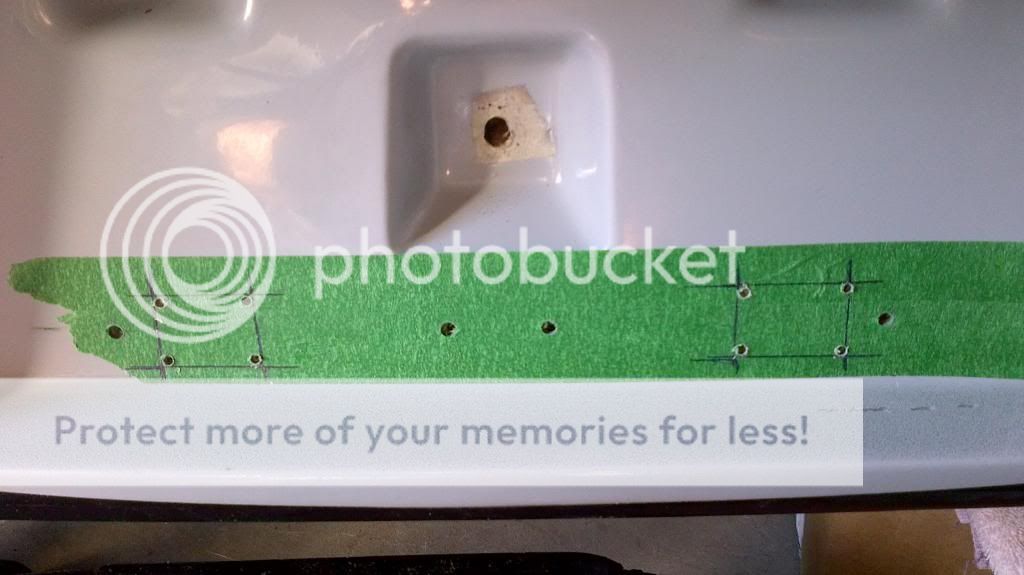
I then cut-out the square holes with a small scroll saw.

Did a bit of filing to clean-up the holes.
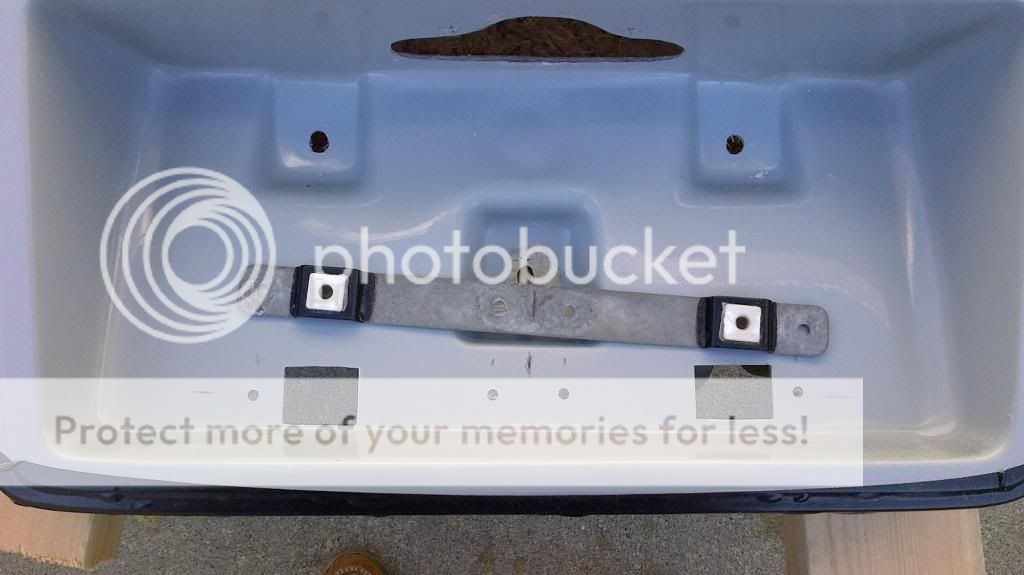
Mounted the bracket from the back with s/s nuts/bolts. I know it should be rivetted but I like the idea that it can be removed for painting.
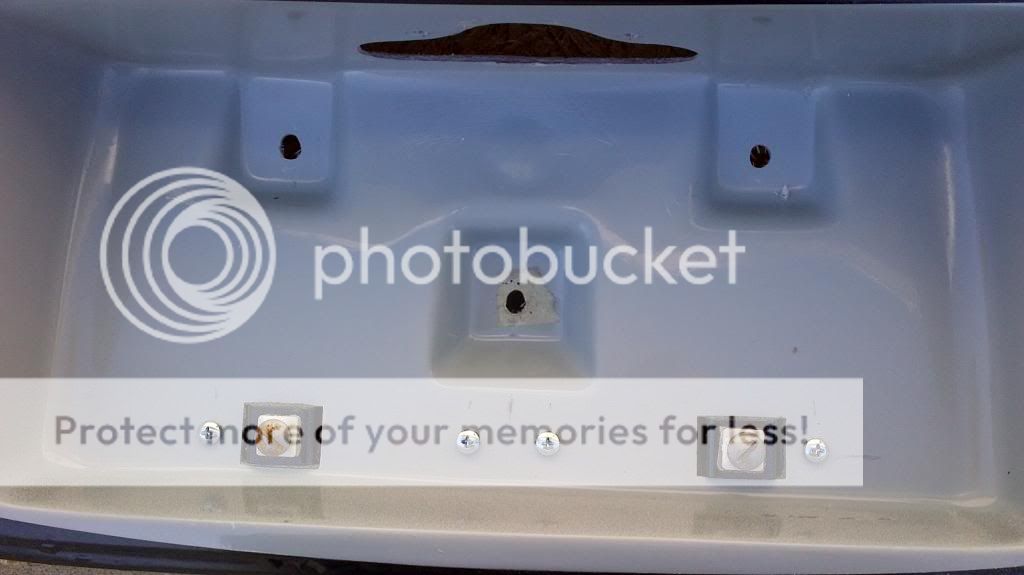
There ya go...........easy-peasy
thanx for looking.
graham
This is how I installed my license bracket in the new '75 bumper cover.
First remove bracket from old bumper cover by drilling out the rivets.
Then line-up bracket inside the new cover and drill 4 mounting holes.
Tape over the area and temp mount the bracket in-place so you can mark where the large square holes need to be cut. Drill small holes in the corners of the square openings.
I then cut-out the square holes with a small scroll saw.
Did a bit of filing to clean-up the holes.
Mounted the bracket from the back with s/s nuts/bolts. I know it should be rivetted but I like the idea that it can be removed for painting.
There ya go...........easy-peasy
thanx for looking.
graham
Last edited:
- Thread starter
- #24
Tailite Mounting Rings.
I painted the tailite mounting rings to clean them up a bit.
I masked the plastic support tubes.
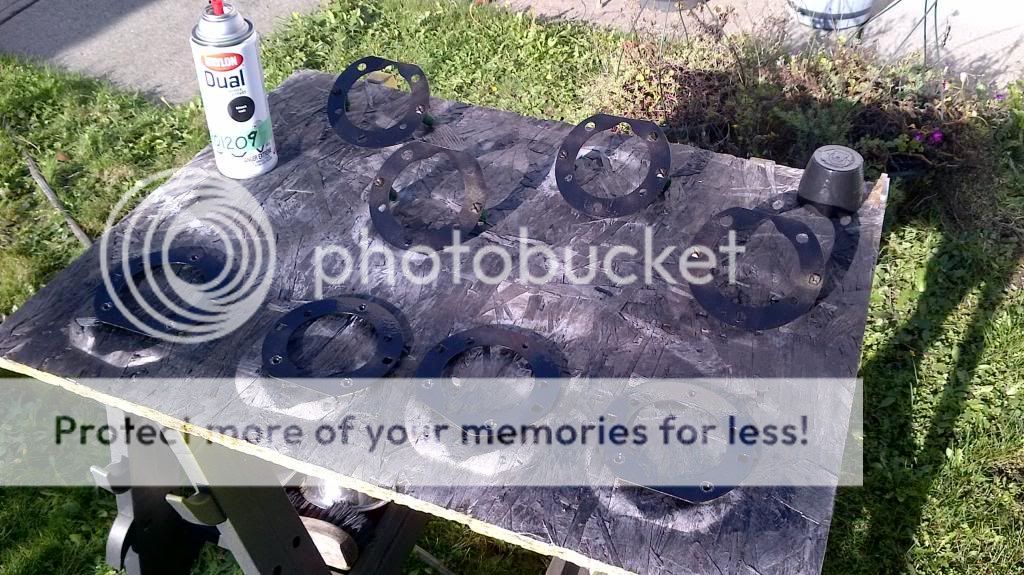
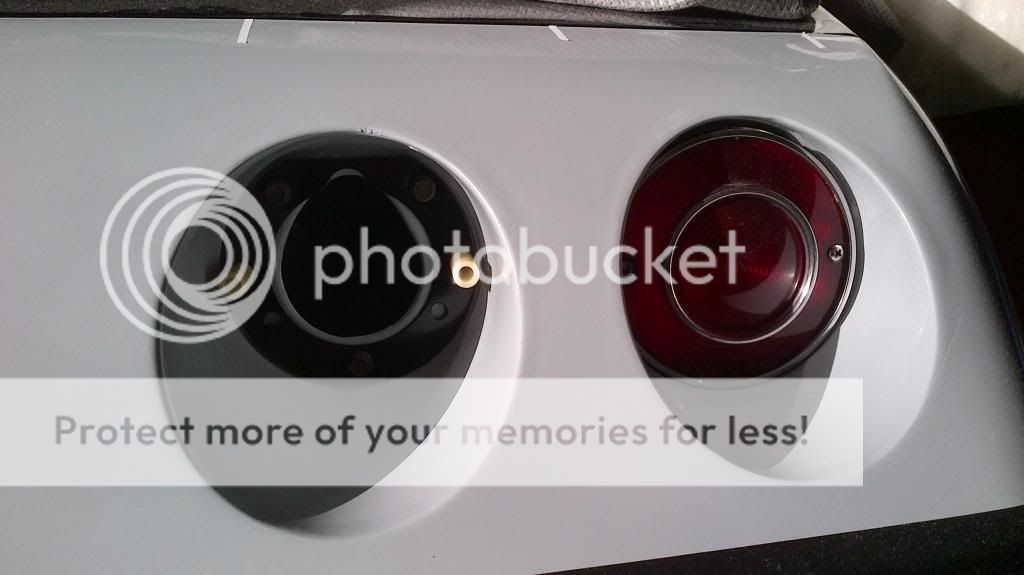
Then temp mounted them to check alignment. Job Done.
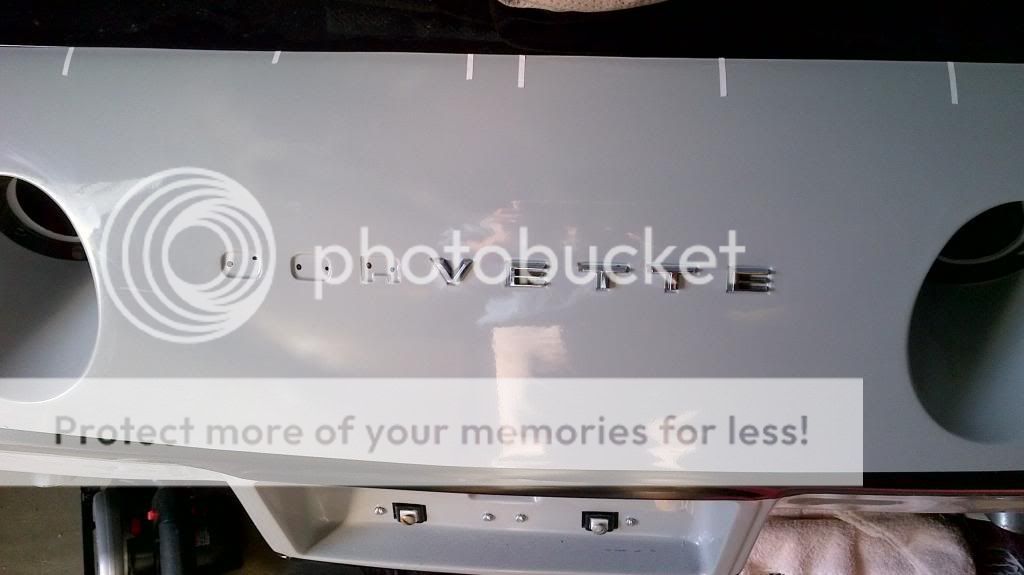
Lettering!! I traced each letter on to some cardboard and marked the mounting pin locations. Made a copy of the template and cut out each letter. This allowed me to place the paper templates in the letter recesses and mark the drill holes.
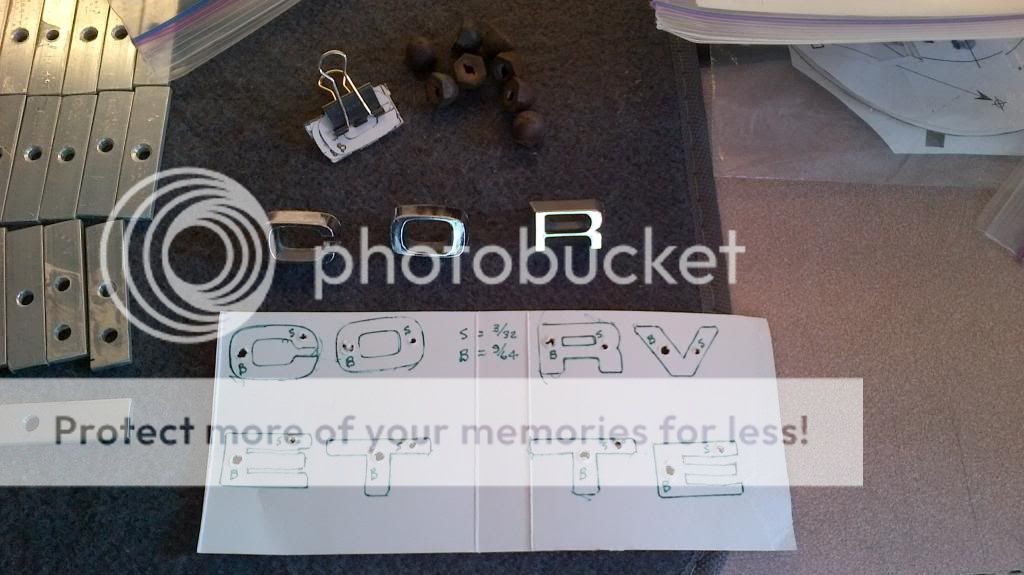
Everything seems to fit.
Now I can fit the bumper cover to the body. A buddy is coming over later so I can get underneath and tighten the 18 sandwhich brackets and he can check the alignment from the top.
I have the bracket kit from Ecklers and I also made some spreader bars for the body side. I made the spreader bars from 1/8" x 1/2" aluminum flat bar..

After I have confirmed the fit I will remove the cover and send it to the painter. Or I might wait for spring and take him the whole car so he can do any necessary body work to make it fit perfect. I don't plan to re-paint the whole car at this point so I may just get the cover painted and put it on myself.
thanx for following along. I hope someone finds helpful.
graham
I painted the tailite mounting rings to clean them up a bit.
I masked the plastic support tubes.
Then temp mounted them to check alignment. Job Done.
Lettering!! I traced each letter on to some cardboard and marked the mounting pin locations. Made a copy of the template and cut out each letter. This allowed me to place the paper templates in the letter recesses and mark the drill holes.
Everything seems to fit.
Now I can fit the bumper cover to the body. A buddy is coming over later so I can get underneath and tighten the 18 sandwhich brackets and he can check the alignment from the top.
I have the bracket kit from Ecklers and I also made some spreader bars for the body side. I made the spreader bars from 1/8" x 1/2" aluminum flat bar..
After I have confirmed the fit I will remove the cover and send it to the painter. Or I might wait for spring and take him the whole car so he can do any necessary body work to make it fit perfect. I don't plan to re-paint the whole car at this point so I may just get the cover painted and put it on myself.
thanx for following along. I hope someone finds helpful.
graham
Last edited:
That is great!!!! You better be careful because if you do too good of a job you might have guys knocking on your door to help with their bumpers!
Very nice job!!! I like the idea with the letters....and the paint....and cutting out the license plate bracket....ok I like all of it.
Very nice job!!! I like the idea with the letters....and the paint....and cutting out the license plate bracket....ok I like all of it.
Great job Graham. I'm not sure where the previous owner of my car got the bumper, but mine does not have the indents for the individual letters like it should; I wish it did. Most people would never notice I suppose.
- Thread starter
- #27
Riley.. Thanx for the kudos. It was a fun job.
I don't understand why these instructions aren't supplied with the cover?
They must have sold 10K of these things!
There was a total of 67 holes to be done. Ecklers only provided a template for the tailites and license lamp. Both templates were useless.
Case....Some aftermarket f/g cover suppliers do not have the recesses for the letters.
This is a one year only bumper cover design. I was going to order a cover but I found this locally on CL. New In Box and the correct part for my year. I doubt anyone, except another '75 owner, would notice the difference.
Graham.
nice job graham; i am going to do front and rear on my 76,going with the 80-82 style rear. here's the question if you were having your car painted [ i am ] would you still do the covers yourself or have the shop do it ?
- Thread starter
- #29
My painter is a friend.. He says if I can save him time it will save me money! When I had the car painted 20+ years ago I stripped it myself and did some of the sanding as well. When it comes to bodywork I'm capable of doing anything the doesn't have an effect of the final outcome! LOL
If I was getting the rest of the car painted at this time I would send him the whole car to let him better fit the rear cover to the body. But I'm just interested in getting the cover painted and I will put it on the car. It actually fits pretty good.
Graham
(Can you guys still see my pictures in this thread? They seemed to have disappeared, but I didn't remove them? Odd! I didn't print a copy of the thread..I wonder if I have to enter them all again in an edit mode?)
(Can you guys still see my pictures in this thread? They seemed to have disappeared, but I didn't remove them? Odd! I didn't print a copy of the thread..I wonder if I have to enter them all again in an edit mode?)
Nope. Looks like they got deleted off of your Photobucket account somehow.
Greg.
- Thread starter
- #31
Thanx Greg.
Darn it.
Graham
Darn it.
Graham
- Thread starter
- #32
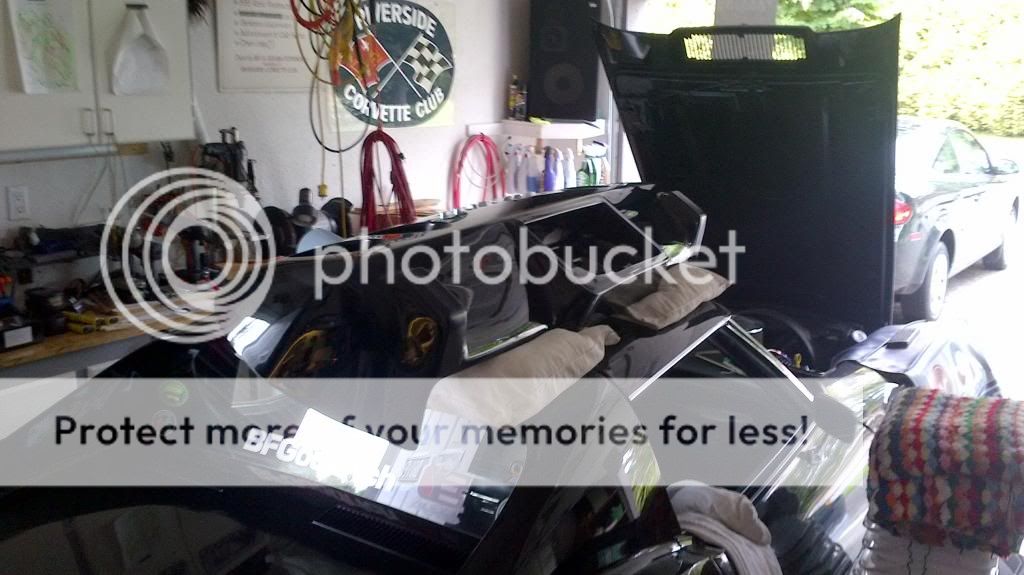
Hi Kids. I finally picked-up my newly painted bumper cover from my painter last week. He did a great job. It cost me a little more than he estimated as the quality of the part was not great. He told me that the cover contained a few pin-holes and some when sanded became larger air pockets. I'm not impressed with the quality.
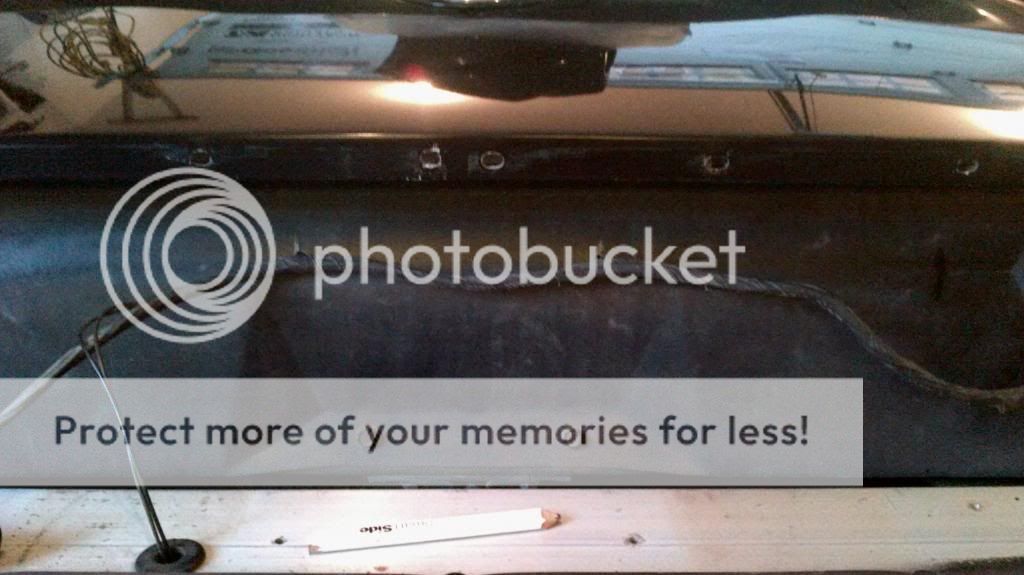
This is where it will be installed. All the poly cover and tailight supports brackets have been removed..
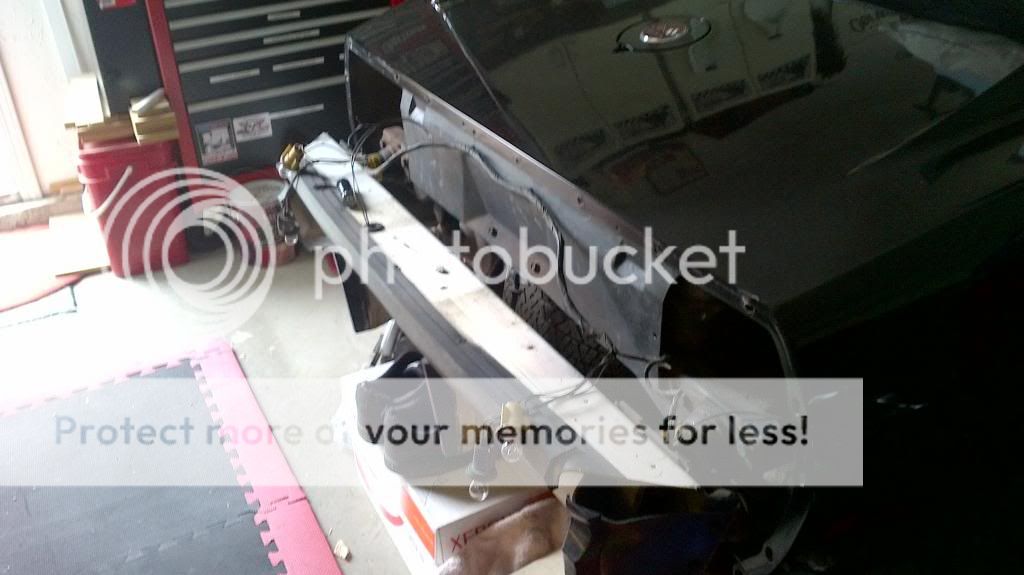
I drilled a couple of holes in the rear sheet metal cover to support the wiring harness.
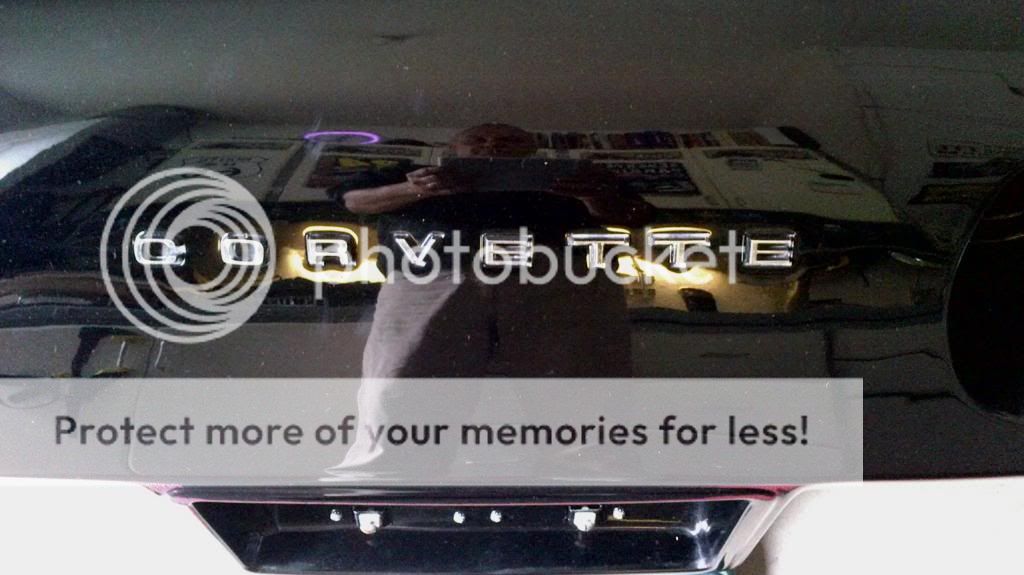
I then mounted the letters and the license plate brackets on the cover.

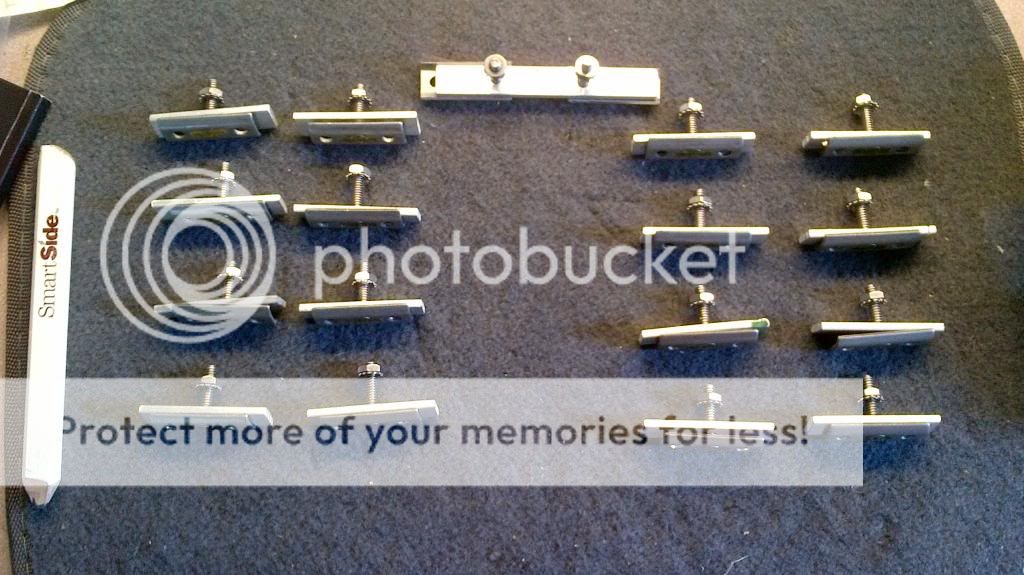
Here is the bracket kit that contains 18 perimeter bolts/nuts. I made some additional spreader bars from aluminum stock to help spread the load.
Here it is all done... and looking great!
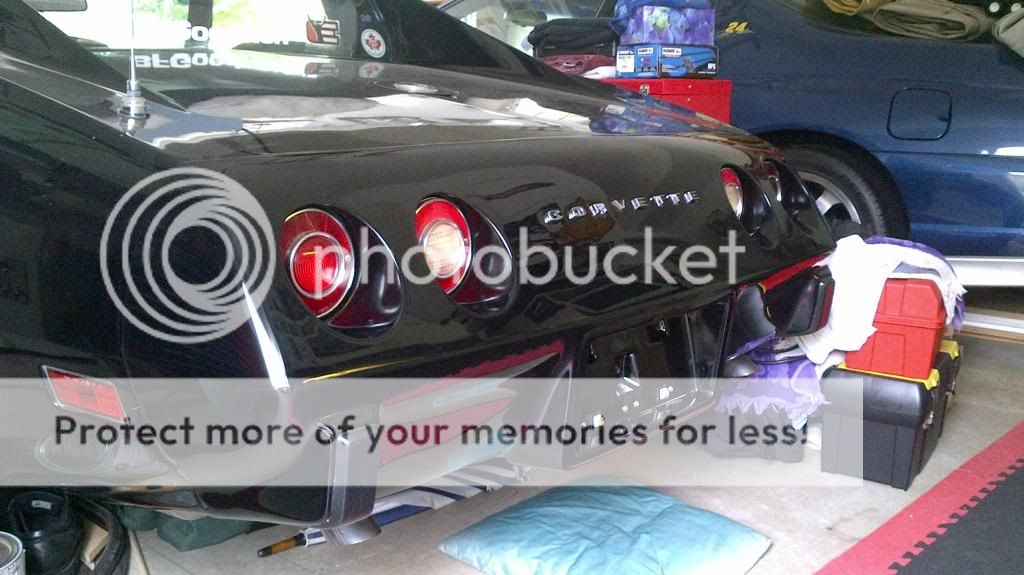
This was a nice project that can be attempted by almost anyone(even me!).
I was lucky to find an NOS bumper cover on the local CL...and the seller also gave me the bracket kit. The painting cost more than anticipated but he did a great job. My painter does a lot of the NCRS cars in the area. He also painted my whole car 25 years ago!
Now it is on to rebuilding my front brake calipers c/w 'O' ring seals.. I'm waiting for CC to have their free shipping to Canada offer again...
thanx for watching................................graham

This is where it will be installed. All the poly cover and tailight supports brackets have been removed..

I drilled a couple of holes in the rear sheet metal cover to support the wiring harness.

I then mounted the letters and the license plate brackets on the cover.

Here is the bracket kit that contains 18 perimeter bolts/nuts. I made some additional spreader bars from aluminum stock to help spread the load.

Here it is all done... and looking great!

This was a nice project that can be attempted by almost anyone(even me!).
I was lucky to find an NOS bumper cover on the local CL...and the seller also gave me the bracket kit. The painting cost more than anticipated but he did a great job. My painter does a lot of the NCRS cars in the area. He also painted my whole car 25 years ago!
Now it is on to rebuilding my front brake calipers c/w 'O' ring seals.. I'm waiting for CC to have their free shipping to Canada offer again...
thanx for watching................................graham

- Thread starter
- #33
As someone who is going to be doing this in the spring - a thousand thanks!!
Hey Valley Vette!..
Did you get started on your bumper cover project yet?
graham
good job graham, looks beauty i will will be doing the same to my shark using the 80-82 cover.
i will will be doing the same to my shark using the 80-82 cover.Veeeeeeeeeeeeeeeery nice! Looks fantastic.
Looks good and thanks for posting all the pics. Shame the termites got to the original back bumper it would have made an excellent decoration for the garage.
Looks good and thanks for posting all the pics. Shame the termites got to the original back bumper it would have made an excellent decoration for the garage.
I have an 80-82 bumper that I may do this with
I have an 80-82 bumper that I may do this with
I have a front from my daughters old 97 Neon.......think I will pass.
I have a front from my daughters old 97 Neon.......think I will pass.
you can put that with the front bumper from my daughters old 97 Cavalier

Users who are viewing this thread
Total: 1 (members: 0, guests: 1)