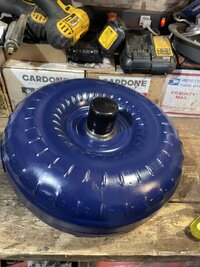
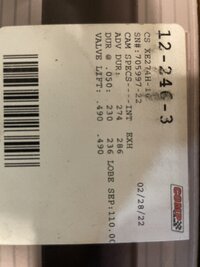
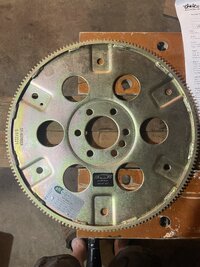
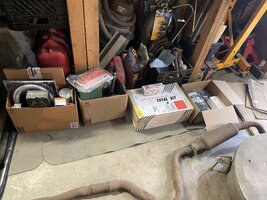
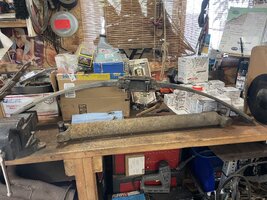
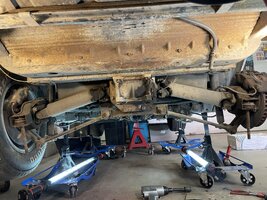
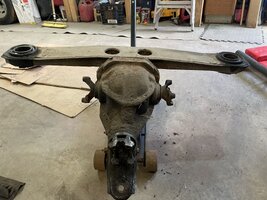
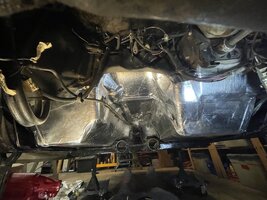
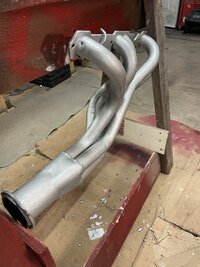
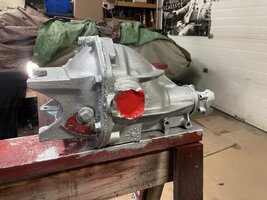
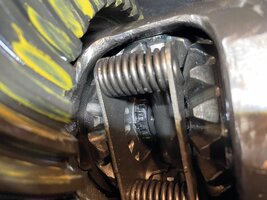
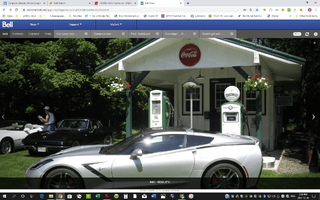
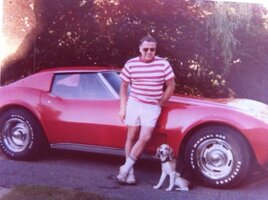
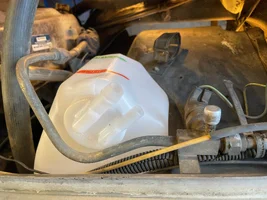
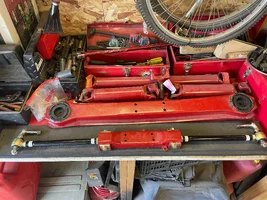
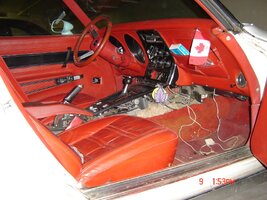
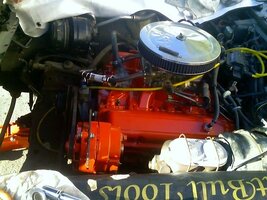
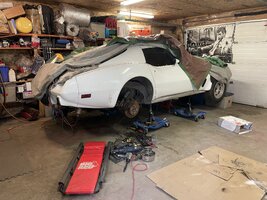
Bought this car when I was much younger. I'm the fourth owner. She's spent more time traveling the country on a trailer than under its own power. This year I'm attempting to refresh the entire car...
Attachments
-
 30-12-062038.jpg37.3 KB · Views: 62
 -
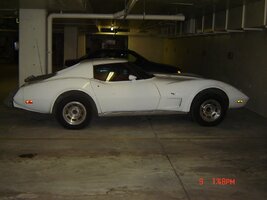
 77vette_ME_clear_backright_084.jpg52.3 KB · Views: 47
 -
 77vette_ME_clear_driver_front_088.jpg125.6 KB · Views: 53
 -
 77vette_ME_clear_passenger_085.jpg123.5 KB · Views: 43
 -
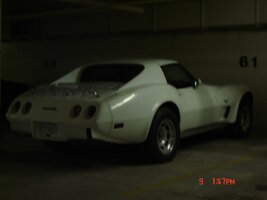
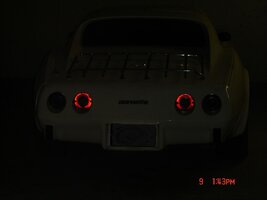 77vette_ME_dark_rear_081_test.jpg53.8 KB · Views: 59
 -
 77vette_ME_interior_driver_089.jpg237.3 KB · Views: 52
 -
 77vette_ME_interior_pasenger_093.jpg222.5 KB · Views: 51
 -
 77vette-revival-05.jpg64.3 KB · Views: 66
 -
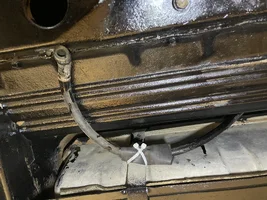
 IMG_5717.JPG1.5 MB · Views: 53
 -
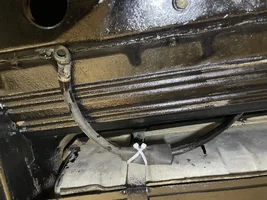
 IMG_5718.JPG1.6 MB · Views: 59
 -
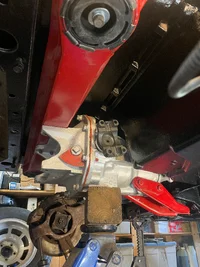
 IMG_5743.JPG1.7 MB · Views: 53
 -
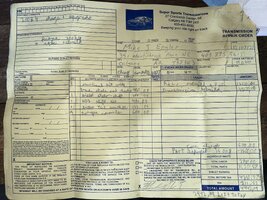
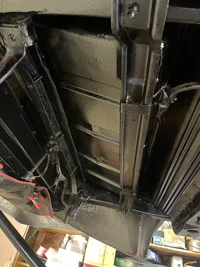
 IMG_5908.JPG1.7 MB · Views: 46
 -
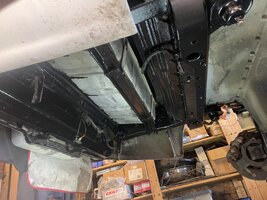
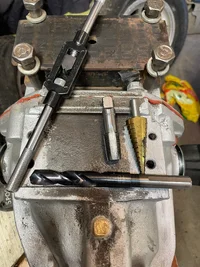
 IMG_6159.JPG1.6 MB · Views: 54
 -
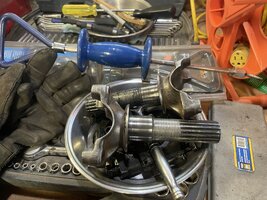
 IMG_6161.JPG1.2 MB · Views: 57
 -
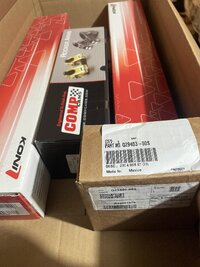
 IMG_6177.JPG1.5 MB · Views: 52