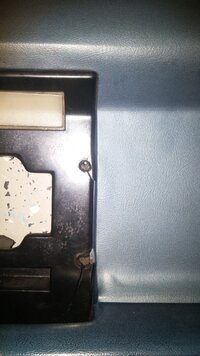
Pretty certain now after following this, that the PO installed a kill switch. These were a kind of home made security to prevent someone driving off with the car and were quite popular to install at one time.

Hmmmm, very strange to have a NO push button to a NO relay. I will have to think on this some more. Hopefully someone out there will have a better idea.

Edit: Is the push button a momentary contact?
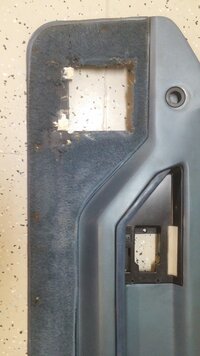
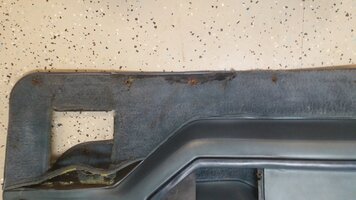
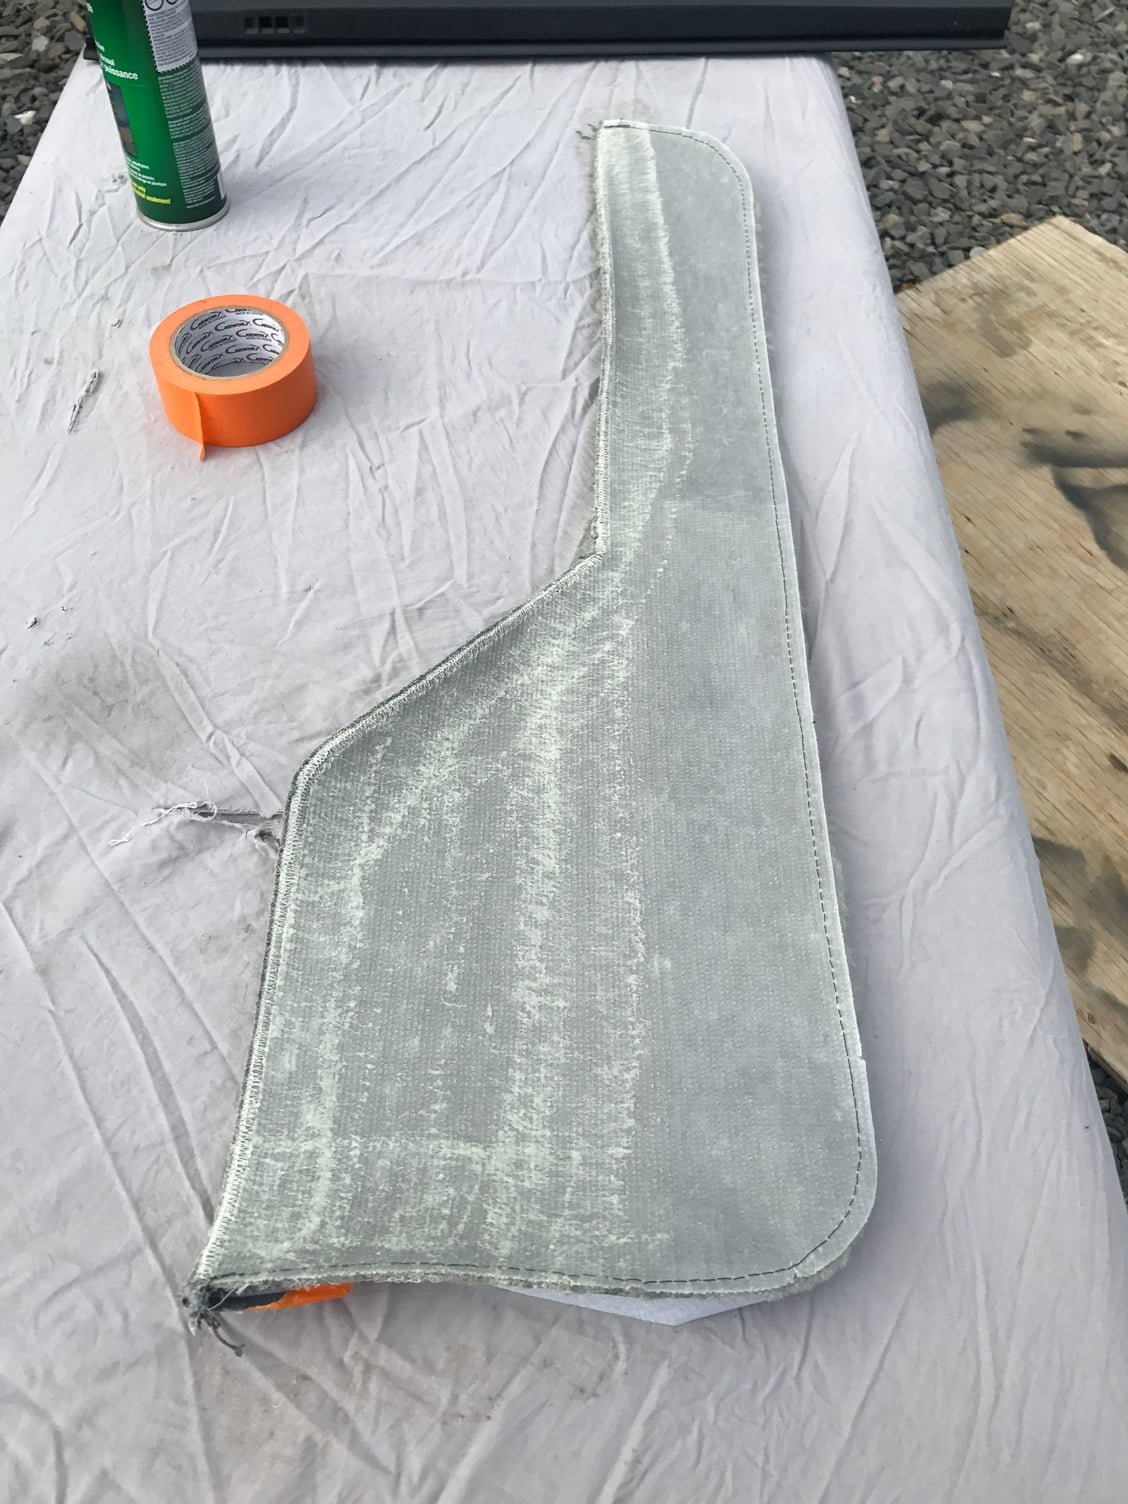
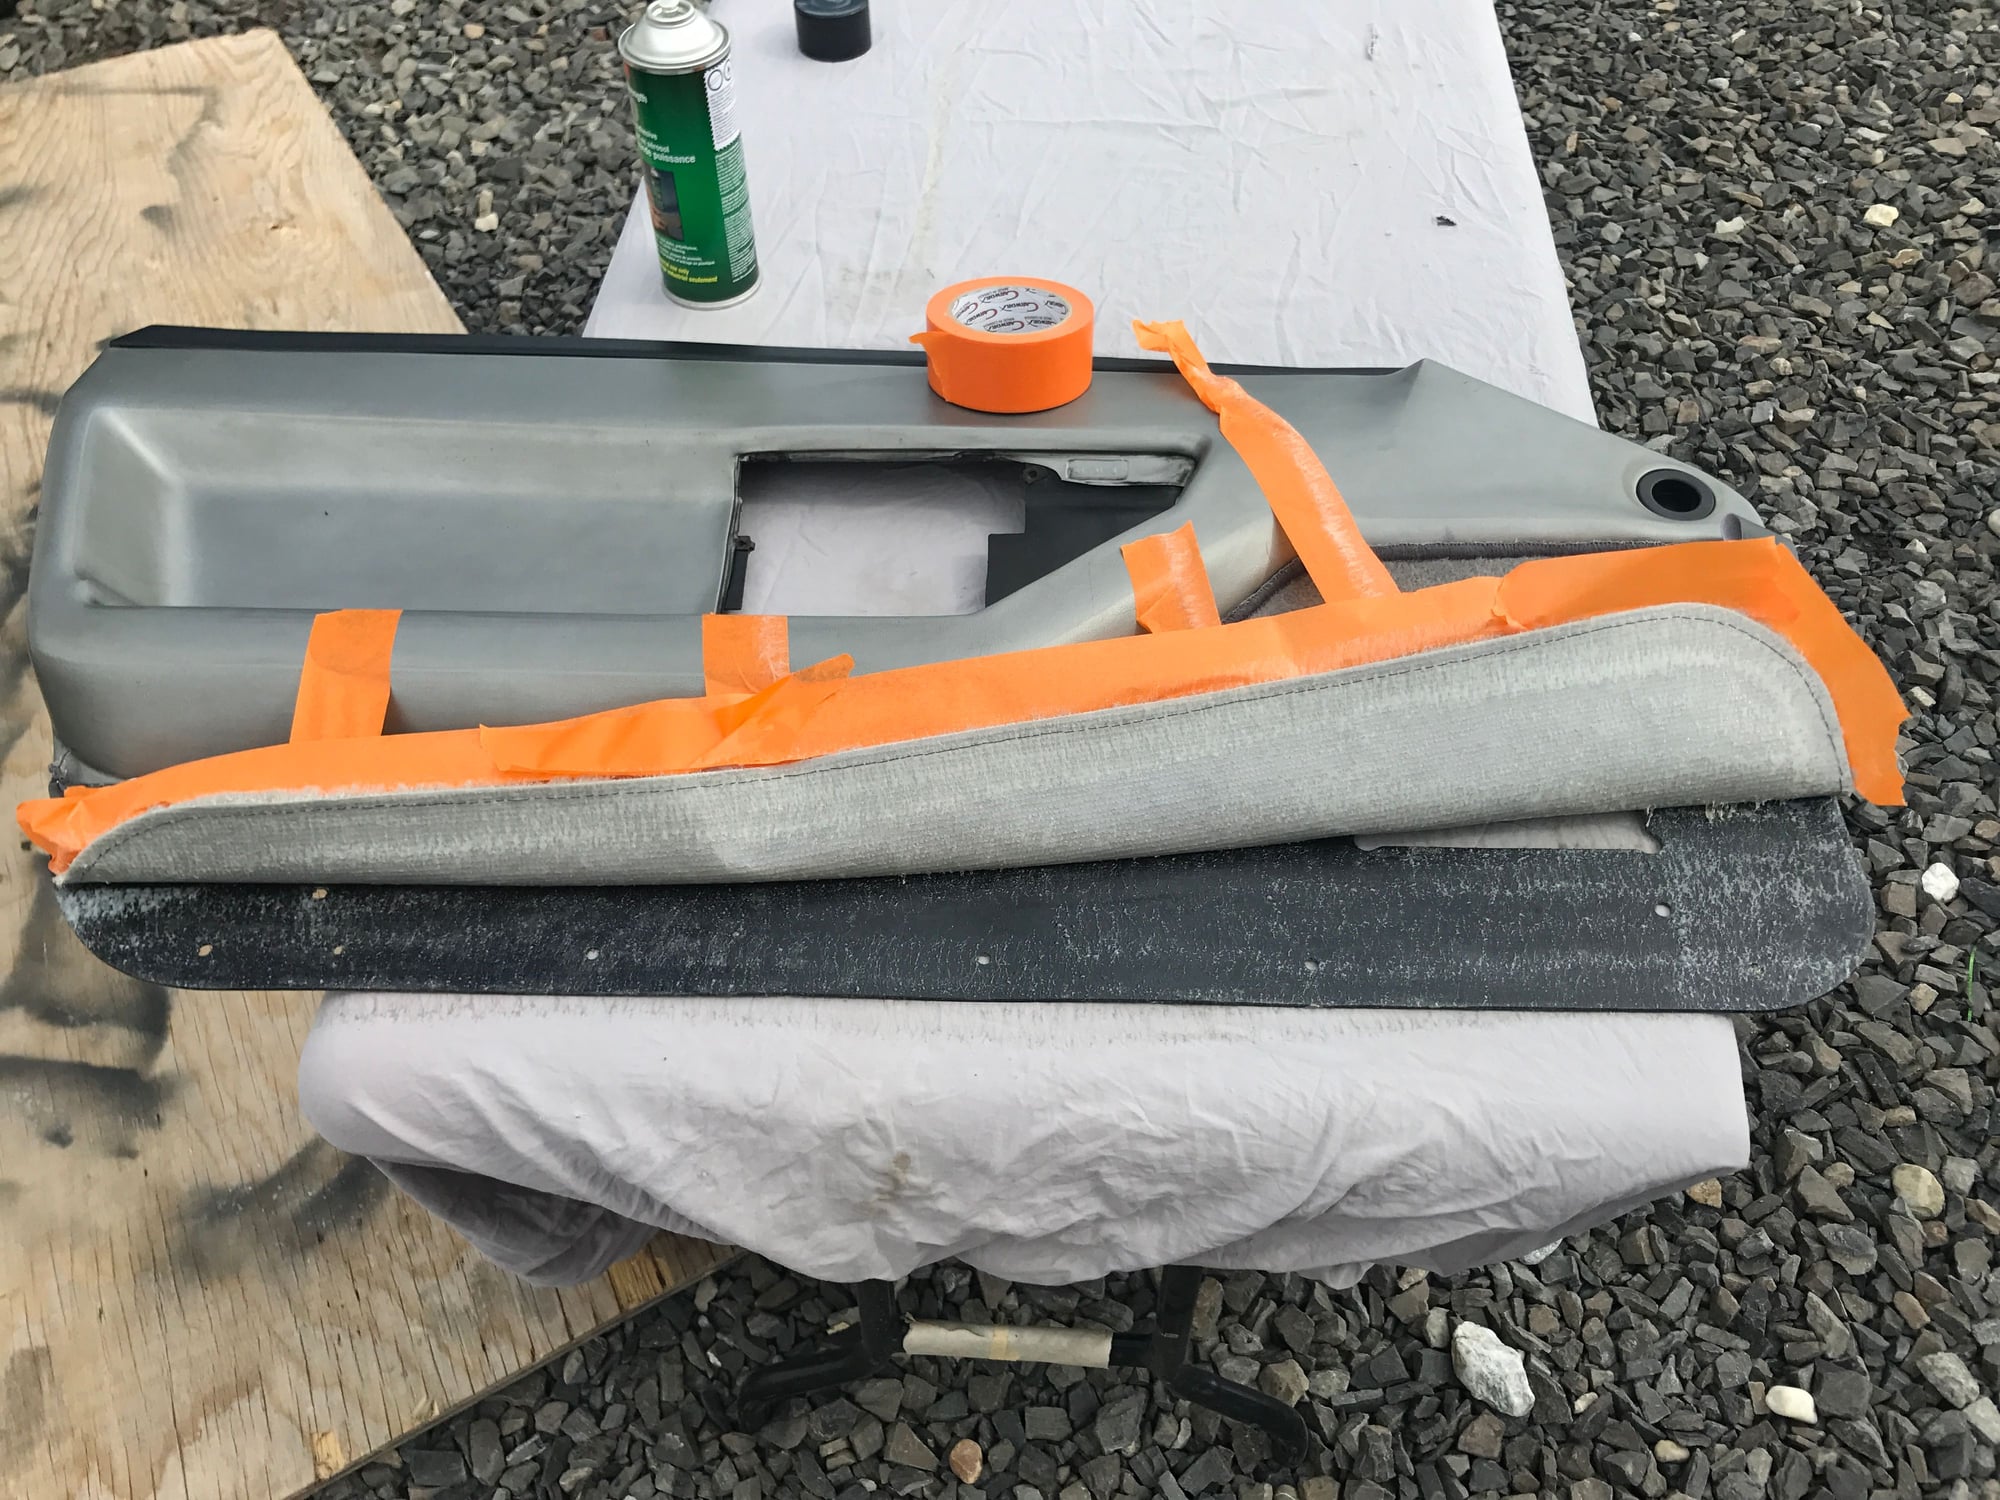
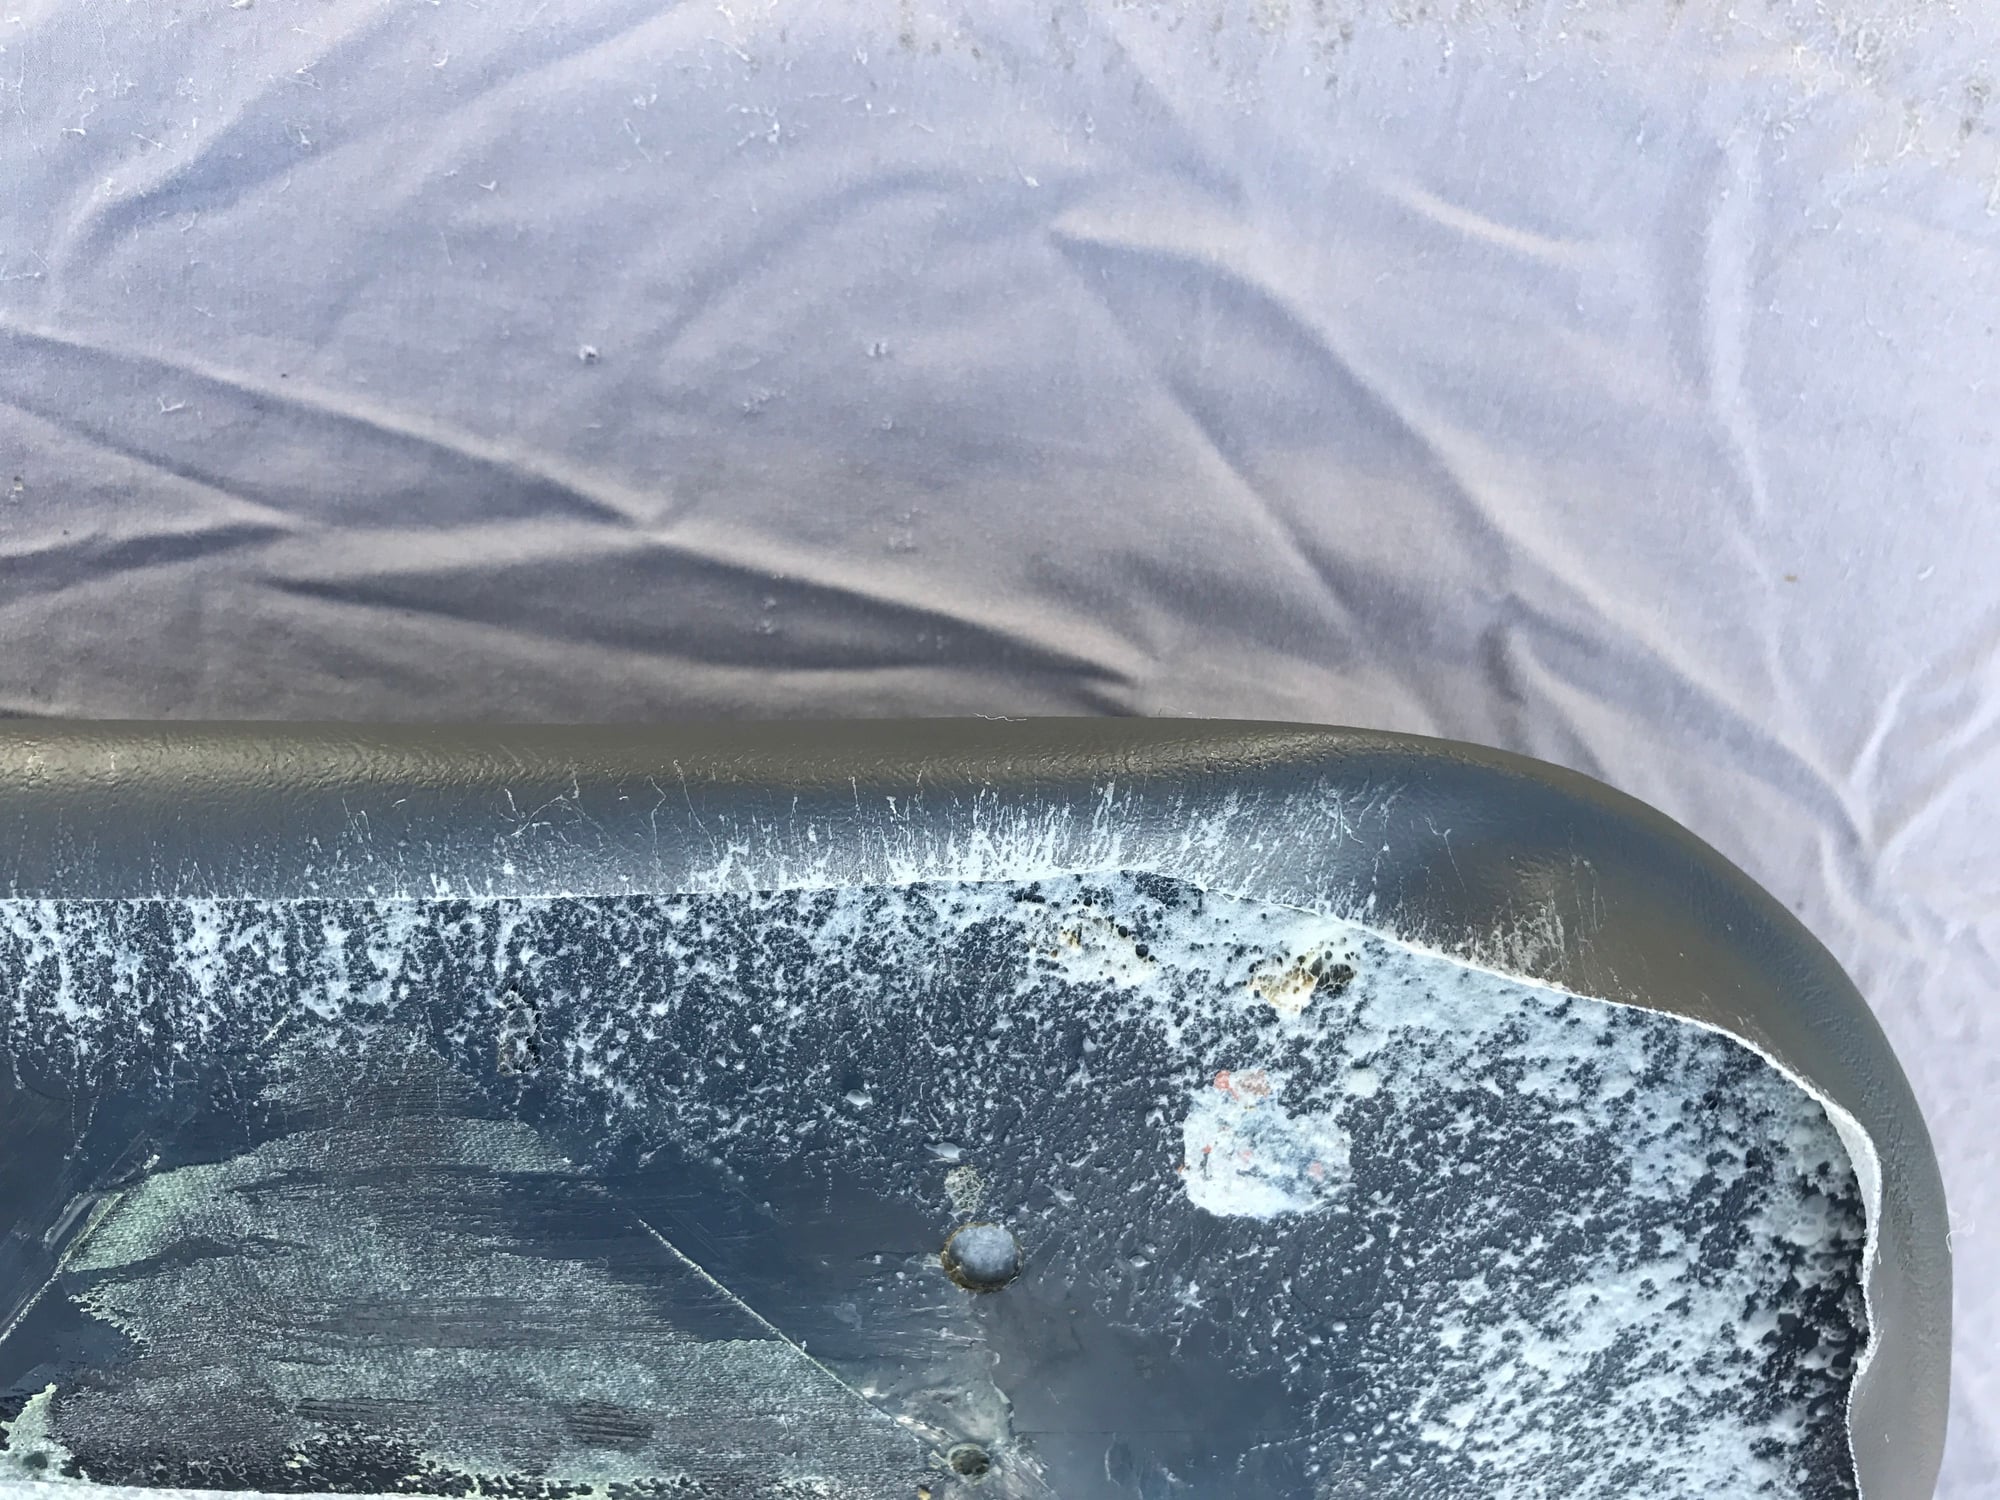
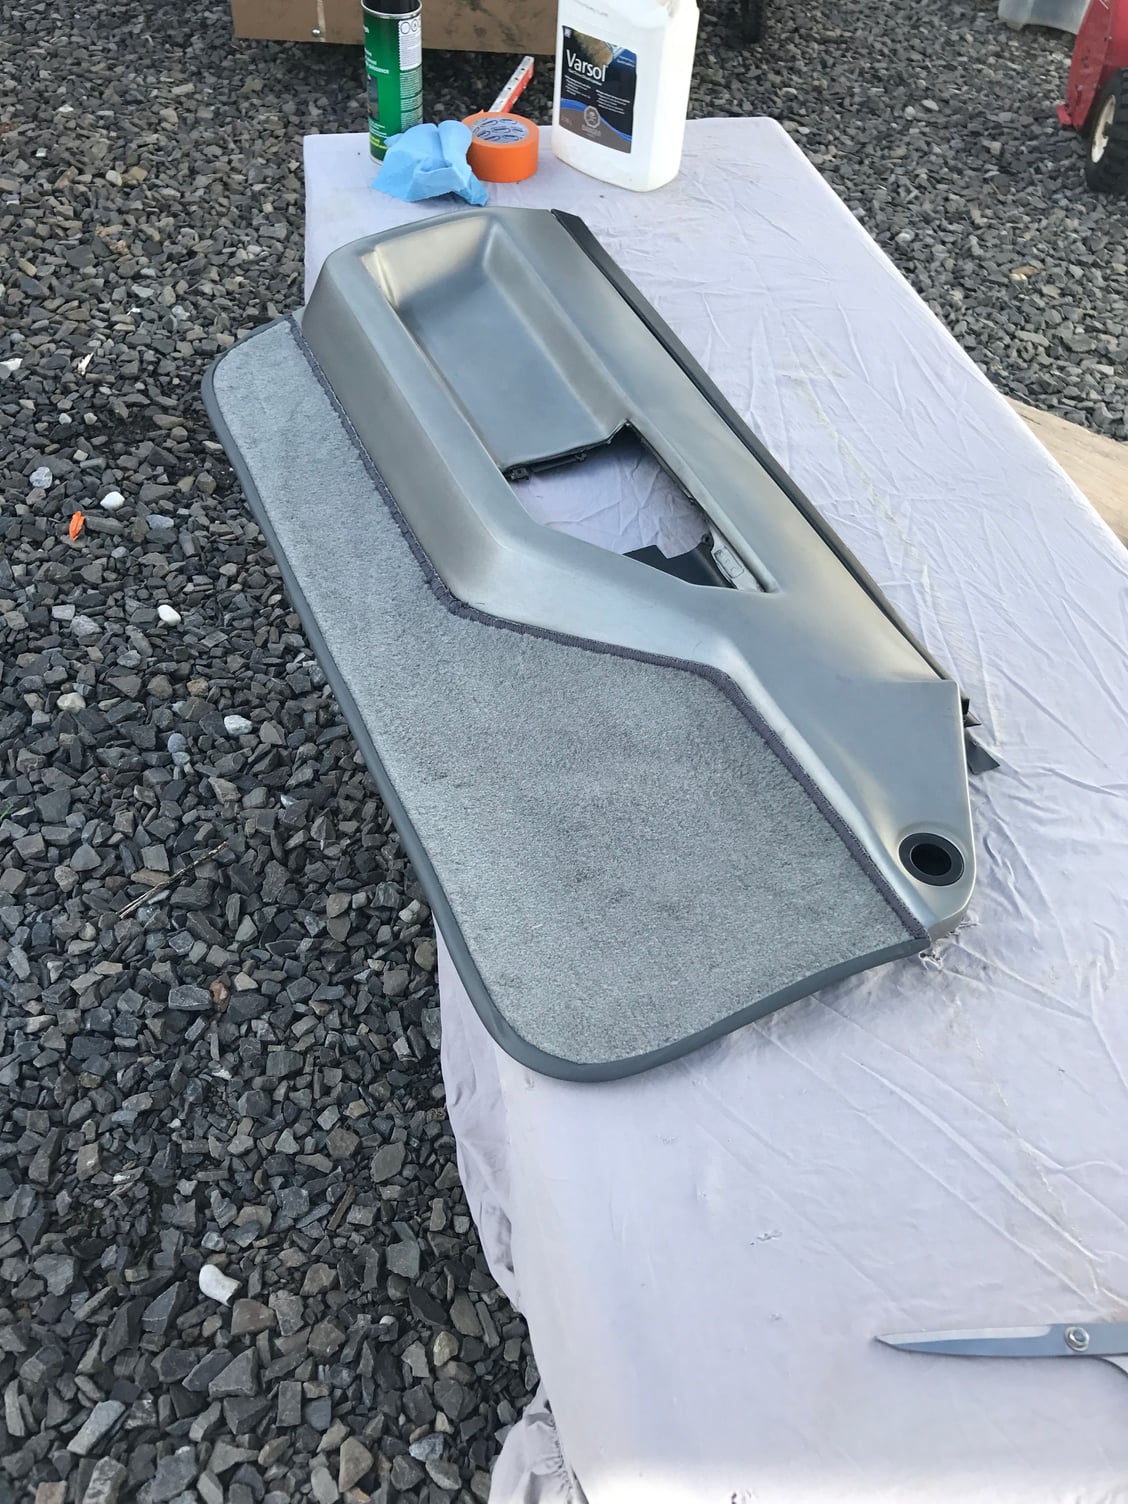
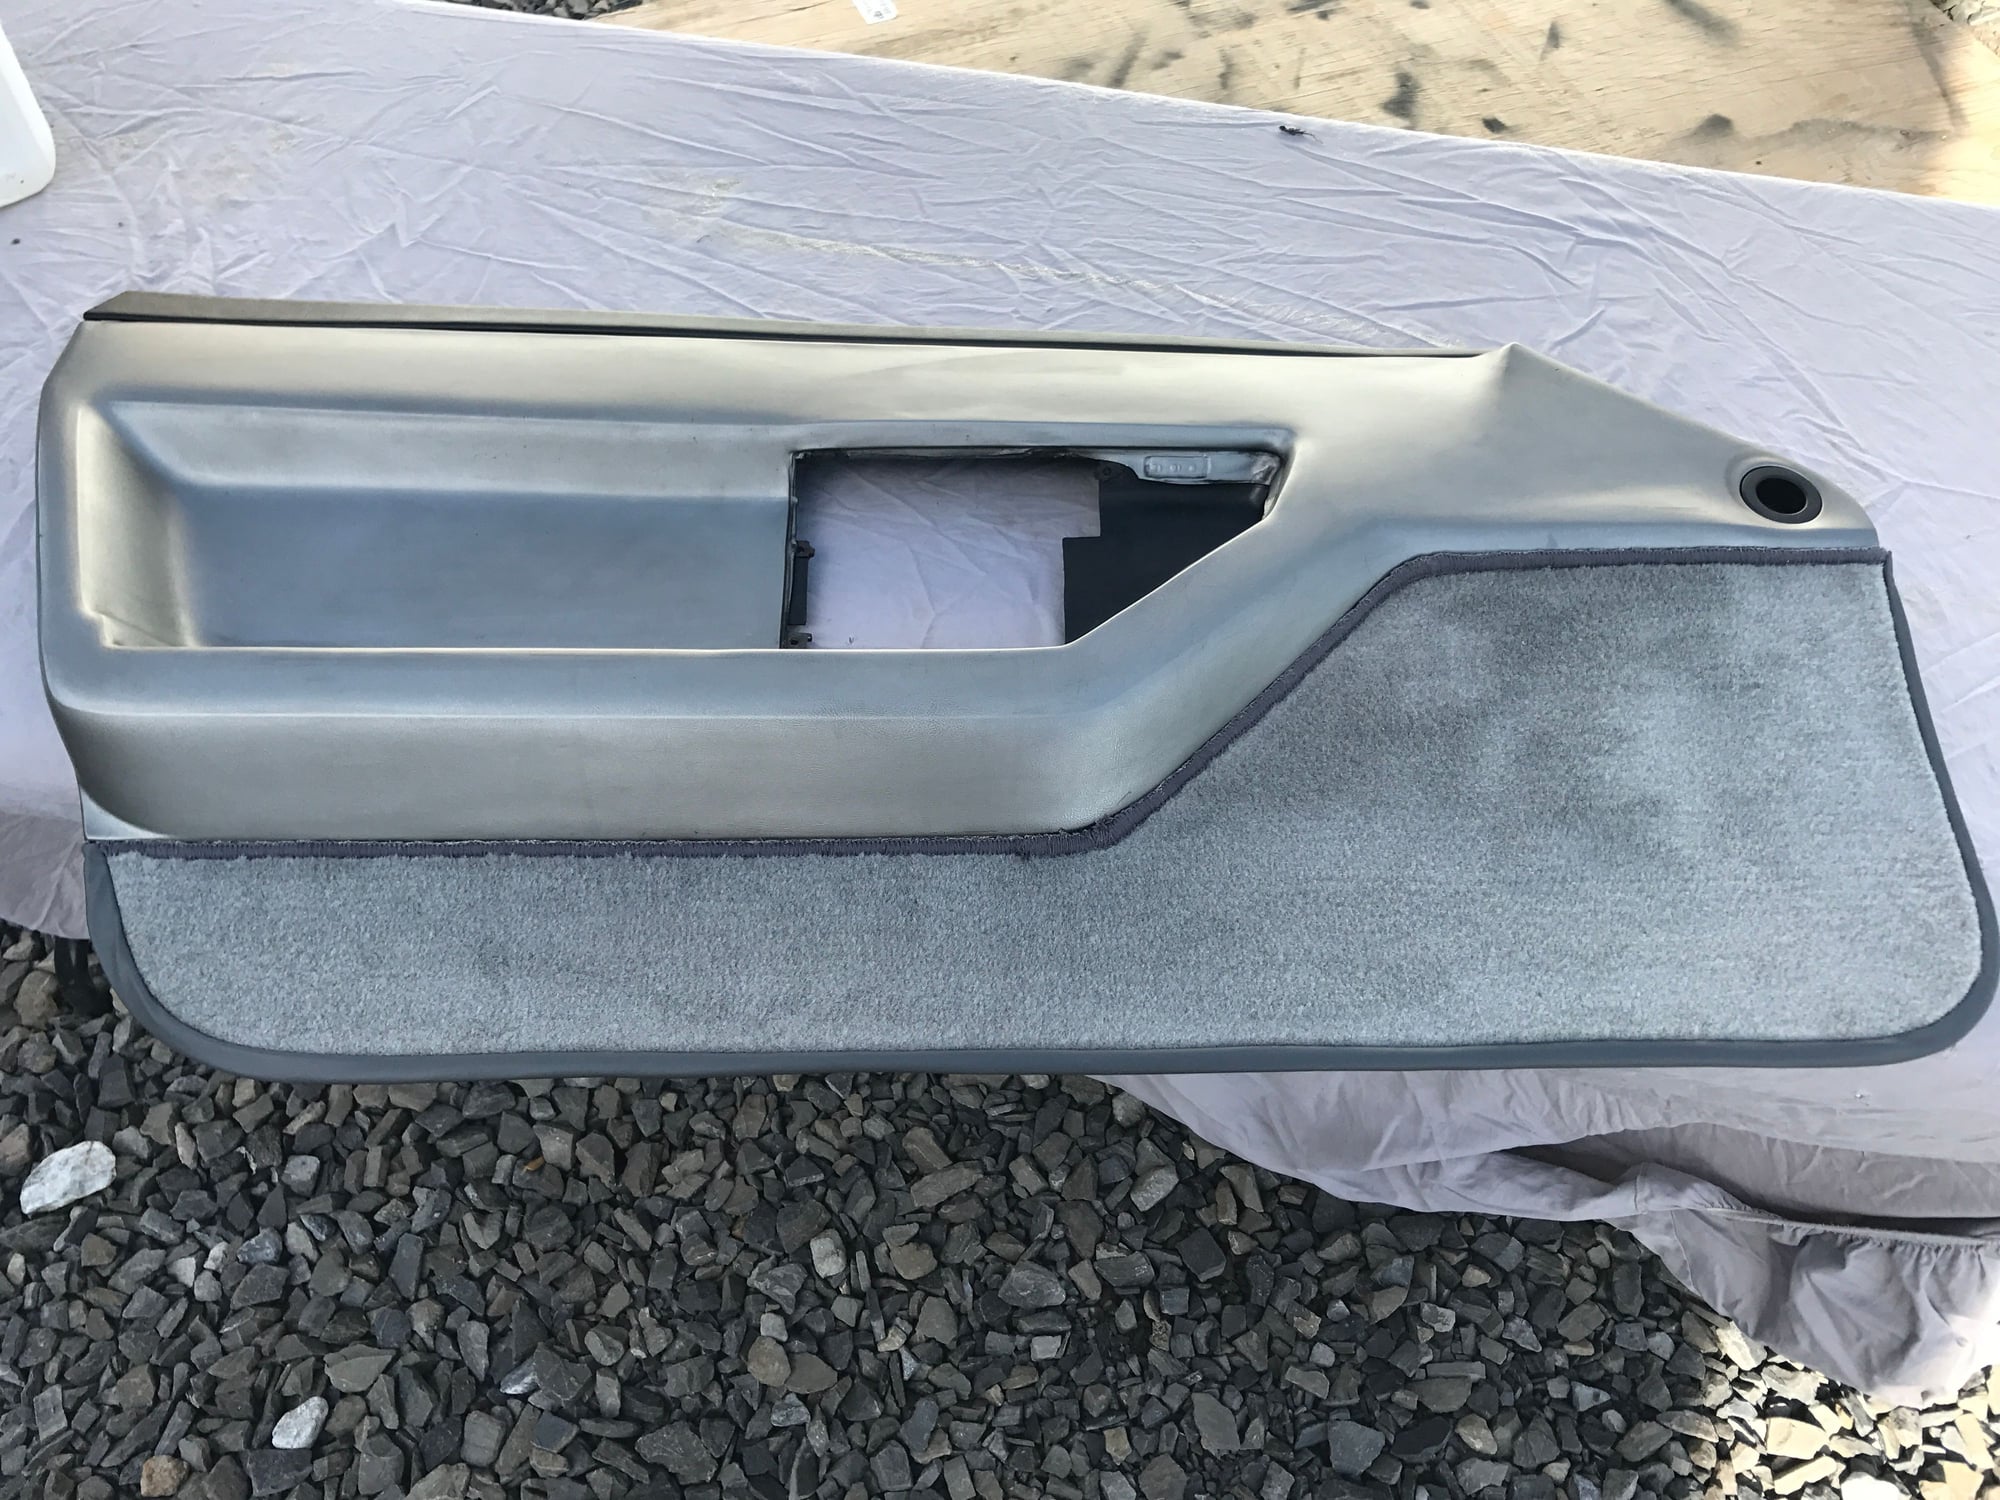
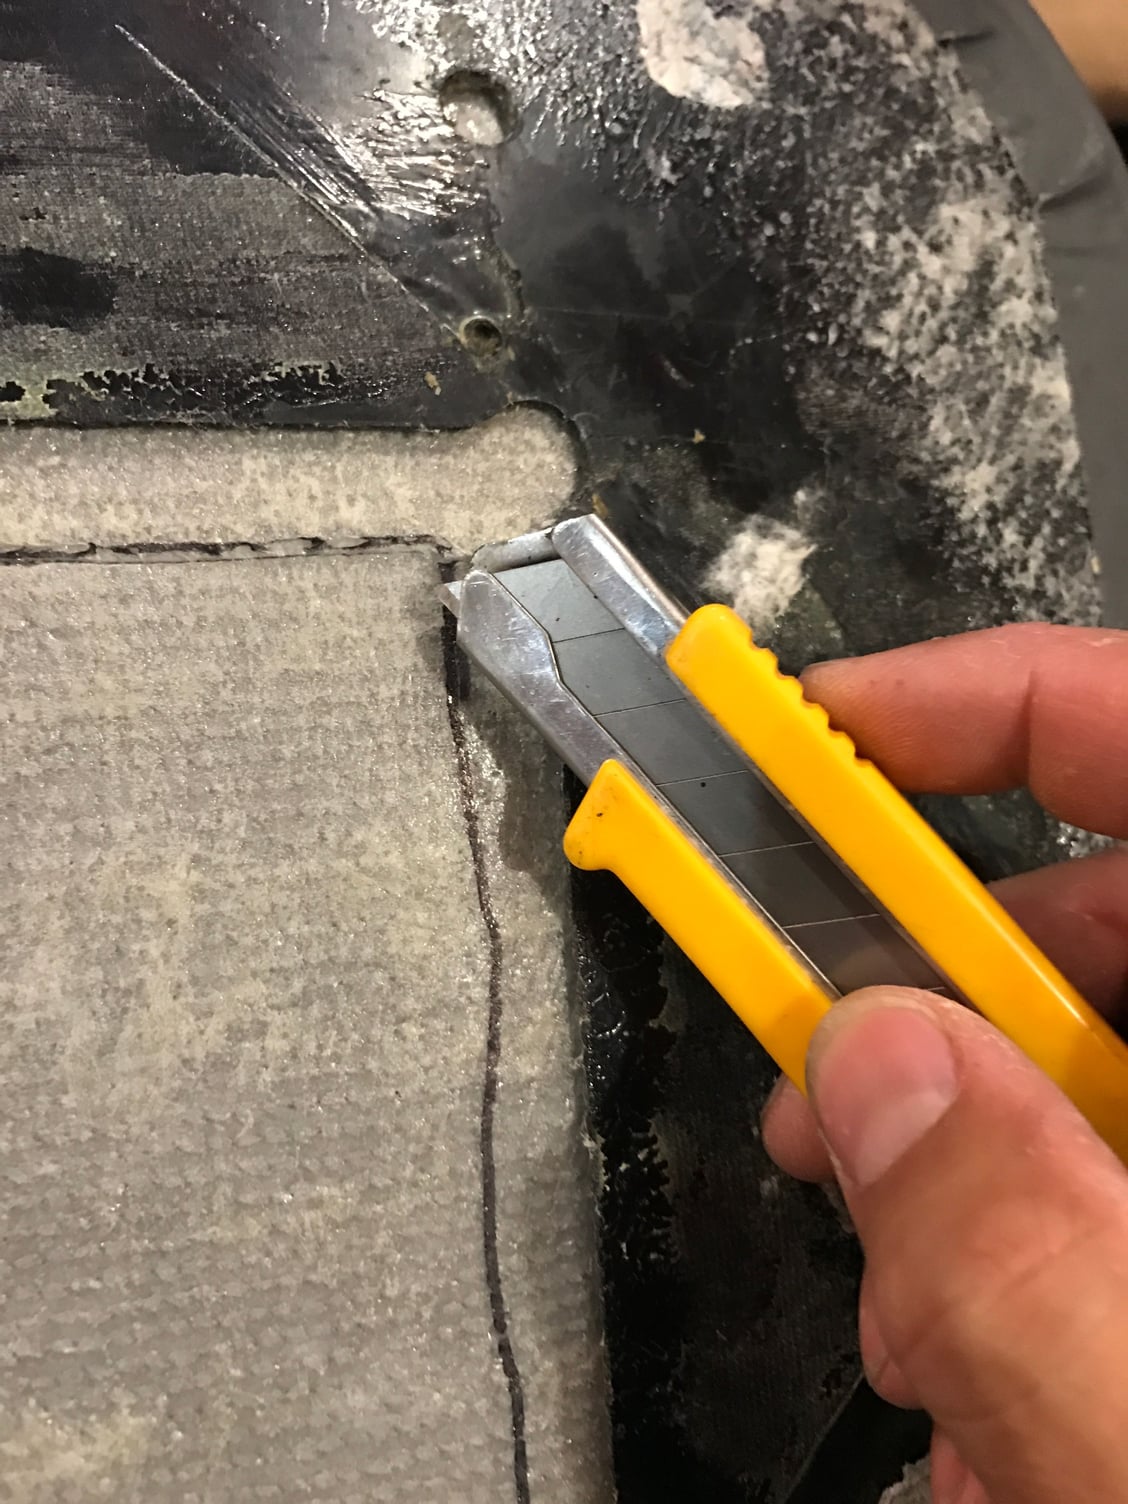
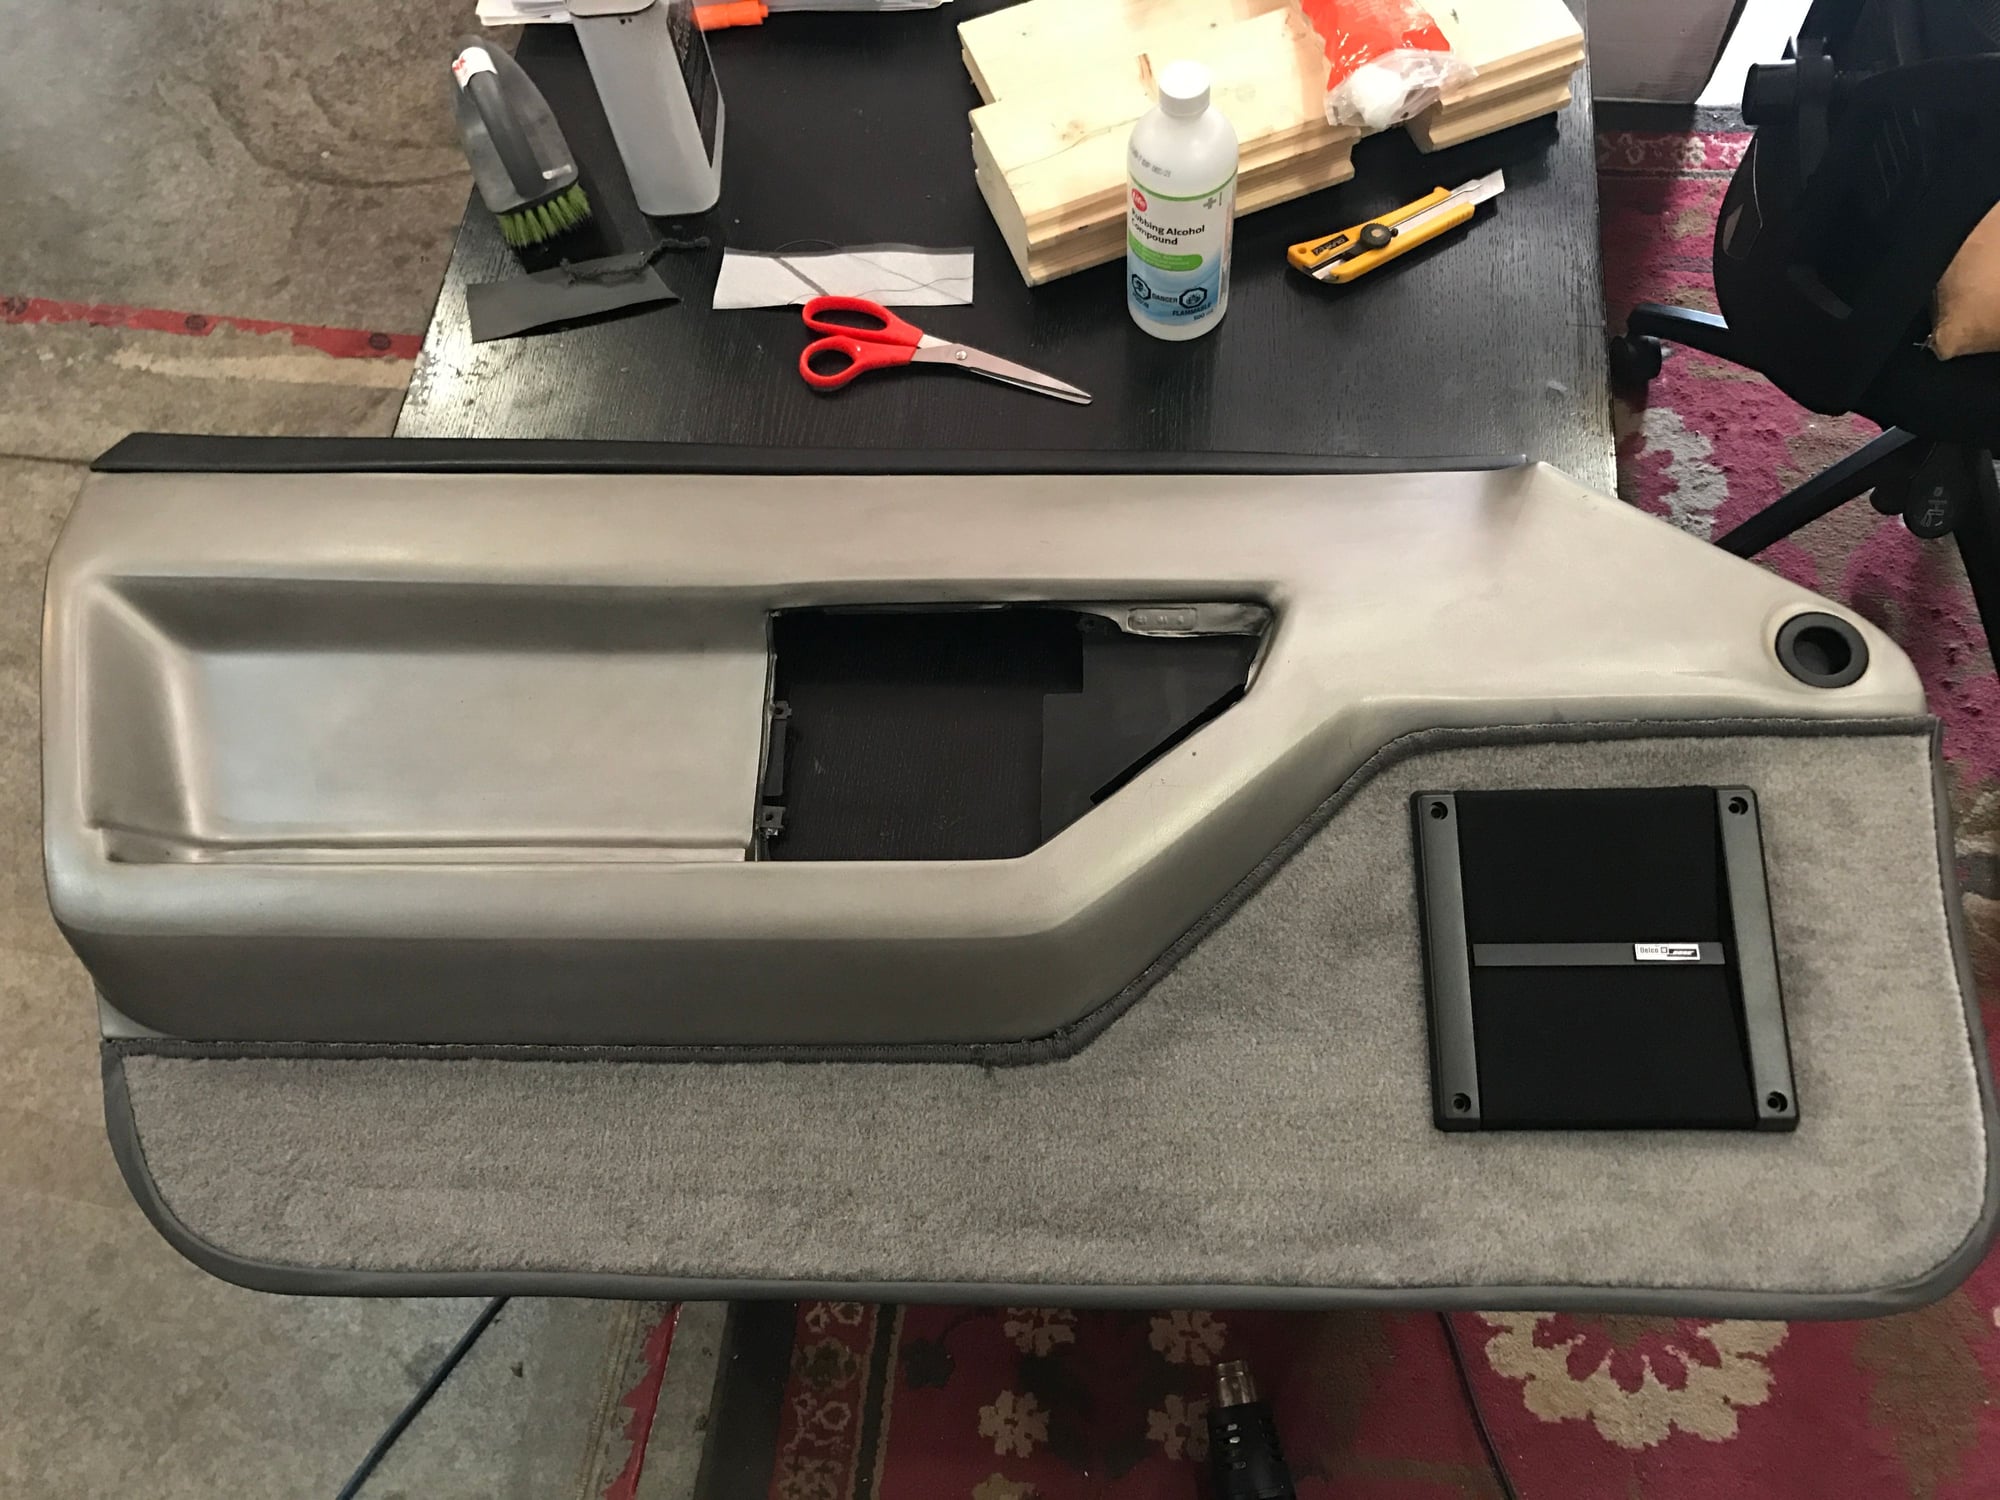
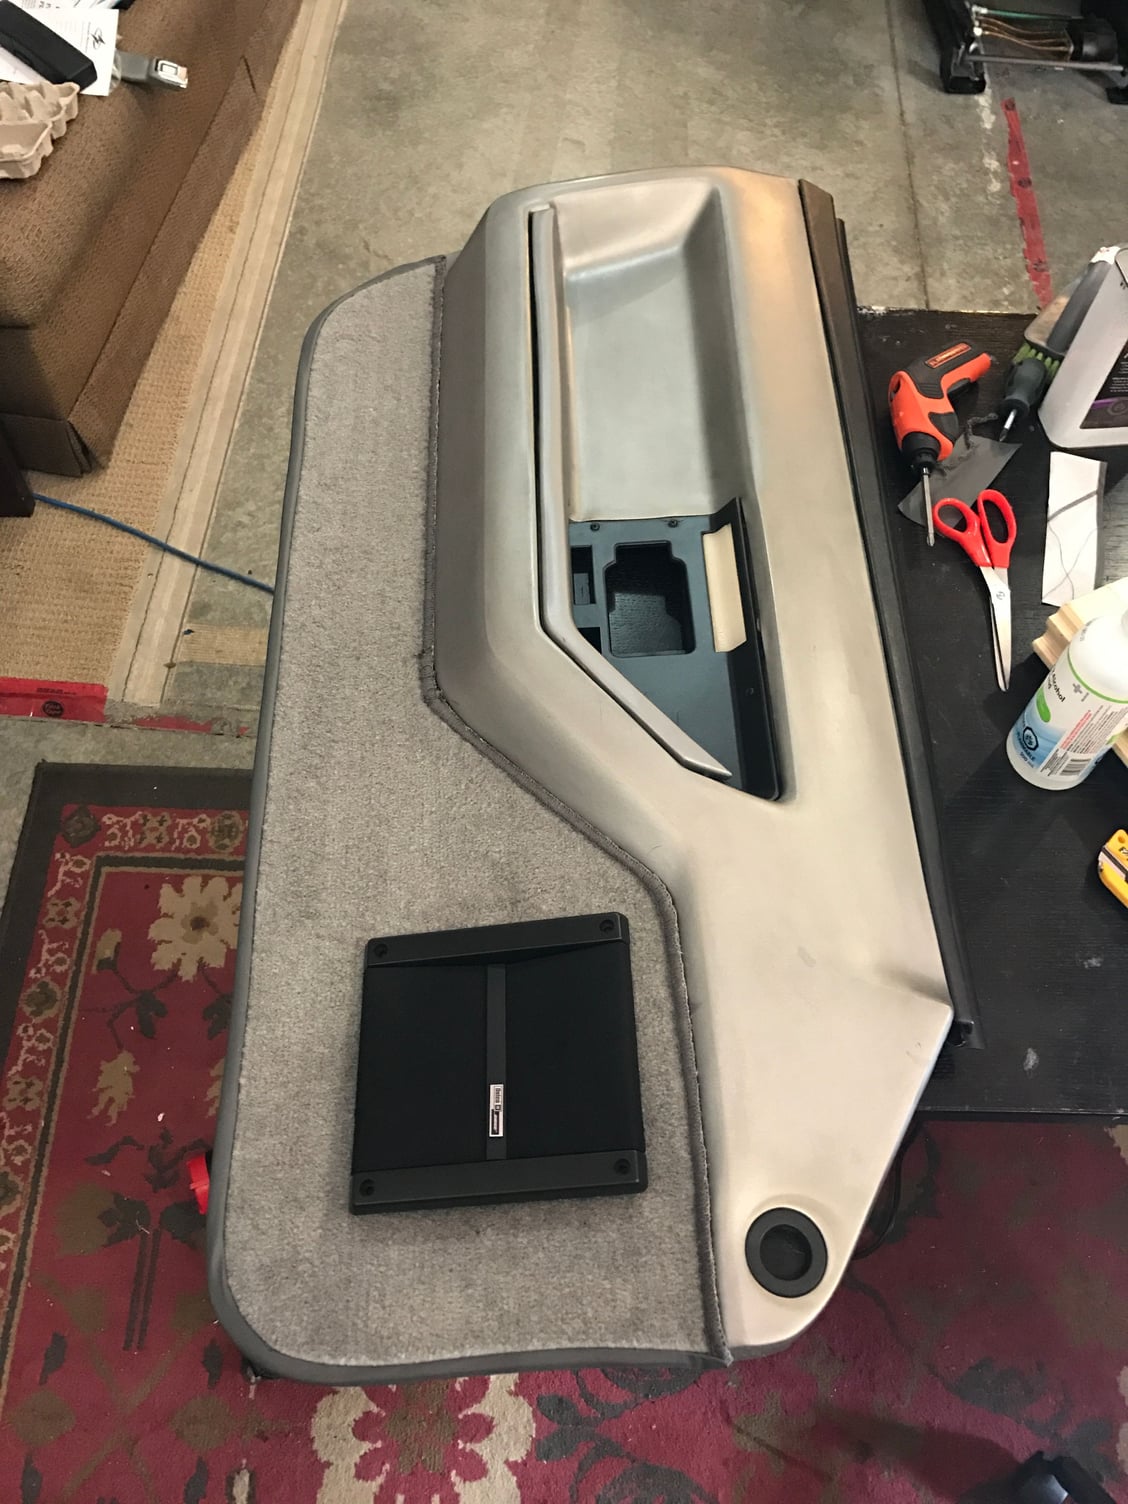
It is a momentary switch. But now I remember that GM cars from that era had another NO contact parallel to fuel pump relay - oil pressure switch. It was done for redundancy, if FP relay fails, than you can still drive the car as long as you have oil pressure. Perhaps that button was like "third line of defense"
 
It is a momentary switch. But now I remember that GM cars from that era had another NO contact parallel to fuel pump relay - oil pressure switch. It was done for redundancy, if FP relay fails, than you can still drive the car as long as you have oil pressure. Perhaps that button was like "third line of defense"
I had forgotten about that one. You could be right, maybe it was back-up or something used for troubleshooting a problem.
 
Pulled door panels, ordered new carpets for them. Mice damage. Rear view mirror needed some attention too.
 

Attachments

  • 20210207_105043.jpg
    20210207_105043.jpg
    306.6 KB · Views: 18
  • 20210207_105053.jpg
    20210207_105053.jpg
    835.5 KB · Views: 14
  • 20210205_193737.jpg
    20210205_193737.jpg
    891.7 KB · Views: 15
  • Like
Reactions: 12cents
ill copy and paste my post from cf below:

time to apply the carpet panels and i wasnt going to staple them
One of the things that was clear when I was rebuilding my door panel is that the Staples cause the ABS to fracture overtime.So with today's technology of 3M spray 90, that's what I was going to use. Note that I am not using spray 77, or spray 80. The only spray from 3M but I have found to be a permanent adhesive in the face of solarium level heating is the 3M spray 90 pictured here. Here's how I did it. My first application was on the top so I can handle it from the bottom. But I found actually is that after the five minute wait time for it to tack up it was actually handleable. But once you get it set up you can't take it off again. So you have to be prepared and I did many dry runs with no glue.

cleanup or a bit of overspray is easily cleaned with varsol as per instructions to clean the tip with varsol.

ive read these are a bear to install. this was really really easy with a few planning dry runs, 3m spray 90 w/ 5 min tacky time.

img_2730_5c0801d927b25571b3d6e7fc76e5a047e8996f27.jpg

img_2731_057e3490cc697c0321b7eb4e042f6a595cb63cbe.jpg

img_2732_600c1d5db40a3a6cdd51b4abf1c00e791deaff77.jpg

img_2733_94378bff71d038a7910d8f071a34d163b547807e.jpg

img_2734_24d1aac5771e0d513f69003201a44a70d742aa4c.jpg

img_2736_587c6ae5b26411b20697315da6c3b4d30b07fb52.jpg
if you get any overspray that wraps around to the front of the vinyl under wrap, just use your varsol and wipe it comes right off.
img_2737_854727004db60dd8836a494dd13483b571bef0c6.jpg

img_2738_0873213dfcc8a956854dd52c660bf7f68f1495fb.jpg

img_2739_2a5e86d421744b9c272f1f8c1012ee3f1855f7dc.jpg

img_2740_e0e90aef86a49648fdcf88d0b207d6903d93d60c.jpg

img_2741_d8d4a82af3c0315c4f8c6737d3378b65220f8648.jpg
you definitely do not need staples with 3M spray 90. In fact, I pity the next guy in another 20 years who has to change these.
img_2742_a14451df99bfacbc4bd525422c47e1f35bd784c8.jpg
I did not want to cut to the very edge of the whole.
img_2743_b1f65ec5dae12eefbf6504c6421d8fc9a7292d9e.jpg

img_2744_5f574bf29ddb5ef91492fcff797d610f98ecaeb3.jpg

img_2745_98f4faaf6246b8671cf102bd8f342232c4d4d2e4.jpg


img_2746_5d6cf5be51c9361e9107a5fc030f72b7f25404e7.jpg
next stop, hanging it on the door! Everything has now been fixed.
 
  • Like
Reactions: turbozig
Thank you, looks good! Thank you for advise! I was looking at 3M 90 myself the other days. I'm going to order some from Amazon. Where did you get your carpets from? I ordered mine from Corvette Central. And after that I found they are available at RockAuto too.
 
Thank you, looks good! Thank you for advise! I was looking at 3M 90 myself the other days. I'm going to order some from Amazon. Where did you get your carpets from? I ordered mine from Corvette Central. And after that I found they are available at RockAuto too.


i purchased an entire kit from auto custom carpets on ebay.


carpet
your skinny on the pictures......but if your exterior paint looks GOOD then a set of NEW carpet is likely worth it, but i went the cheap route in terms of quality of carpet. its OK. it looks GREAT. but the quality of carpet is NOT even close to factory. i had a set of old sacrificial floor mats i used and put the new ones in right as i sold it because the new mats just didnt hold up.

Thats why in another message i mentioned to save your carpet if possible. infact this may sound strange but if i was on a budget, im at the point where id actually buy a few cans of SEM brand vinyl and carpet dye (its pretty much a special spray paint) in a matching color and spray it on and rub it in combing it so it doesn’t matte. there are videos of how to do it so it looks professional. u dont just layer the dye on and call it good. it takes finesse. i did it on my 87 that had graphite interior and it looked new when i was done.

but there are limitations obviously and your doors are a good example. cant change that.

you will likely want to do your entire interior now. granted, when its all done, it looks incredible!!

here are some pics of the interior with new carpet. honestly it looked AWESOME.

and actually if u go to page 1 on that thread, there is a good info for as you go through your refurb.
 
Excellent write ups! Thank you for sharing. My plan is to save as much as possible of existing interior, get it ready for this summer. And then will see what to do next. I'll try to clean the carpet and seats. I hope I can get rid of some of that mice smell :). Also, funny enough, I was thinking if there is some sort of carpet dye out there.
 
here is the sem brand i used.


for a match to the “graphite” interior, use sem “graphite”. for the early cars “light grey” interior, sem “titanium” was a match.

i assume u have blue interior. u will have to find an autobody supply shop (usually these guys are commercial and i think u can still go there even in ON right now?) to do a match. if you end up doing things like the center console lid, and arm rests on the doors, the key key KEY here is prep. i was BLOWN AWAY by the quality and adhesion. you COULD NOT scratch it off.

if you end up doing the black interior items, i used SEM “landau black”.

light coats! have fun! pics! we like pics!

one more thing, if you have vinyl that needs to be glued , i found “dap weldwood” was the only commercial grade level adhesive to use in those instances. im sure spray 90 would work but you couldnt control the spray. gotta let that contact cement fully dry or it wont work

if you need to add “backing” to any broken/cracked plastic....get very thin tin. i used tin chimney vent and cut to shape, i used paper first for template, then dap weldwood it to the bottom. that glue.....i would let it completly dry. then the two pieces were inseperable. thats how i repaired the door grab handles on the panel.
 
  • Like
Reactions: turbozig
Thanks a lot again! You know exactly what I'm looking for! I was searching for the glue to fix cracked plastic. Looks like SEM and DAP Weldwood are available on Amazon. There are actually 5 Weldwoods -
25332 (green can) , 25312(blue), 00271 (red ), 00272(red) and 00442 (teal). Do you remember which one did you use?
 
ill take a pic of what i used and post it here.

that said, which plastic are you fixing? i did a LOT of plastic welding too. basically a gun-style soldering iron and repaired heap of abs this way. i even used pieces of lego to melt in and add more plastic into the area. also had a piece of abs pipe id take from too.

but there are also issues doing that. i found using the tin as backing, wiping the plastic with isopropyl alcahol then wiping with lacquer thinner or acetone, then applying weldwood to both surfaces, allow to tack up, and press fit was the best. added heaps of strength and did not distort shapes as the welding can do.

post up some pics of ghe problem areas. dont be shy every single early c4 is the same.
 
  • Winner
Reactions: Dik
SEM vinyl/plastic dye works well, but you need to clean the parts so there is not any armor all left in any of the pors. A super good cleaning with dish soap several times and a thorough rinse. SEM also makes a prep spray before dying, also mandatory. Once thoroughly dry, several light coats, generally about 4-5. I have used this formula several times and changed interior colors and freshened several interiors with fantastic results.

Best of luck, ambitious project you have.
 
  • Like
Reactions: RockyPM
Here are some cracks in plastic

for the inside of the door panel, today, id use a piece of tin, and span the crack, using probably weldwood dap, properly applied onto the plastic properly prepped. I should say that what I did in the beginning was do the plastic welding using the soldering gun on a hidden crack like that. but later in my refurb i came to realize that extreme bonding and the tin strips worked even better.

On the door handle release bezel, i rebuilt those from the back, carefully, using a soldering gun and black abs pipe. all i aimed for was making it strong, giving it backing, so the screws would actually hold the bezel rather than just screw through the big hole. SEMlandau black works great on those, and the metal door release handles. for the handles i drilled out the rivets, and re-riveted using a basic mastercraft canadian tire rivetgun.

for the last one, the dash, same deal, i used abs plastic to build up the back in a way that strengthens but still allows the panel to seat properly in position.

in my case the pa els were all painted with several colours.....so i repaired and the. coated with landau black. you couldnt tell it wasnt factory unless u were a major afficianado, but there were no switch decal/icons on the panels after i dusted them with landau black.

i would NOT paint the panels unless you absolutely had to.
 
I ran a VIN decoder and Carfax. Nothing suspicious in Carfax, no accidents reported. I'm 7th owner! In the Build Sheet everything looks OK, except for exterior paint.
I can't understand exterior paint code. It doesn't look like it's been repainted, there are a few chips here and there and there is no trace of different color anywhere.
 

Attachments

  • EPSON004.JPG
    EPSON004.JPG
    395.7 KB · Views: 10
I ran a VIN decoder and Carfax. Nothing suspicious in Carfax, no accidents reported. I'm 7th owner! In the Build Sheet everything looks OK, except for exterior paint.
I can't understand exterior paint code. It doesn't look like it's been repainted, there are a few chips here and there and there is no trace of different color anywhere.
thats because its wrong. 20 is the code for Light Blue Metallic. 20u means the upper panels and 20l means for the lower panels. different upper and lower color codes are for two tones. your car is perfectly fine. 7 owner is pretty cool.

u r getting distracted.

we DO NEED to determine of you have a z51 or not. it would help in the determination of the cooling fan switches. they got all mixed up depending if you had thw front auxiliary fan. this was installed in thw FRONT of the rad.

do you see on there?

there are a few ways to determine if you have a z51 car
- put a caliper on the front/rear sway bar. what is diameter?
- look for the round domed cap on the steering rack, what are the letters embossed on the cap of this rack. will be two letters.
- what are the rim sizes.

you can contact the corvette museum and buy a new rpo sticker or build sheet i think.

ill see if i can get some pics.
 
I'm not trying to determine it it is Z51, not that I really care:) This car will be my daily driver for the summer.
There is no auxiliary fan installed. I almost finished wiring cleanup and getting ready to hook up the battery and start testing. But it got cold here, -14C, even with my torpedo propane heater running it is a bit cold in a garage:) Also there is something suspicious with knock sensor wiring too.
 
Sorry my reply was not thorough enough.

EDIT: this is a quote from cliff harris on cf. he is generally always right. i think i was WRONG below for the 84/85.
from cliff harris: “The auxiliary fan is controlled by a thermal switch that was located in the passenger side head between spark plugs #6 and #8 in 1984 and 1985. In 1986 and later years the thermal switch was moved to the driver's side head between spark plugs #1 and #3. The thermal switch turns on at 238°. There is a relay mounted on the front of the radiator shroud on the driver's side for the auxiliary fan.

You can test the auxiliary fan by unplugging the connector from the thermal switch and connecting it to ground. The relay and fan should turn on.”

anyway, see, they switched it around after 85.

on the ither thread you mentioned potential for overheat. plus the wierdness with the cooling system wiring. throughout the years, gm swapped positions around of the coolant switch sensors. coolant switch locations were z51 dependent.....thats why i was trying to determine existence or not of z51 option.
 
Last edited:
Old Thread: Hello . There have been no replies in this thread for 100 days.
Content in this thread may no longer be relevant.
Perhaps it would be better to start a new thread instead.

Users who are viewing this thread